Lesson 1 - Bind a Pivot Grid to an MDB Database
- 3 minutes to read
This tutorial shows how to add DevExpress.Web.ASPxPivotGrid to a new ASP.NET application, bind the Pivot Grid to a database, and create the control’s fields mapped to the appropriate fields from the database. The Northwind.mdb database is used in this example to supply ASPxPivotGrid with data.
Create a New Project and Add ASPxPivotGrid
Run Microsoft Visual Studio.
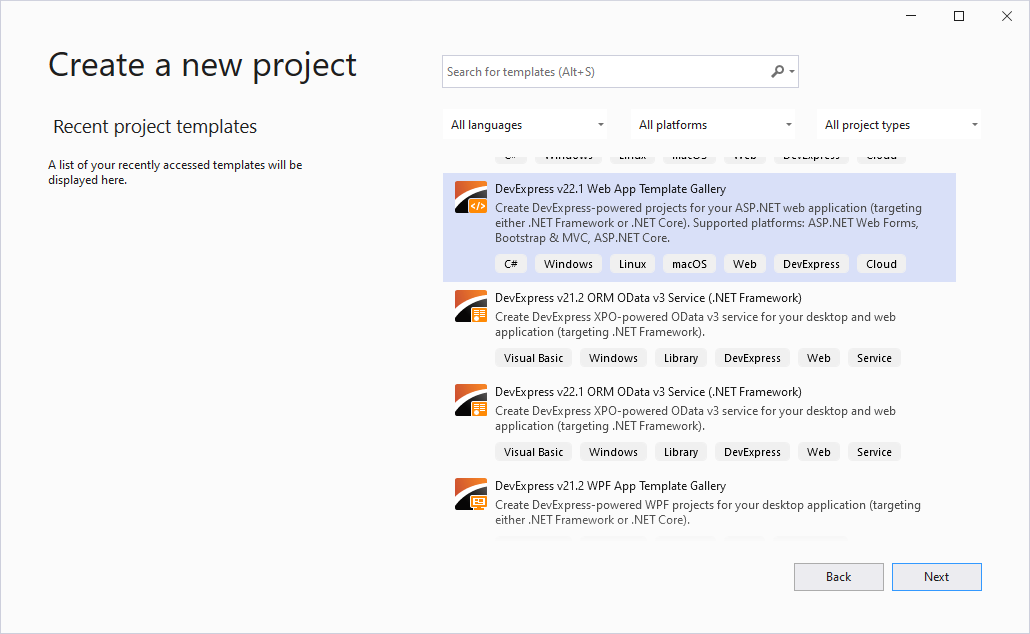
Click Create a new project and select DevExpress v26.1 Web App Template Gallery.
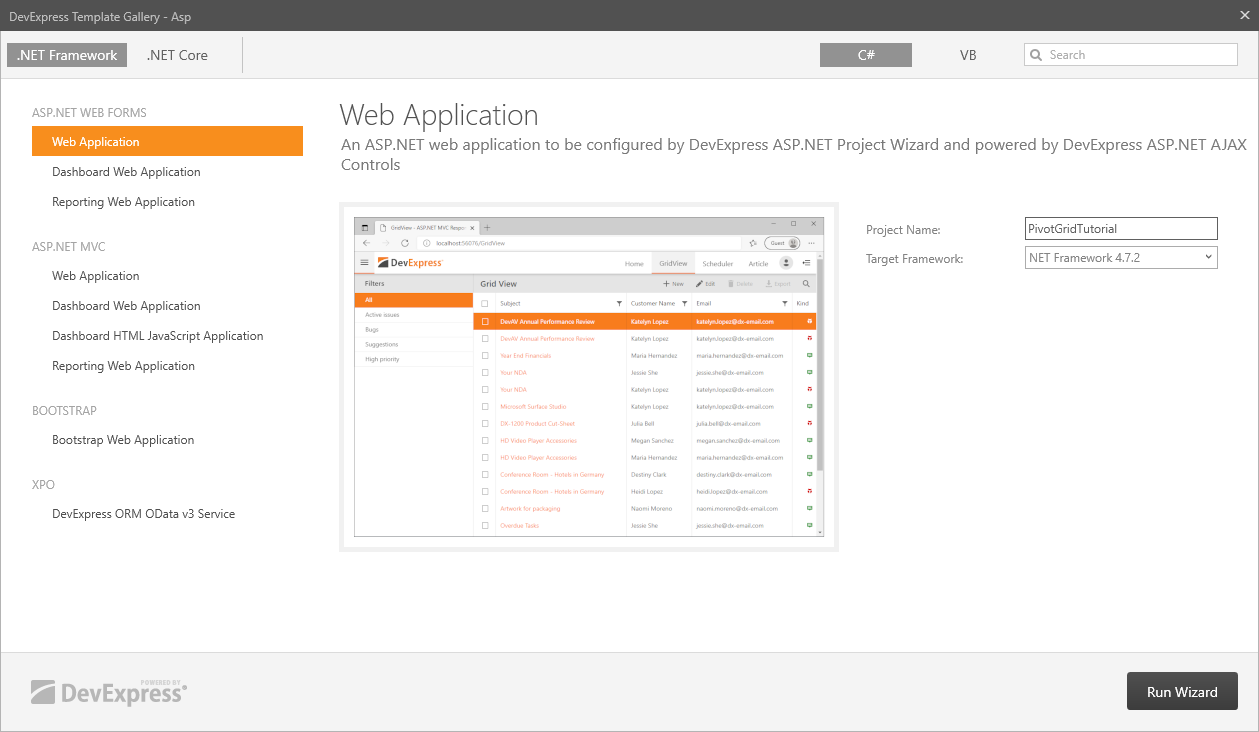
Select Web Application and click Run Wizard.
In the DevExpress ASP.NET Project Wizard, select Empty on the Choose Layout page.
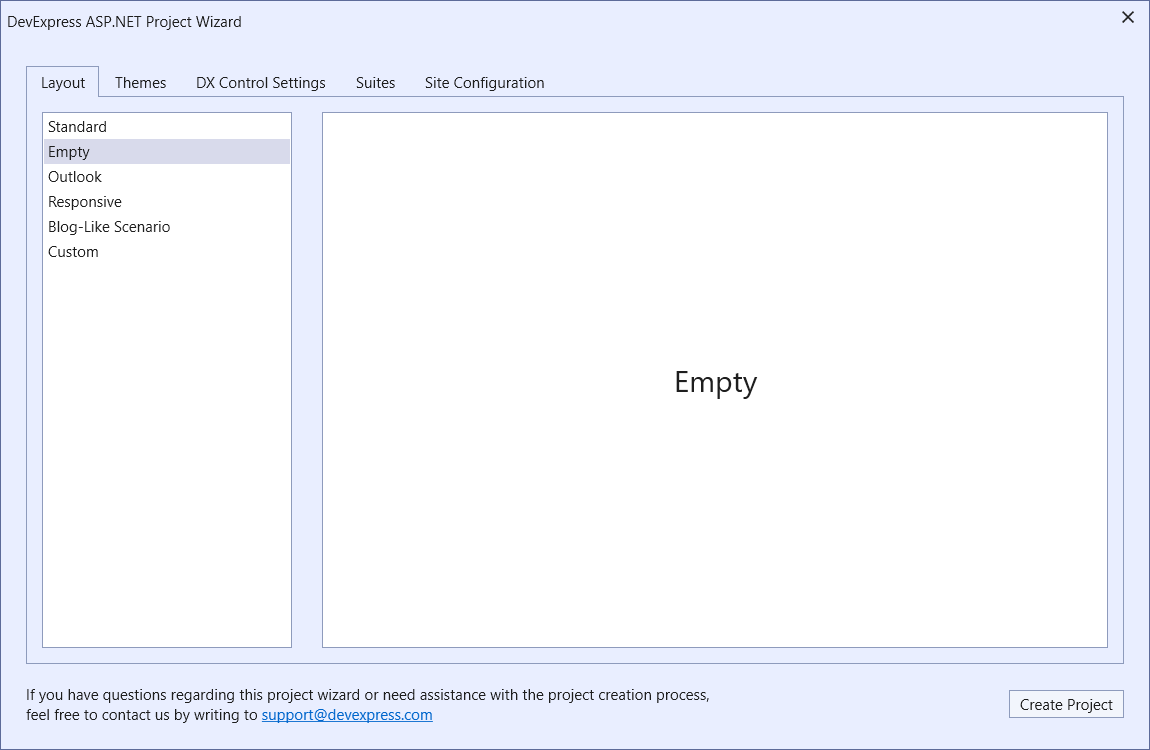
Click Create Project.
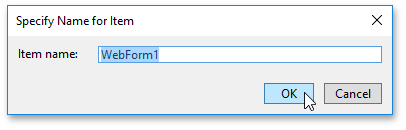
Right-click the project in the Solution Explorer and select Add | Web Form from the context menu. In the invoked dialog, leave the default item name and click OK.
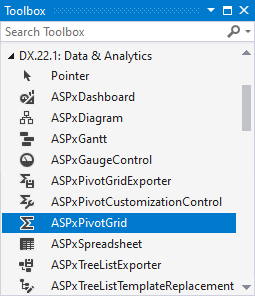
Drag and drop the ASPxPivotGrid control from the DX.26.1 Data & Analytics toolbox tab onto the page.
Prepare a Data Source
Right-click the App_Data folder in your project and select Add | Existing Item… from the context menu. In the Add Existing Item dialog, locate the Northwind database file and click Add. Use the following path to find the database:
C:\Users\Public\Documents\DevExpress Demos 26.1\Components\Data\nwind.mdb
Click the smart tag icon displayed in the top-right corner of the Pivot Grid to invoke the ASPxPivotGrid Tasks popup window.
Open the Choose Data Source drop-down list and select New data source… to run the Data Source Configuration wizard.

On the first page, choose Database as the data source type and click OK.

On the next page, select the nwind.mdb database from the list and click Next.

Leave the default settings and click Next.

On the Configure the Select Statement page, choose the database columns that you need to include in the data source and click Next.
- Select Specify columns from a table or view.
- Select SalesPerson from the Name drop-down list.
Check the following columns:
- Country
- ProductName
- CategoryName
- Extended Price
- Sales Person

You can optionally test the automatically generated query. For this, click the Test Query button.

Click Finish to close the wizard.
Create and Arrange Pivot Grid Fields
Click the smart tag icon and then click Designer… to invoke the ASPxPivotGrid Designer.

Click the Retrieve fields button, ensure that the Check All option is enabled, and then click OK to create Pivot Grid fields automatically for all data source columns.

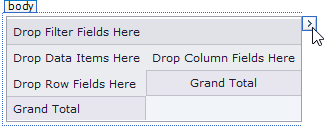
The PivotGridControl locates all created fields in the Data Header Area.
Drag-and-drop fields to move them between areas. You can also specify the field’s location and position between areas in the Property pane (for this, use the Area and AreaIndex properties).
Place the CategoryName and ProductName fields (in the given order) into the Row Header Area, the Country and Sales_Person fields into the Column Header Area, and the Extended_Price field into the Data Header Area.

Result
Run the project to see the result.
