Add a New Report to a WPF Application
This tutorial describes how to add a new report to a WPF Application at design time within Visual Studio.
Creating a New Application
Do the following to create a new WPF Application in Microsoft Visual Studio 2010, 2012, 2013, 2015 or 2017:
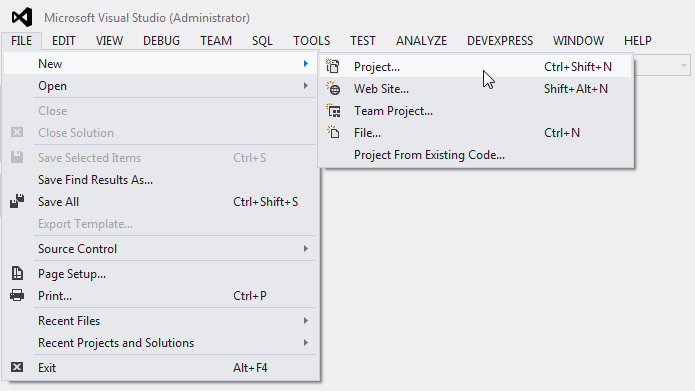
Press CTRL+SHIFT+N, or select FILE | New | Project… in the main menu.
In the New Project dialog that is invoked, expand the Installed category, and select a programming language (Visual C# or Visual Basic) in the Templates section. Then switch to the Windows Desktop section and select WPF Application.
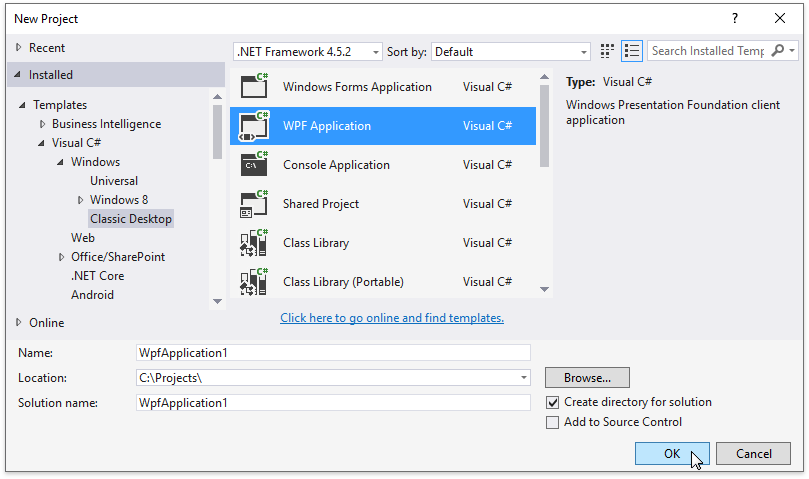
Specify the application name and click OK.
Adding a New Report
Do the following to add a new report to your WPF application:
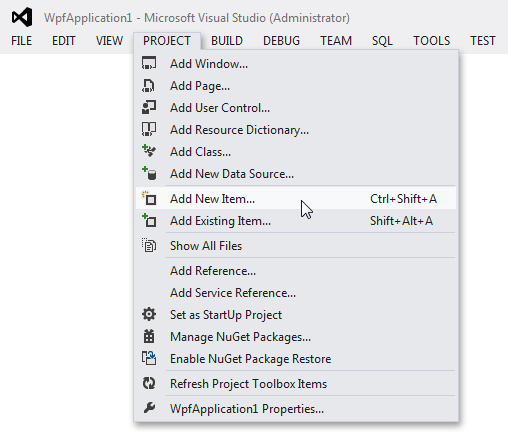
In Visual Studio, press CTRL+SHIFT+A, or select PROJECT | Add New Item… in the main menu.
In the Add New Item dialog that is invoked, switch to the Reporting directory, select the DevExpress v19.1 Report item, specify the report name and click Add.

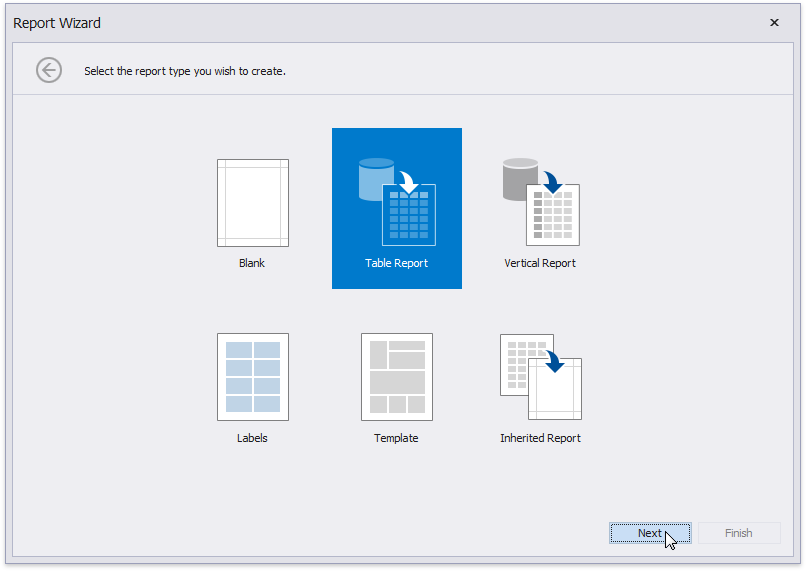
This invokes the Report Wizard where you can choose a report type.
Next Step: Create a Simple Data-Aware Report