Lesson 2 - Create a Master-Detail Layout
- 3 minutes to read
In the previous lesson, you added a new report and bound it to a data source. This lesson describes how to design this report’s hierarchical layout.
Note
Watch the Video: Master-Detail Reports (YouTube)
The created report is platform-independent. You can reuse it in applications that target different platforms.

Design a Master Layout
Do the following to display information about categories at the master report level:
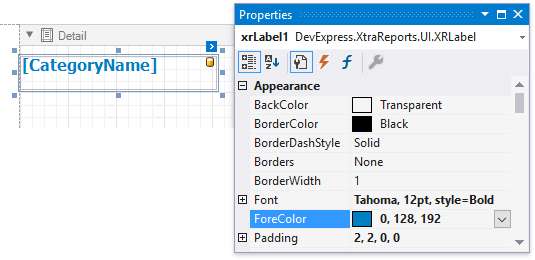
Switch to the Field List and drop the CategoryName data field onto the report’s Detail band. This creates a new Label control bound to this field.

Select this label and use the Appearance category in the Properties window to adjust the color and font options.
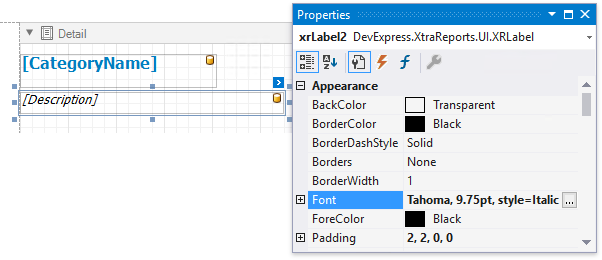
Drop the Description data field from the Field List onto the Detail band. Specify the added control’s font options.
Drop the Picture data field from the Field List onto the Detail band. This creates a new Picture Box data-bound control because this field has the image type.
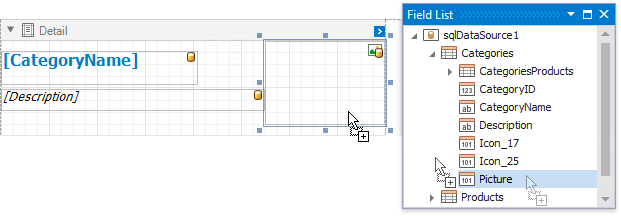
Click the Picture Box’s smart tag and set the XRPictureBox.Sizing property to ZoomImage to resize the image within the control proportionally without clipping.

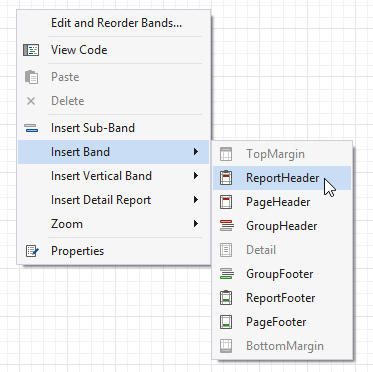
Add the Report Header band to display the report title at the beginning of the report. Right-click a report and select Insert Band | ReportHeader in the context menu.
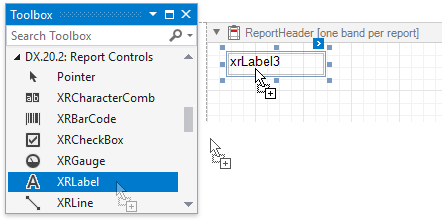
Open the Toolbox (for instance, press CTRL+ALT+X). Select the XRLabel control in the DX.20.2: Report Controls tab and drop it onto the Report Header.
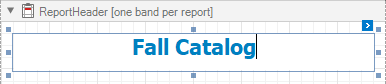
Double-click the created label to invoke its in-place editor and type the title. Then, specify the label’s color and font options.
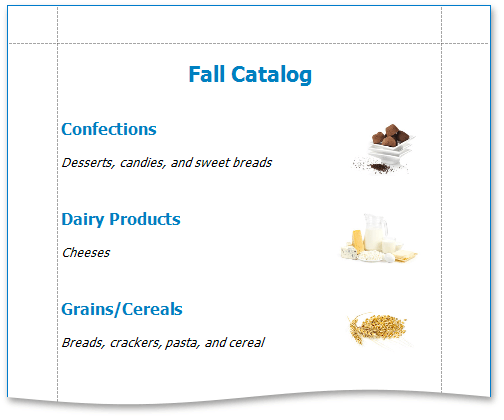
Switch to the Preview tab to see the result.
Design a Detail Layout
Do the following to display product information in a tabular form under each category:
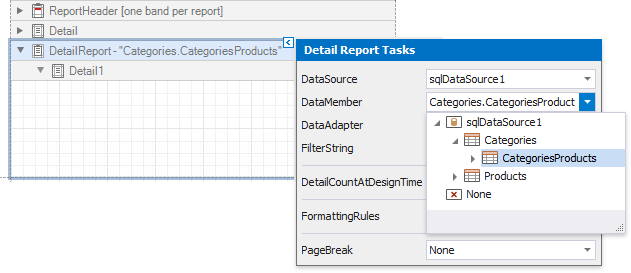
Add the Detail Report band to display data at the nested detail level. Right-click the report, select Insert Detail Report and click the master-detail relationship’s name.
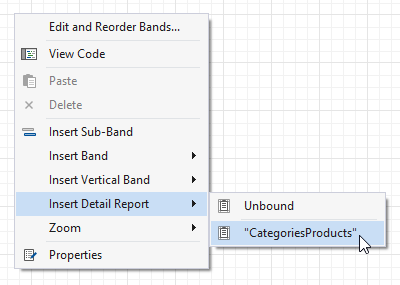
The Detail Report band is a separate report (subreport) with its own data source. This report’s DataMember property is set to the CategoriesProducts master-detail relationship automatically.
Tip
A report can have any number of detail reports. These detail reports can also contain any number of nested detail reports.
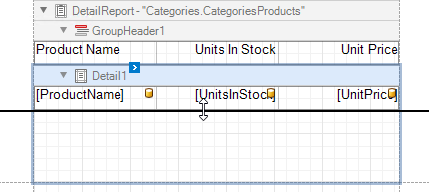
Switch to the Field List and expand the category that corresponds to the master-detail relationship. Hold down CTRL or SHIFT and select the ProductName, UnitsInStock and UnitPrice fields. Drop these fields onto the Detail Report’s detail band.
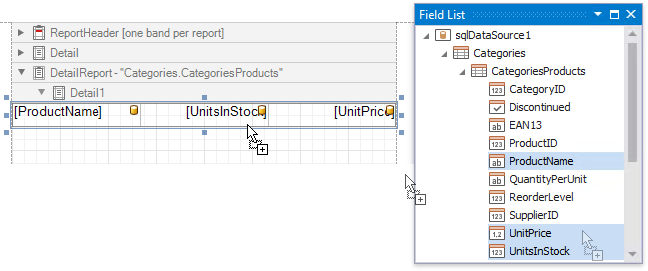
This creates a Table control with table cells bound to the corresponding fields.
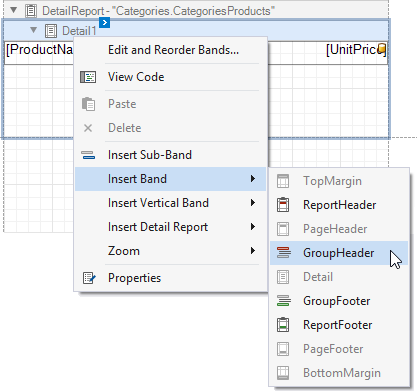
Add the Group Header band to display table headers. Right-click anywhere in the detail report and select Insert Band | GroupHeader.
Go to the Field List and select the same data fields that you selected before. Drag and drop these fields with the right mouse button onto the Group Header band.
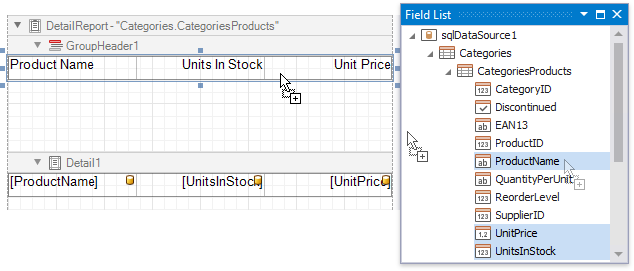
This transforms field names into table headers automatically.
Resize the Group Header and Detail bands to fit their tables.
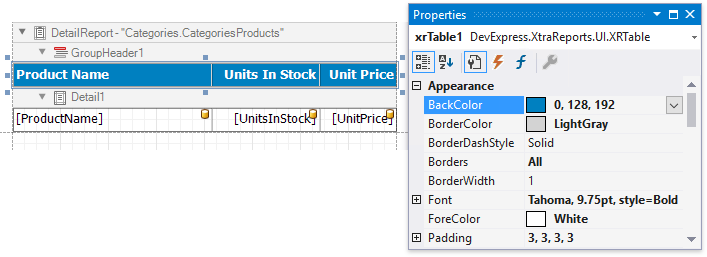
Use the Properties window’s Appearance category to change the added tables’ appearance.
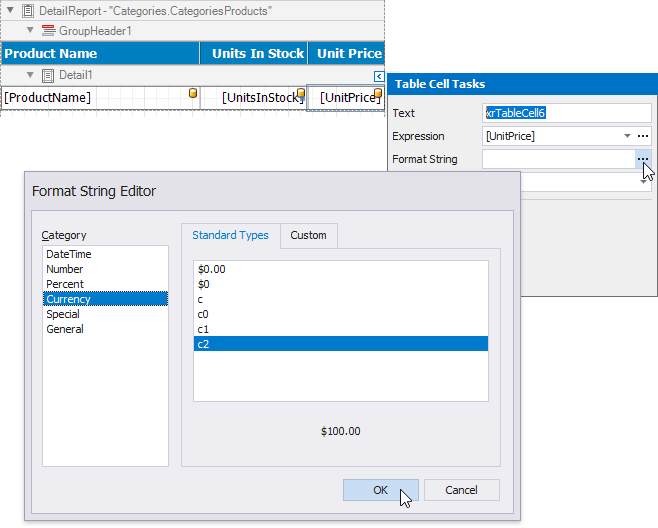
Select the table cell bound to the UnitPrice field and set the Format String property to c2.
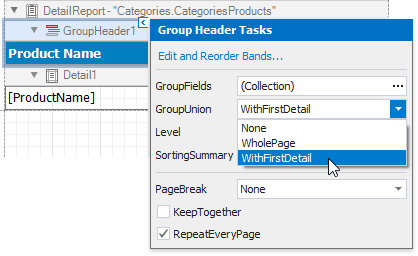
Click the Group Header’s smart tag and specify the following properties:
- Enable the GroupBand.RepeatEveryPage property to print this band on each document page;
- Set the GroupHeaderBand.GroupUnion property to WithFirstDetail to always print this band with at least one Detail band below it.
Select the master report’s Detail band and click its smart tag. Enable the DetailBand.KeepTogetherWithDetailReports property to always print master and detail reports on the same page.

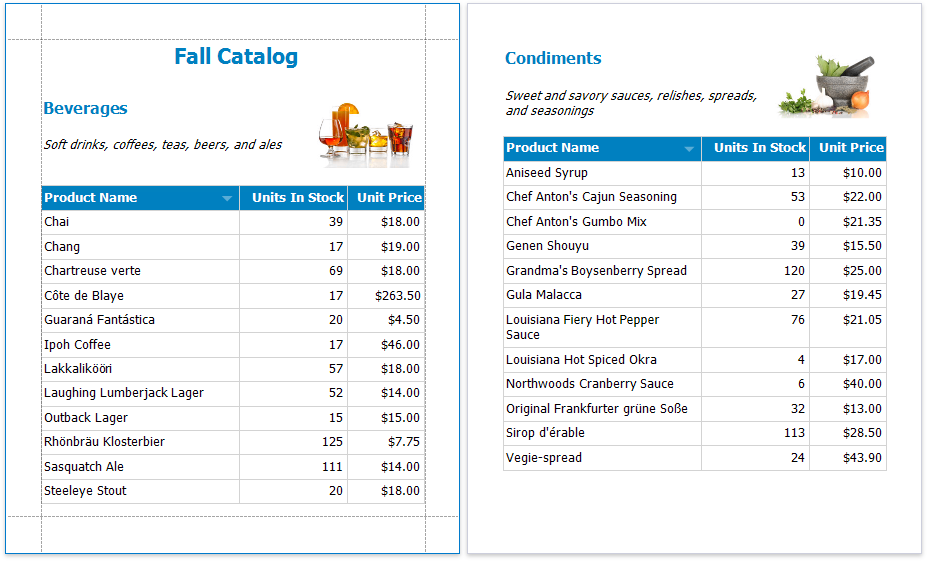
The master-detail report is now ready. Switch to the Preview tab and view the result.
Next Lesson: Lesson 3 - Use Parameters to Filter Data in a Report