Lesson 7 - Customize the Report Appearance
- 4 minutes to read
This lesson illustrates how to use cascading style sheets to customize the tutorial report‘s appearance and manage specific elements’ appearance based on certain conditions.
Note
Watch the Video: Reporting: Styles and Conditional Formatting (YouTube)
Use Report Styles
This document section describes how to give alternating (odd and even) table rows a different appearance.
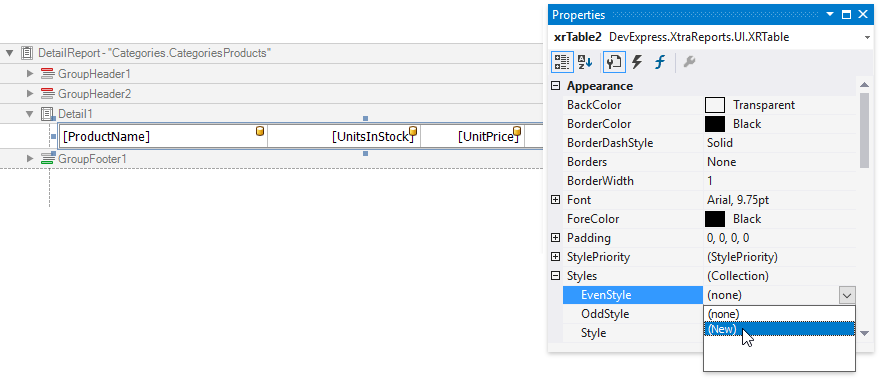
Select the table on the Detail band and expand its XRControl.Styles property in the Properties window.
Expand the EvenStyle property’s drop-down list and select New to create a new visual style for even table rows.
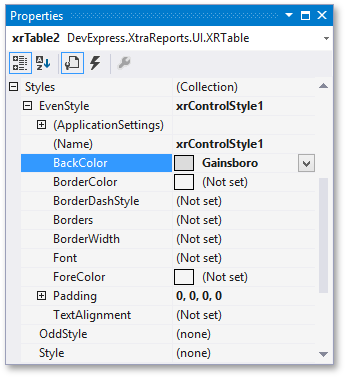
Specify the available appearance settings for the created style (such as background color or font settings).
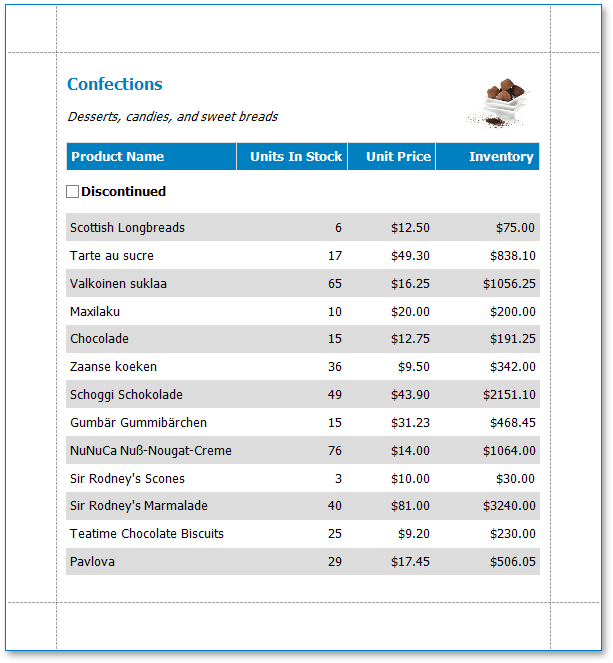
Switch to the Preview tab to view the resulting document.
Note
Rows are counted starting with zero, which is an even number. This means even styles are applied to odd-numbered rows (when they are counted starting with the first one).
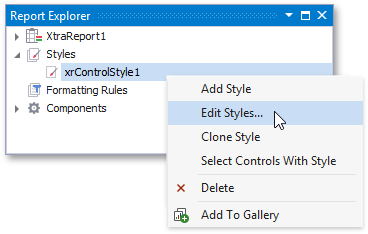
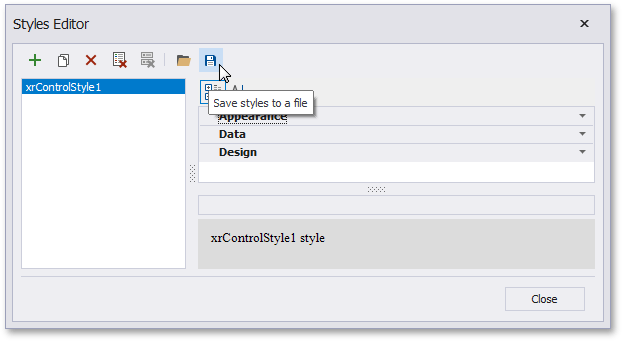
You can access the report’s visual style collection by switching to the Report Explorer and expanding the Styles section. Right-click a style to access the list of available actions. Click Edit Styles to manage the styles collection.
In the invoked Styles Editor, you can customize styles defined in a report, as well as save all the styles to an external style sheet (or load styles from such a file).
See Report Visual Styles to learn more.
Apply Conditional Formatting (Using Expression Bindings)
This section illustrates how to change a report control’s appearance based on a certain condition.
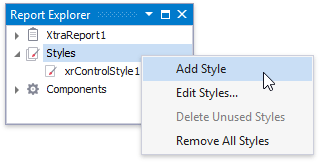
Switch to the Report Explorer and right-click the Styles category to create a new visual style.
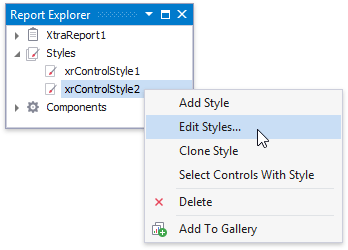
Right-click the created style and select Edit Styles .
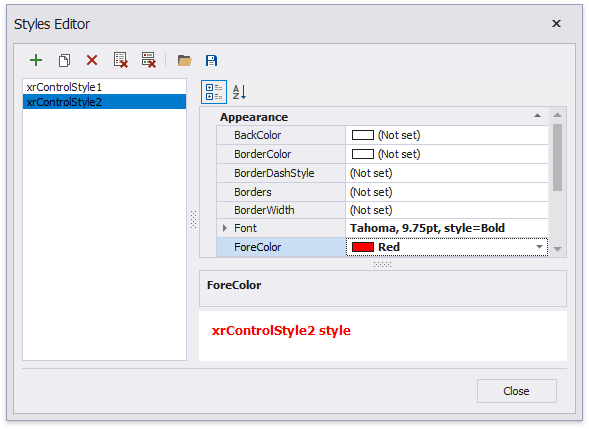
This invokes the Styles Editor where you can customize the created style’s appearance options (for instance, change the font settings and specify the foreground color).
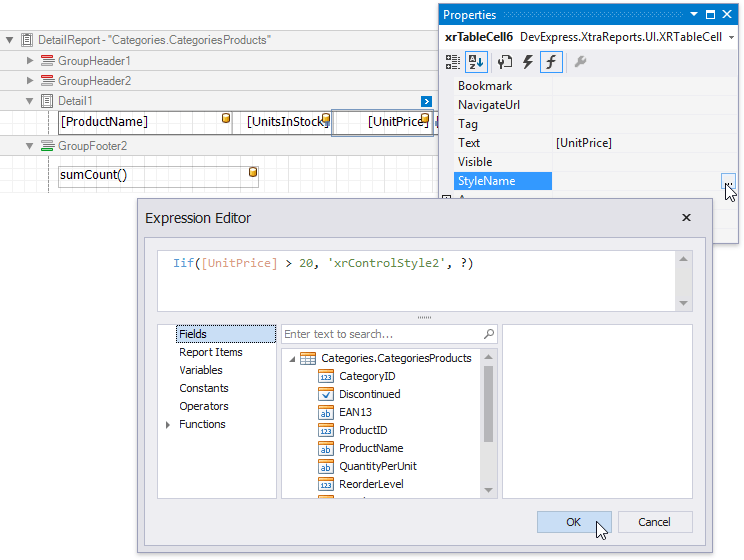
Select a control to which you want to assign the created style (for example, the table cell bound to the UnitPrice field). Switch to the Expressions section in the Properties window and click the StyleName property’s ellipsis button. In the invoked Expression Editor, specify the required condition for applying the style.
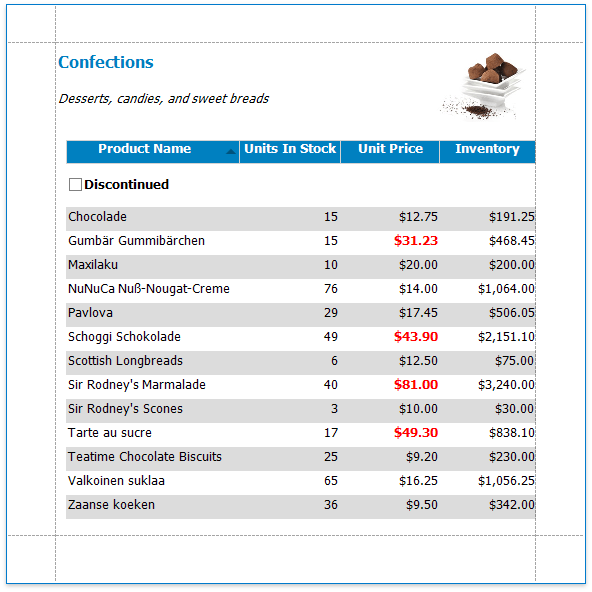
Switch to the Preview tab to view the result.
See Conditionally Change a Control’s Appearance for more information.
Apply Conditional Formatting (Legacy Approach)
The following steps illustrate how to change a report element’s appearance based on a specific logical condition (for instance, change the font settings depending on the current data field value).
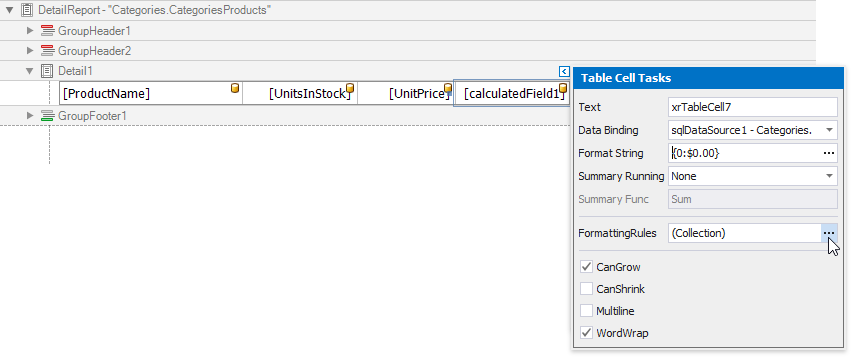
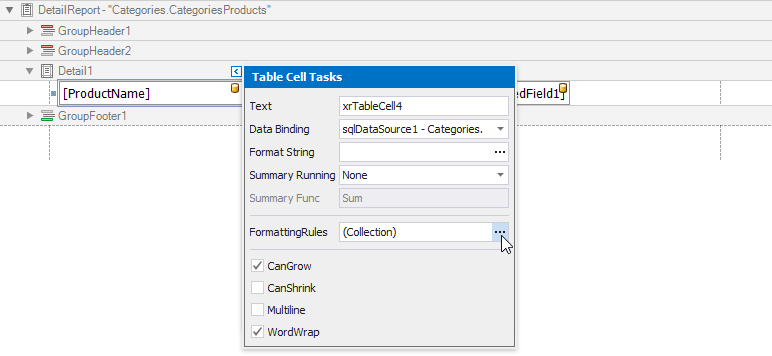
Click the required table cell’s smart tag and click the XRControl.FormattingRules property’s ellipsis button to access the collection of formatting rules assigned to this cell.
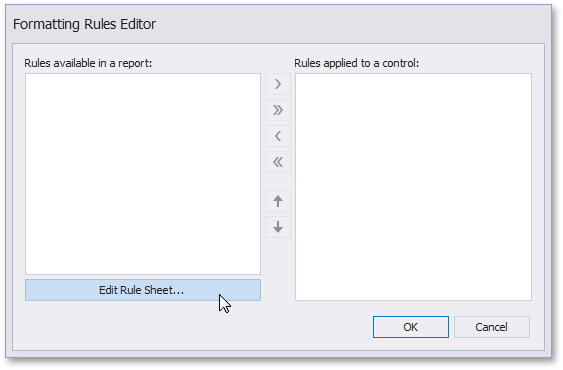
Click Edit Rule Sheet in the invoked Formatting Rules Editor to manage the collection of all the formatting rules available in a report.
Click the
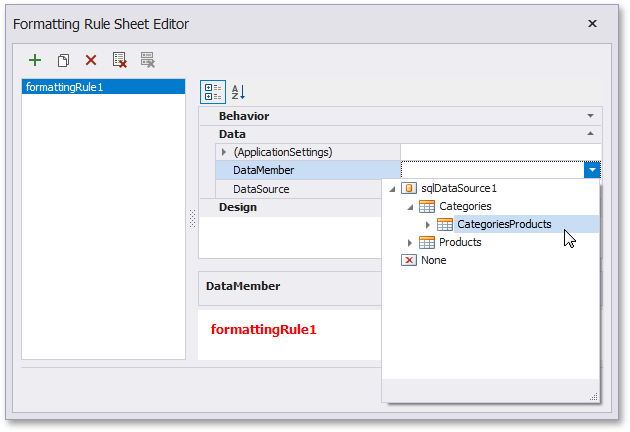
 button in the invoked Formatting Rule Sheet Editor to create a new rule.
When creating a formatting rule for a calculated field, you are required to specify an appropriate data member (the report’s data source is used by default).
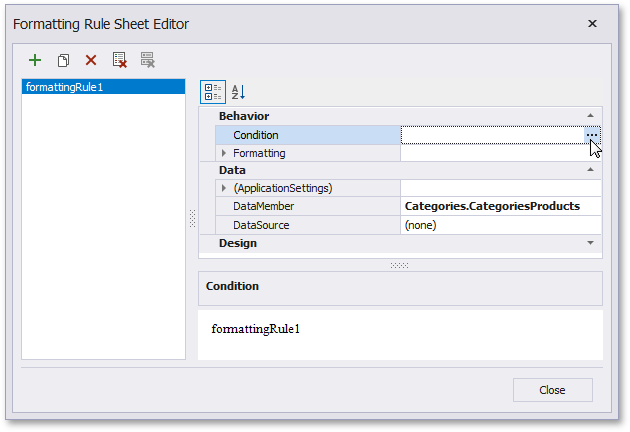
Click the ellipsis button for the FormattingRule.Condition property.
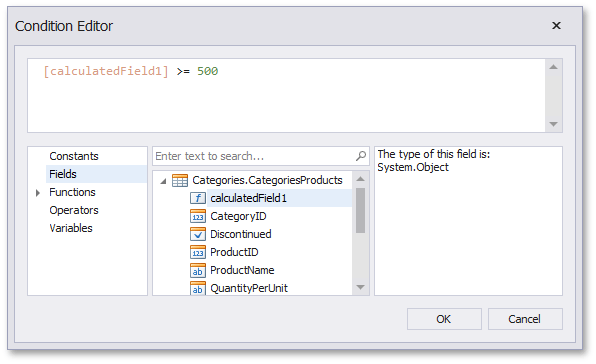
In the invoked Condition Editor, specify a required logical condition (when evaluated, such a condition must return True or False).
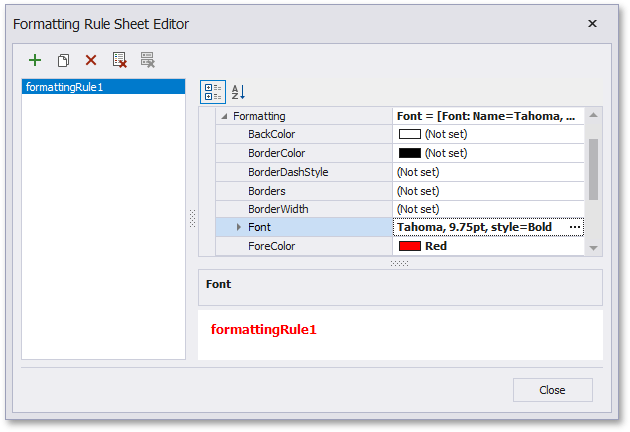
In the Formatting Rule Sheet Editor, expand the FormattingRule.Formatting property and define the appearance settings that should be applied when the specified condition is met.
Switch back to the Formatting Rules Editor and move the created rule to the right to apply this rule to the current report control.
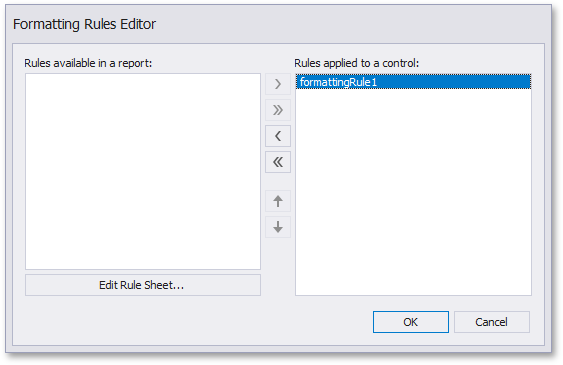
A formatting rule can be applied to any number of report elements, which enables you to highlight multiple elements once a specific condition is met.
You can apply a rule to another control by moving it to the control’s list of active rules.
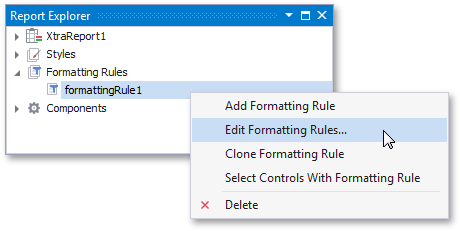
You can access the report’s collection of formatting rules by switching to the Report Explorer and expanding the Formatting Rules section. Right-click a rule to access the list of available actions. Click Edit Formatting Rules to manage these rules.
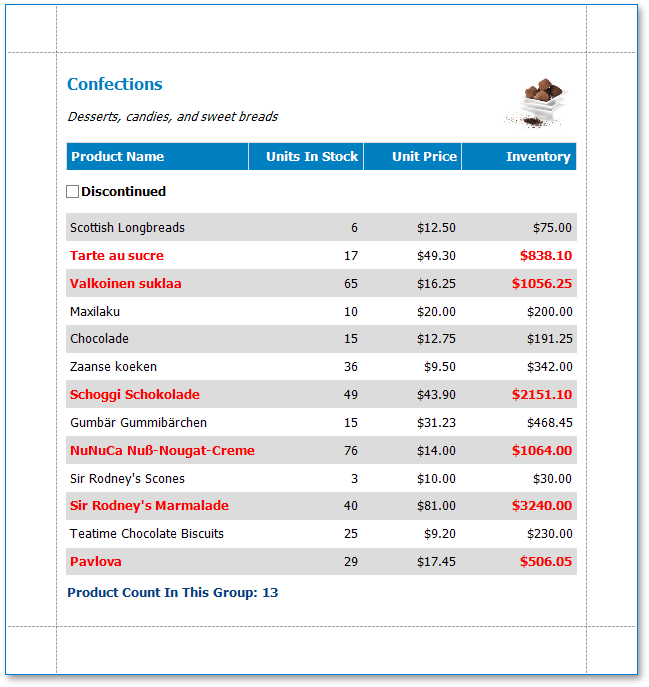
Switch to the Preview tab to view the resulting document.
See Conditionally Change a Control’s Appearance to learn more.