Manipulate Table Elements
- 3 minutes to read
Select Table Elements
You can click a table cell to select it and access its settings using the Properties window or smart tag. To select multiple cells, hold the SHIFT or CTRL key while clicking cells.
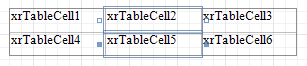
Use the arrow that appears when a mouse cursor hovers over the table edges to select an entire row or column.

Click the  (Select All) handler at the table’s left bottom corner to select the whole table. You can also use this handler to move the table.
Resize Table Elements
Table
Select the table, click and drag the table borders to resize the table. Cell dimensions are changed proportionally.
Columns
Click and drag the column border. The adjacent column changes its width so both columns occupy the same width as before. The table width remains the same.

Hold the Ctrl key, click and drag the column border. The width of the adjacent column and all subsequent columns is changed. Columns change their widths proportionally, and the table width remains the same.

Hold the Shift key, click and drag the column border. The action shifts adjacent columns, so the table is resized by the same width by which the user resizes the column.

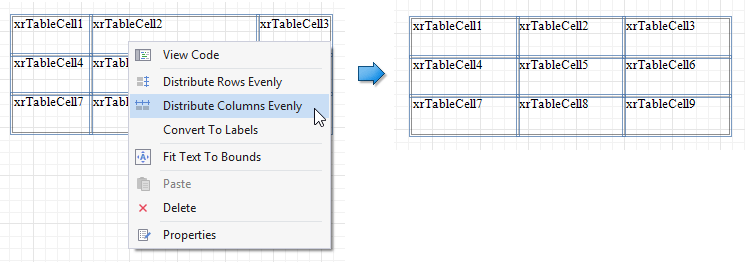
You can resize columns equally in a similar way by selecting the columns or the table itself and choosing Distribute Columns Evenly in the context menu.
Rows
Click and drag the row border. The adjacent row changes its height so both rows occupy the same height as before. The table height remains the same.
Hold the Shift key, click and drag the row border. The action shifts adjacent rows, so the table is resized by the same height by which the user resizes the row.
You can set the same size for multiple table rows. Select the rows or the whole table, right-click the selected area and choose Distribute Rows Evenly.
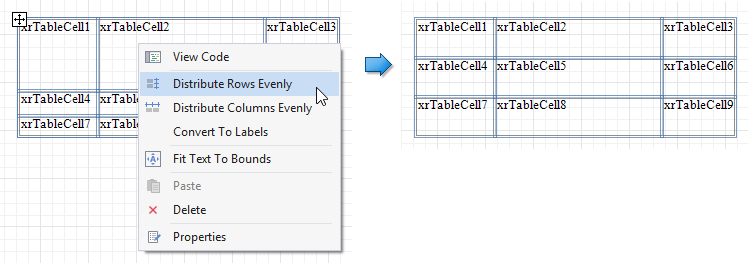
If the cell’s content is partially visible in the resulting row, this row automatically increases its height to fit its content and also adjusts the other rows accordingly.
Reorder Table Rows and Cells
You can change the order of table rows and cells. Switch to the Report Explorer window, select a row or cell and drag it to a new position.
The Report Explorer highlights the possible drop targets when you drag an element over them.
Note
You can move table rows and cells only within the same parent control.
Apply Styles to Table Elements
Select a table element and switch to the Properties window. Expand the Styles group and set the Style property to the style name.
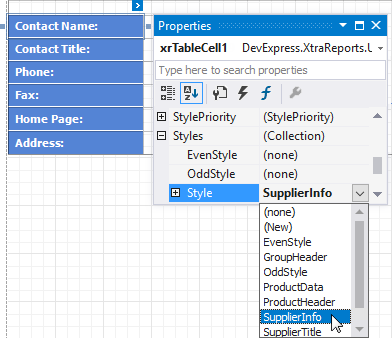
As an alternative, you can drag a style from the Report Explorer onto an element.
Stretch Table Cells
You can stretch a cell so that it occupies several rows and columns.
Stretch a cell across several columns
Press DELETE or select Delete | Cell in the context menu to remove a neighboring cell, and resize the remaining cells.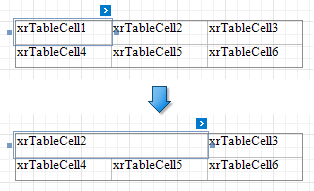
Stretch a cell accross several rows
Use the XRTableCell.RowSpan property to specify the number of rows the table cell spans.
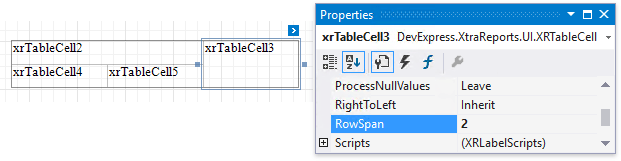
Note
The XRTableCell.RowSpan property has no effect if spanned cells have different widths.