Lesson 1 - Create a Simple Spreadsheet
- 4 minutes to read
This document provides step-by-step instructions on how to create a WPF Spreadsheet application and change its appearance.
This tutorial includes the following sections:
- Create a New Spreadsheet Application
- Remove the Integrated Ribbon, Formula Bar or Status Bar
- Change the Application’s Appearance
Create a New Spreadsheet Application
Create a new WPF Application project and open the MainWindow.xaml file in the Visual Studio Designer.
Drag the SpreadsheetControl item from the DX.19.2: Spreadsheet toolbox tab onto the canvas.
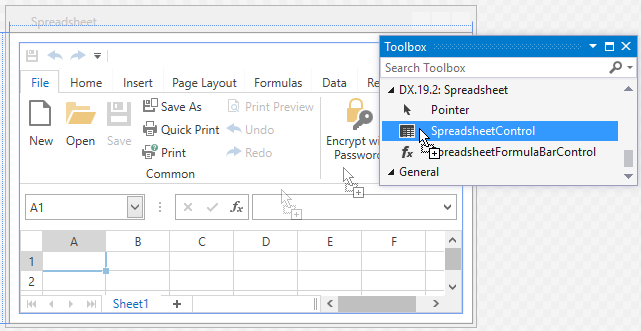
Reset the Spreadsheet control’s layout to fill the entire window. Right-click the control and select Layout | Reset All in the context menu.
As a result, your XAML should appear as follows:
<Window x:Class="WpfSpreadsheet.MainWindow"
        xmlns="http://schemas.microsoft.com/winfx/2006/xaml/presentation"
        xmlns:x="http://schemas.microsoft.com/winfx/2006/xaml"
        xmlns:dxsps="http://schemas.devexpress.com/winfx/2008/xaml/spreadsheet"
        Title="MainWindow" Height="350" Width="525">
    <Grid>
        <dxsps:SpreadsheetControl CommandBarStyle="Ribbon" ShowFormulaBar="True" ShowStatusBar="True"/>
    </Grid>
</Window>
You can also overwrite your MainWindow.xaml file with the code above to add the Spreadsheet control to your application. In this case, add references to the following libraries:
- DevExpress.Charts.v19.2.Core.dll
- DevExpress.Data.v19.2.dll
- DevExpress.Images.v19.2.dll
- DevExpress.Mvvm.v19.2.dll
- DevExpress.Office.v19.2.Core.dll
- DevExpress.Printing.v19.2.Core.dll
- DevExpress.Spreadsheet.v19.2.Core.dll
- DevExpress.Xpf.Charts.v19.2.dll
- DevExpress.Xpf.Core.v19.2.dll
- DevExpress.Xpf.Docking.v19.2.dll
- DevExpress.Xpf.NavBar.v19.2.dll
- DevExpress.Xpf.Printing.v19.2.dll
- DevExpress.Xpf.Ribbon.v19.2.dll
- DevExpress.Xpf.Spreadsheet.v19.2.dll
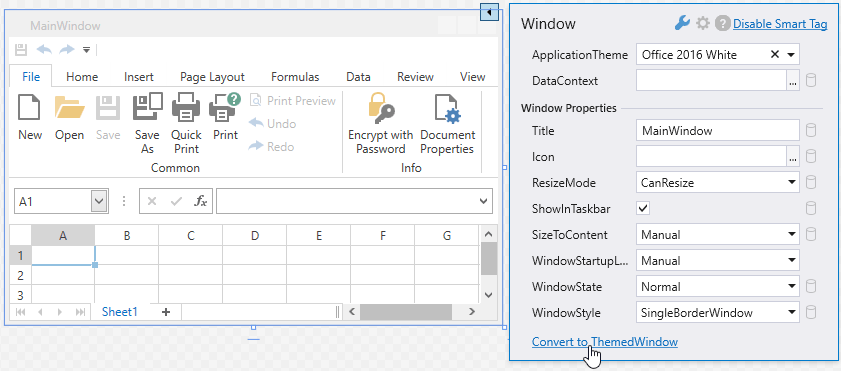
Click the Window’s smart tag and select the Convert to ThemedWindow task to convert the Window to a ThemedWindow.
Use the SpreadsheetControl.DocumentSource property to load a document into the Spreadsheet control. You can load documents from a stream, byte array or use a file path or URI to specify the location. If SpreadsheetControl.DocumentSource is null, an empty document is created.
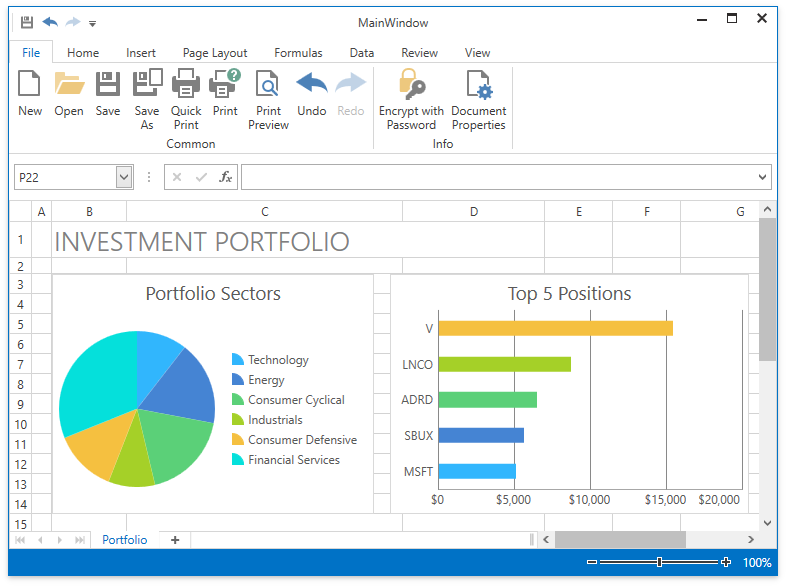
The example below uses a pack URI as the document source. A workbook is added to the root of the project as a resource file.
<Grid>
    <dxsps:SpreadsheetControl CommandBarStyle="Ribbon"
                              ShowStatusBar="True"
                              ShowFormulaBar="True"
                              DocumentSource="pack://application:,,,/WpfSpreadsheet;component/Document.xlsx"/>
</Grid>
Run the project. The image below shows the result.
Remove the Integrated Ribbon, Formula Bar or Status Bar
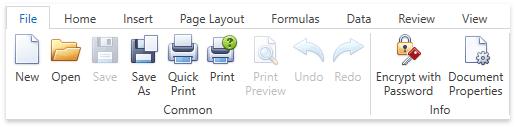
The newly created WPF Spreadsheet application includes the following integrated elements:
If you do not need these elements, remove them as described below.
Method 1 (At design time)
Click the SpreadsheetControl’s smart tag. In the invoked menu, select Empty from the CommandBarStyle drop-down list and clear the ShowFormulaBar and ShowStatusBar checkboxes.

Method 2 (In XAML)
Change the following properties’ values as shown in the table below or delete them from the markup.
| Property | Value |
|---|---|
| SpreadsheetControl.CommandBarStyle | CommandBarStyle.Empty |
| SpreadsheetControl.ShowFormulaBar | False |
| SpreadsheetControl.ShowStatusBar | False |
Change the Application’s Appearance
Change the application’s theme
The newly created Spreadsheet control uses the Office2016White theme, so the DevExpress.Xpf.Themes.Office2016White.v19.2.dll library should be deployed to a client machine.
See the list of available DevExpress WPF Themes.
Do one of the following to apply a different theme to your application:
Click the ThemedWindow‘s smart tag, and select a theme from the ApplicationTheme drop-down menu.
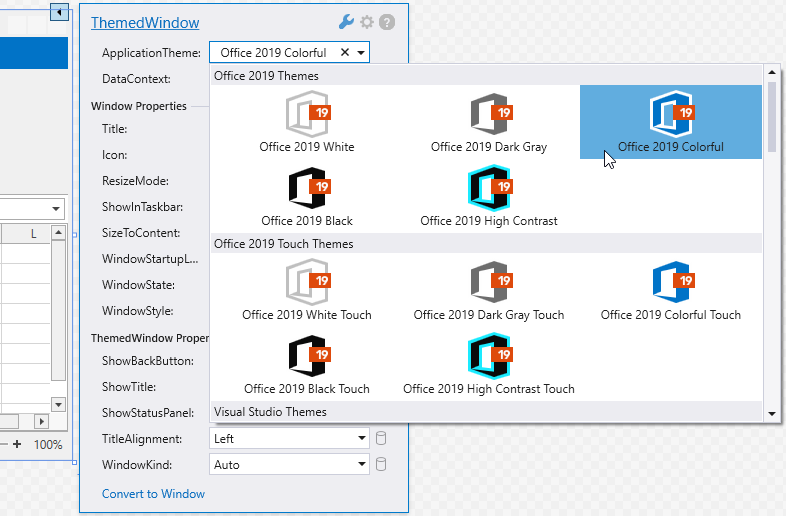
Set the ApplicationThemeHelper.ApplicationThemeName property to a theme name at the application’s startup:
Apply a theme to the SpreadsheetControl’s container (for example, a window) via the attached ThemeManager.ThemeName property:
<dx:ThemedWindow ...
    xmlns:dx="http://schemas.devexpress.com/winfx/2008/xaml/core"
    dx:ThemeManager.ThemeName="Office2019Colorful">
    ...
</dx:ThemedWindow>
Use bitmap or vector icons
When you create a WPF Spreadsheet application with an integrated ribbon, it displays vector icons. This ensures the application is rendered correctly on high-DPI devices.
Set the static ApplicationThemeHelper.UseDefaultSvgImages property to false at the application’s startup to use bitmap icons everywhere in your WPF application’s GUI:
using System.Windows;
using DevExpress.Xpf.Core;

public partial class App : Application {
    protected override void OnStartup(StartupEventArgs e) {
        ApplicationThemeHelper.UseDefaultSvgImages = false;
        base.OnStartup(e);
    }
}
Use the SpreadsheetControl.UseDefaultSvgImages property to disable SVG icons in the SpreadsheetControl’s UI only. This option has priority over the ApplicationThemeHelper.UseDefaultSvgImages property.
<dxsps:SpreadsheetControl CommandBarStyle="Ribbon" UseDefaultSvgImages ="False" ShowFormulaBar="True"/>
The following images illustrate the standard WPF Spreadsheet‘s ribbon UI with default vector and bitmap icons.
- SVG Icons
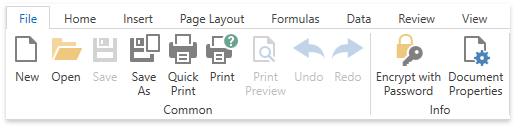
- Bitmap Icons