Runtime Layout Customization in ASP.NET Core Blazor Applications
- 5 minutes to read
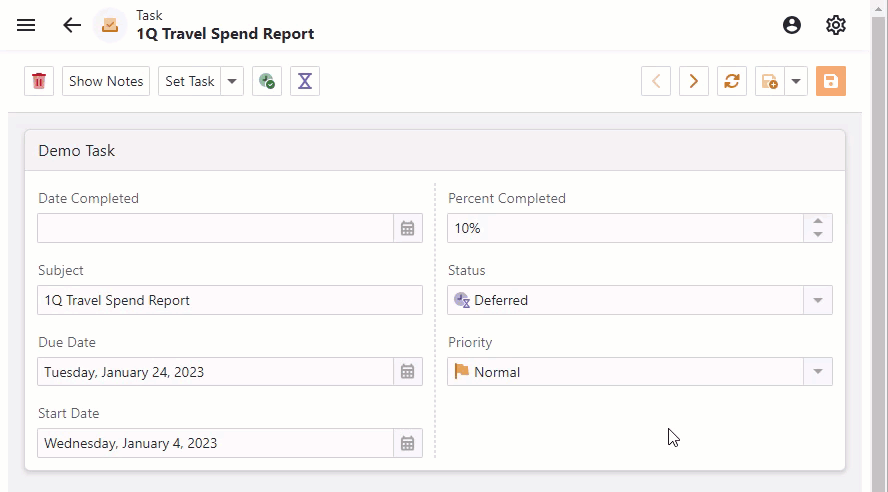
XAF ASP.NET Core Blazor applications support View Item layout customization in a Detail View at runtime.
You can customize the layout in a simple Detail View and Split Layout.
Enable Layout Customization
This functionality is available by default.
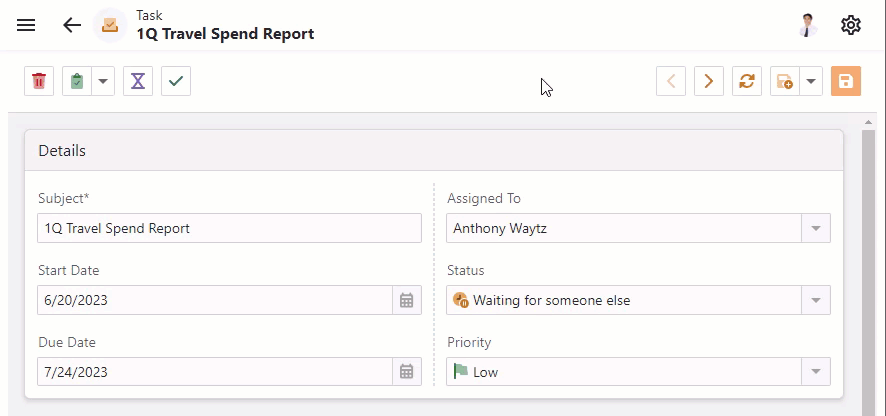
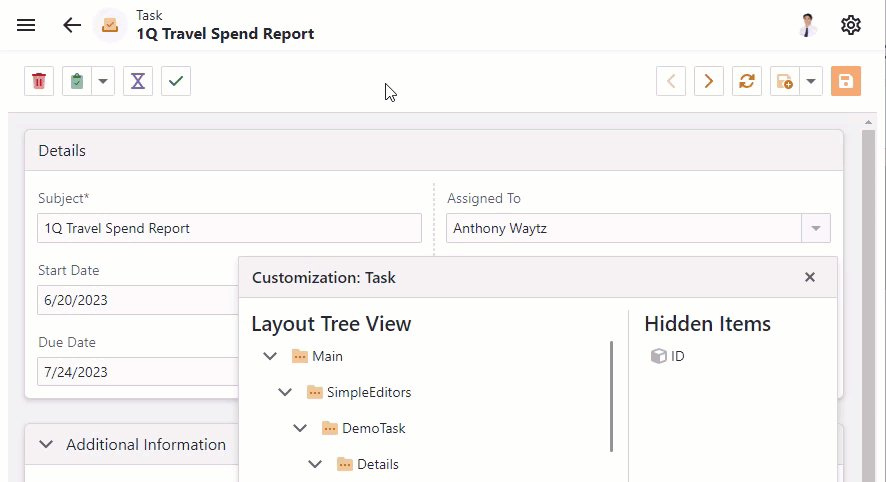
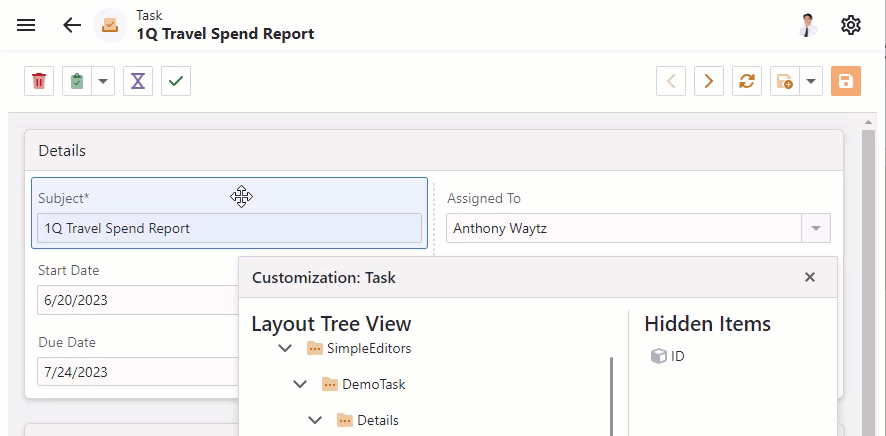
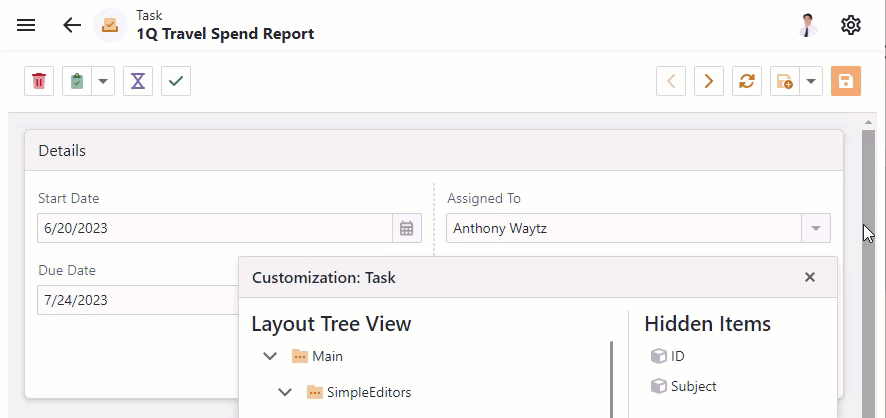
You can customize the Detail View. To activate customization mode, right-click the empty area of the Detail View you wish to edit and select Customize Layout in the invoked context menu.

The invoked Customization Form contains a structured view of all View Items available in the Detail View and a list of View Items hidden in the Detail View.

To deactivate customization mode, close the Customization Form or right-click an empty area and select Hide Customization Form from the context menu.
Disable Layout Customization
To disable runtime layout customization in a specific Detail View: open the Model Editor, navigate to the Views | <Namespace> | <Class>_DetailView node, and set the CustomizationFormEnabled property value to false.
To disable runtime layout customization in all Views, open the Model Editor, navigate to the Options node, and set the CustomizationEnabled property to false.
Add Reference Properties to a Detail View

Click the Customize button at the bottom of the Hidden Items list in the Customization window to invoke the Object Model dialog window. Check the items that you want to add to the Hidden Items list.
You can disable the ObjectModelController before the View Controls are created:
using DevExpress.ExpressApp;
using DevExpress.ExpressApp.Blazor.SystemModule;

namespace YourApplicationName.Blazor.Server.Controllers;
public class DisableObjectModelController : ViewController {

    private ObjectModelController objectModelController;
    const string deactivateReason = "NoCustomizationRequired";
    protected override void OnActivated() {
        base.OnActivated();
        objectModelController = Frame.GetController<ObjectModelController>();
        if (objectModelController != null) {
            objectModelController.Active.SetItemValue(deactivateReason, false);
        }
    }
    protected override void OnDeactivated() {
        base.OnDeactivated();
        if (objectModelController != null) {
            objectModelController.Active.RemoveItem(deactivateReason);
            objectModelController = null;
        }
    }
}
Note
If you have an extensive and complicated data model, the structure in the Object Model dialog window may be confusing. To see the path to a reference property, hover your mouse over the property in the Object Model dialog window. This may help you distinguish between similar properties.
Customize the Object Model Dialog
You can make a column invisible in List View and Detail View Object Model dialogs. Use HideInUI.ListViewCustomziationForm and HideInUI.DetailViewCustomizationForm attributes respectively.
To specify property visibility in the Object Model dialog, override the ObjectModelController. For example, the following code snippet filters out all key properties:
using DevExpress.ExpressApp;
using DevExpress.ExpressApp.Blazor.Components;
using DevExpress.ExpressApp.Blazor.SystemModule;
namespace YourApplicationName.Blazor.Server.Controllers;

public class CustomizeObjectDialogController : ViewController<DetailView> {
    ObjectModelController objectModelController;
    protected override void OnActivated() {
        base.OnActivated();
        objectModelController = Frame.GetController<ObjectModelController>();
        objectModelController.CustomizePropertyVisibility += ObjectModelController_CustomizePropertyVisibility;
    }

    private void ObjectModelController_CustomizePropertyVisibility(object sender, CustomizePropertyVisibilityEventArgs e) {
        if(e.MemberInfo.Owner.KeyMember == e.MemberInfo) {
            e.Visible = false;
        }
    }

    protected override void OnDeactivated() {
        base.OnDeactivated();
        if(objectModelController != null) {
            objectModelController.CustomizePropertyVisibility -= ObjectModelController_CustomizePropertyVisibility;
            objectModelController = null;
        }
    }
}
Persist Layout Customization for Individual Users
A user can customize a Detail View’s layout according to their needs. XAF stores the changes in the user differences layer of the Application Model independently for each user. The next time a user invokes a customized View, XAF applies the most recent changes.
XAF supports this behavior if you used the Template Kit and selected Standard (requests login and password) in the Security Options section. For more information on how to enable this behavior in an existing application, refer to the following topic: Store Application Model Differences in the Database.
The following article describes how users can share changes made during runtime layout customization: Enable the Administrative UI to manage End-User Settings in the Database.
Supported Scenarios
Change a View Item’s Position
Drag a View Item and drop it at the required position. A blue line indicates where you can place the View Item.
Note
If an item group becomes empty as a result of this action, it disappears from the layout.
Resize a View Item
Drag the vertical splitter between adjacent View Items.
Note
When you release the splitter, it sticks to the nearest 1/12th of the container width because of Blazor’s Form Layout Structure. You can use nested groups with hidden captions to resize View Items with more precision.
Hide a View Item
You can use either of the following options:
Right-click an item and select the Hide Item option in the context menu.
Drag an item to the Hidden Items list in the Customization Form.
Note
If you hide an entire group, all its View Items become hidden and the group itself disappears from the layout.
Display a Hidden View Item
Drag a View Item from the Customization Form and drop it at the required position.
Create a Group
Right-click a View Item you want to add to a group and select the Group option in the context menu.
Use the context menu to ungroup View Items.
Create a Tabbed Group
Right-click an item or a group’s caption and select the Create Tabbed Group option in the context menu.

Convert a Group to a Tab
Click a group, then right-click a tabbed group’s header and select the Convert Selected Group to Tab option in the context menu.

Reset View Item Layout
If you need to revert your changes, right-click an empty area in the Detail View at runtime and select Reset Layout in the invoked context menu.

Limitations of Runtime Layout Customization
XAF does not support runtime layout customization in the following elements:
- Pop-up Window
- Dashboard View
- Dashboard View Item
- Detail Property Editor
- Split Layout for Collection Properties
It is also not available on smartphones or mobile devices with small displays.