Inherit from the Business Class Library Class (XPO)
- 4 minutes to read
In this lesson, you will learn how to implement business classes for your application using the Business Class Library. This library contains the most typical ready-to-use business classes. You will implement a custom Contact class by deriving from the Person class available in this library, and implement several additional properties. You will also learn the basics of automatic user interface construction based on data.
Step-by-Step Instructions
- Right-click the Business Objects folder in the MySolution.Module project, and choose Add Item | Class…, specify Contact.cs as the new class name and click Add.
Replace the generated class declaration with the following code.
using DevExpress.Persistent.Base;
using DevExpress.Persistent.BaseImpl;
using DevExpress.Persistent.Validation;
using DevExpress.Xpo;
using System;

namespace MySolution.Module.BusinessObjects {
    [DefaultClassOptions]
    public class Contact : Person {
        public Contact(Session session) : base(session) { }
        private string webPageAddress;
        public string WebPageAddress {
            get { return webPageAddress; }
            set { SetPropertyValue(nameof(WebPageAddress), ref webPageAddress, value); }
        }
        private string nickName;
        public string NickName {
            get { return nickName; }
            set { SetPropertyValue(nameof(NickName), ref nickName, value); }
        }
        private string spouseName;
        public string SpouseName {
            get { return spouseName; }
            set { SetPropertyValue(nameof(SpouseName), ref spouseName, value); }
        }
        private TitleOfCourtesy titleOfCourtesy;
        public TitleOfCourtesy TitleOfCourtesy {
            get { return titleOfCourtesy; }
            set { SetPropertyValue(nameof(TitleOfCourtesy), ref titleOfCourtesy, value); }
        }
        private DateTime anniversary;
        public DateTime Anniversary {
            get { return anniversary; }
            set { SetPropertyValue(nameof(Anniversary), ref anniversary, value); }
        }
        private string notes;
        [Size(4096)]
        public string Notes {
            get { return notes; }
            set { SetPropertyValue(nameof(Notes), ref notes, value); }
        }
    }
    public enum TitleOfCourtesy { Dr, Miss, Mr, Mrs, Ms };
}
Run the application.
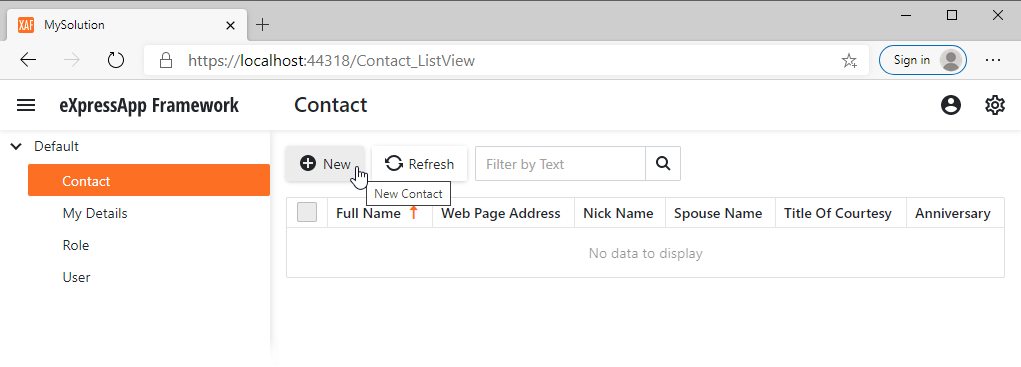
XAF generates a user interface that is based on the specified data structures:
a List View
List View displays the Contact list. If users click the New button or click an existing record, the application shows a detail form (Detail View) filled with editors for each data field.
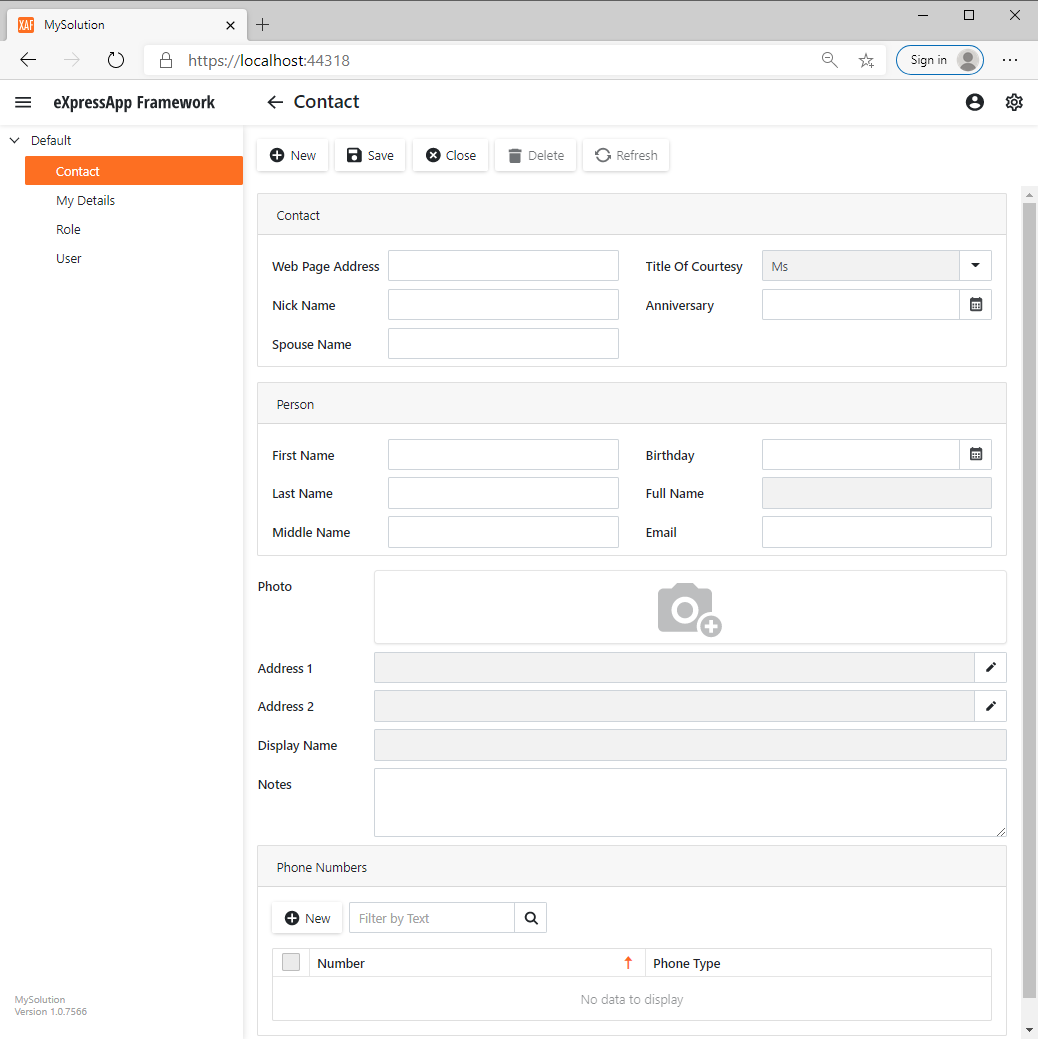
A Detail View
Detailed Explanation
Convention
Typically, business classes do not depend on application UI and should be implemented in a platform-independent module project. Business objects can be shared with other XAF or non-XAF applications.
Add a Business Object
In this lesson, we derive the Contact object from the Person class. The Person class is one of the Business Class Library classes. This class already contains fields specific to entities of the Person type: first name, last name, birth date, etc.
The Person class (and the rest of the Business Class Library) derives from BaseObject. The BaseObject class derives from DevExpress.Xpo.XPCustomObject - one of the base classes in XPO. This means that the Contact business object is a persistent object.
XPO requires that you implement property setters and a parameterized constructor as follows:
[DefaultClassOptions]
public class Contact : Person {
    public Contact(Session session) : base(session) { }
    private string webPageAddress;
    public string WebPageAddress {
        get { return webPageAddress; }
        set { SetPropertyValue(nameof(WebPageAddress), ref webPageAddress, value); }
    }
    // ...
}
Refer to the following help topic for more information: Creating a Persistent Object.
For a general business class concept overview, refer to the following topic: Business Classes vs Database Tables.
Note
CodeRush includes a number of Code Templates that help generate business classes or their parts with a few keystrokes. To learn about the Code Templates for eXpress Persistent Objects, refer to the following help topic: XPO and XAF Templates.
Attributes
In this tutorial the business objects class is decorated with the DefaultClassOptionsAttribute attribute. This attribute means that the following capabilities are available for the Contact business class.
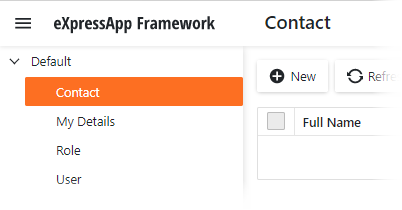
The Contact item is added to the main page’s navigation control. Users can click this item to access the associated List View.
- Contact objects can be used as a data source to generate reports (see Create a Report in Visual Studio).
To apply each of these options separately, use the NavigationItemAttribute and VisibleInReportsAttribute attributes.
User Interface
XAF generates the appropriate editors for data fields in the List View and Detail View. For example, a date picker is generated for date-time values, a combo box editor is created for Title Of Courtesy (an enumerator).
XAF transforms captions from camel-case to space-separated strings, form titles are updated, etc.
You can use the grid features in a List View at runtime: rearrange columns, and sort and filter data: