Report Designer for Visual Studio
- 5 minutes to read
The Visual Studio Report Designer allows you to create platform-independent reports, preview them, and export to PDF, XLSX, and other formats.
The Report Designer is supported for .NET/.NET Core or .NET Framework projects. Refer to the following topic for more information: .NET Support in Reporting.
Install the Report Designer
Use the DevExpress Unified Component Installer to install DevExpress components. These components include the Report Designer.
Invoke the Report Designer
The Report Designer is supported for Visual Studio projects of the following types:
- Class Library
- Console Application
- WinForms
- WPF
- ASP.NET Web Forms
- ASP.NET MVC
- ASP.NET Core
- Blazor Server
To invoke the designer, create a project of a supported type and add a new report to this project as described in the following steps:
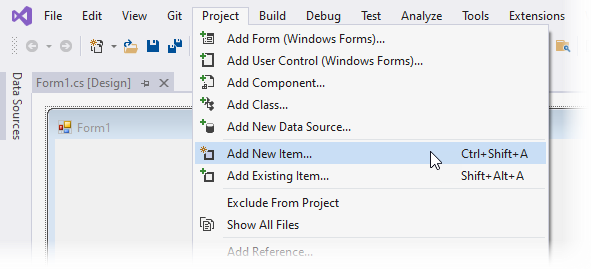
Press CTRL+SHIFT+A or click Project | Add New Item in the Visual Studio menu.
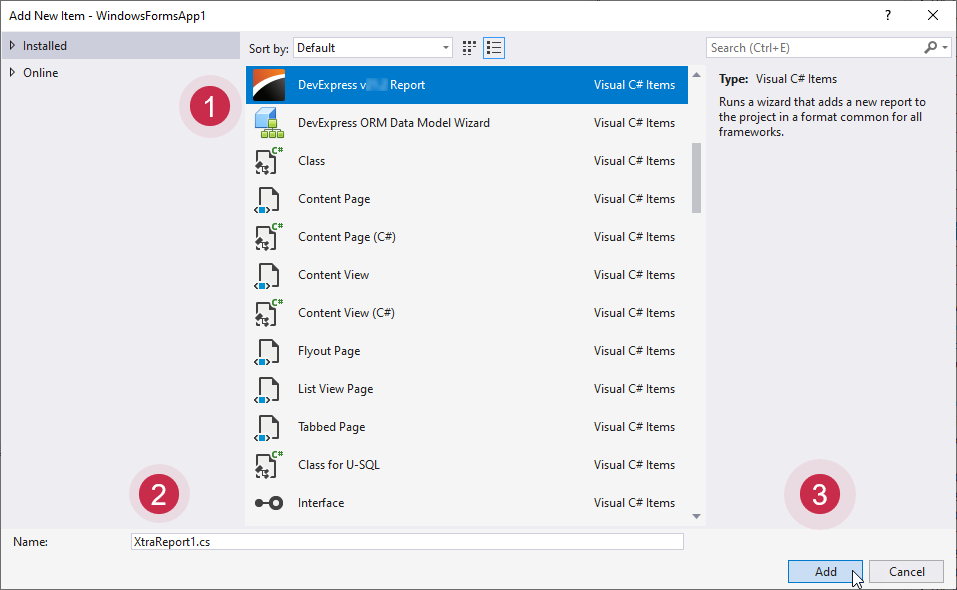
Select the DevExpress Report item, specify a report name, and click Add.
Select the report type in the Report Wizard and click Finish.

Note
In .NET/.NET Core projects, a template for inherited reports is not supported in the Report Wizard. In such projects, you can inherit from a report only in code.
Use Report Designer Elements
After you invoke the Report Designer, the following elements appear in Visual Studio:
- A window with the Designer, Preview, and Scripts tabs.
- The XtraReports menu.
- Dock panels.
The Designer, Preview, and Scripts Tabs
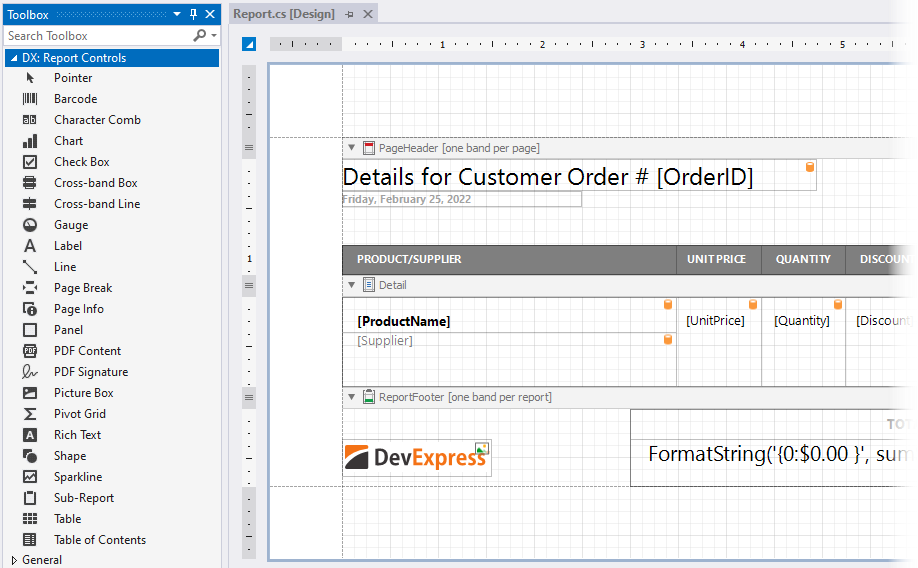
The Designer tab includes the design surface that consists of bands. You can drop report controls onto these bands to design a report layout.

The Preview tab allows you to generate and preview a report document.

In this tab, you can also do the following:
- Use the Parameters panel to specify values of report parameters.
- Save, print, export, or send the document by email.
- Configure page settings; scale, zoom, and navigate the document.
- Set up a background color and specify a watermark.
In the Scripts tab, you can write code to do custom calculations over report data.

Refer to the following topic for more information: Scripts Overview.
The XtraReports Menu

Use the XtraReports menu to do the following:
- Enable/disable dock panels.
- Invoke the Report Designer Options window (Designer Options).
- Open the DevExpress Reporting online documentation (Learn More Online).
- Get information about your DevExpress subscription (About).
Dock Panels
Field List – displays data fields available in the report’s data sources. You can drop each field onto the design surface to create a control bound to this field. You can also use the Field List to create, modify, or delete report parameters.

Report Explorer – displays a report structure in a tree-like form. Allows you to access report elements, rearrange them, change their settings, and add them to the Report Gallery as templates. You can also use the Report Explorer to add, modify, or delete report styles and report data sources.

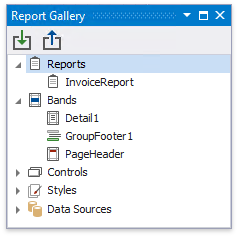
Report Gallery – allows you to store and reuse reports and their elements.
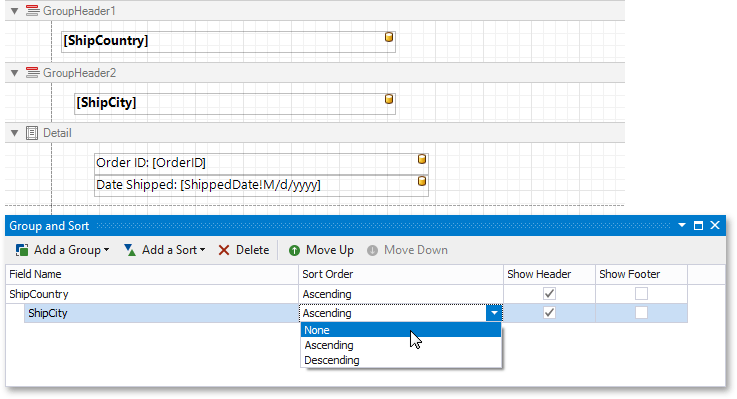
Group and Sort Panel – enables you to manage a report’s group and sort settings. This panel is active only when a report is bound to a data source.
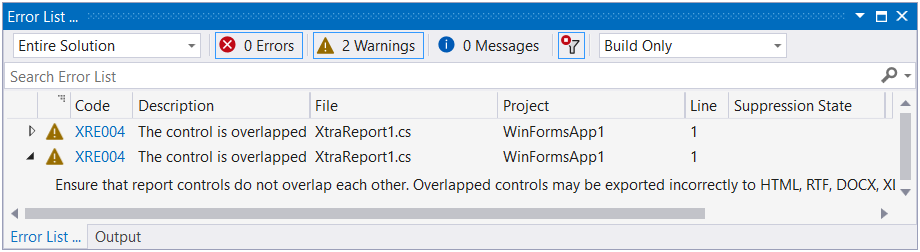
Error List – shows errors, warnings, and information messages that describe the issues in your application.
Specify Report Settings
Use the Report Designer Options window to specify report design-time settings.

Localize a Report
The Report Designer includes the Localization Editor, which allows you to localize a report.
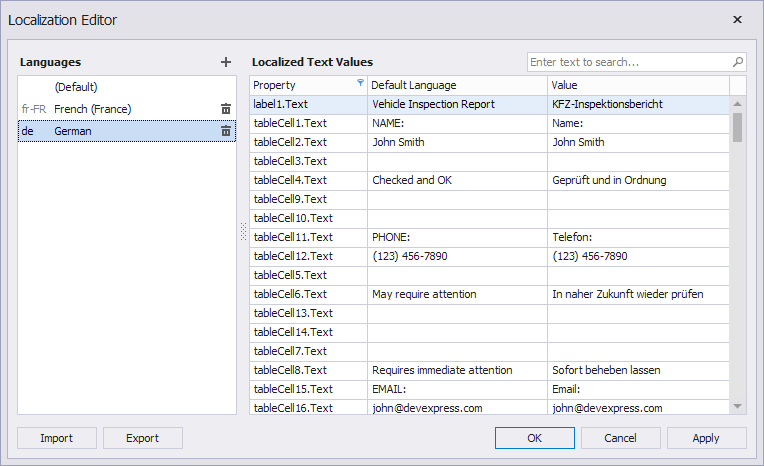
Refer to the following topic for more details: Localization Editor (Visual Studio IDE).
Save a Report
You can save a report and import it to another project, or open the report in the End-User Report Designer.
To save a report, click the report’s smart tag and click Save.

In the invoked Save as dialog, specify a file name and type.

The saved report is stored in a *.repx file. You can save a report in XML (Report XML Files) or CodeDOM (Report Files) format. We recommend that you always store and distribute your reports in XML format. Refer to the following topic for more information: Store Report Layouts and Documents.
Import a Report
Click the report’s smart tag and select the Open/Import action.

Select a *.repx file in the invoked Import Report dialog.

In Visual Studio, you can also import reports produced by third-party vendors. Refer to the following topic for more information: Convert Third-Party Reports to DevExpress Reports.
AI-powered Features
- AI-powered Report Generation
- Create report layouts directly within the Visual Studio Report Designer. With the DevExpress AI-powered Assistant for Visual Studio, you can connect to Azure OpenAI or OpenAI services and automatically generate reports based on natural language prompts.
- AI-powered Report Localization
- Translate report elements directly within the Visual Studio Report Designer. With the DevExpress AI-powered Assistant, you can connect to Azure OpenAI or OpenAI services and automatically localize report text into the target language.
Work with a Report in Code
The Report Designer serializes your report while you create it in Visual Studio. This serialization mechanism allows you to create an instance of your report in code. You can then modify, export, or print the created report without showing its preview, or pass the report instance to the Document Viewer or the End-User Report Designer.
The following example creates a report instance and exports it to PDF:
using System;
//...

var report = new XtraReport1();
report.ExportToPdf(Environment.GetFolderPath(
    Environment.SpecialFolder.UserProfile) + @"\Downloads\Report1.pdf"
);
Refer to the following help topics for more information:
Get Help on DevExpress Reporting API
You can open online documentation on a report control or its property from Visual Studio. Select a control in the Report Designer or click a property in the Properties window and press F1.
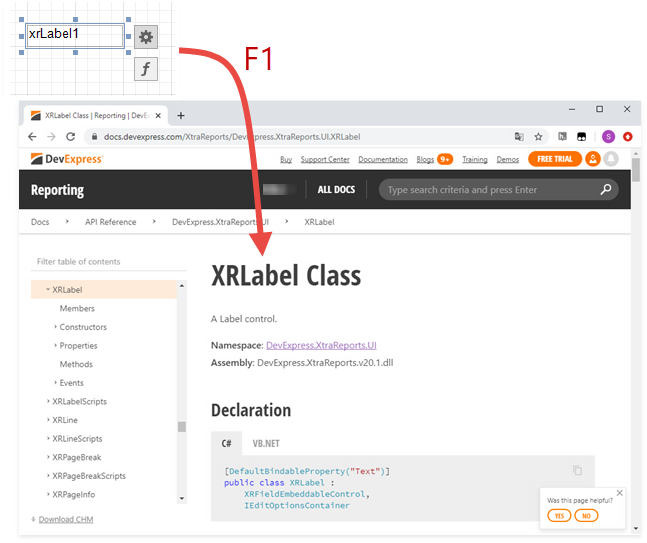
Refer to the following topic for more information: Get Help on DevExpress Reporting API.
Troubleshooting
If you encounter an error code or unexpected behavior while using the Visual Studio Report Designer, refer to the following guide for explanations: Troubleshooting.