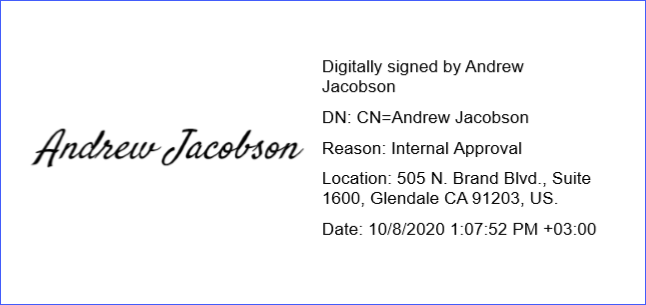
Create a Report with a Visual PDF Signature
- 2 minutes to read
This tutorial describes how to create a report with a visual PDF signature.
- View Online Demo.
- View Desktop Demo (the DevExpress Demo Center should be installed).
Tip
To get started with this tutorial, create a new project or open an existing project, then add a new blank report to the project.
Create a Report Layout
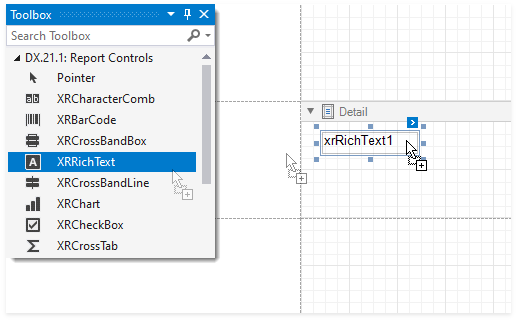
Drop the XRRichText control from the DX.21.2: Report Controls Toolbox tab onto the Detail band.
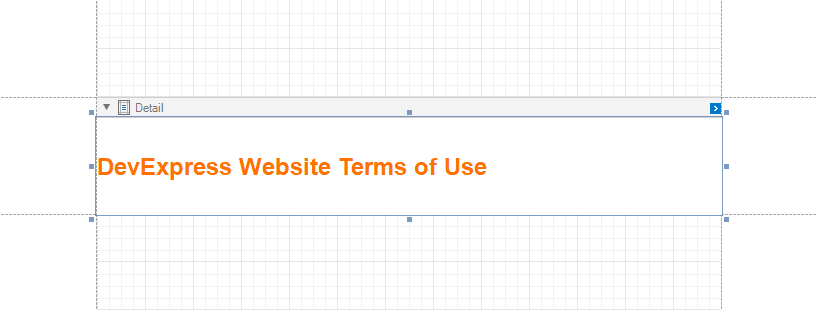
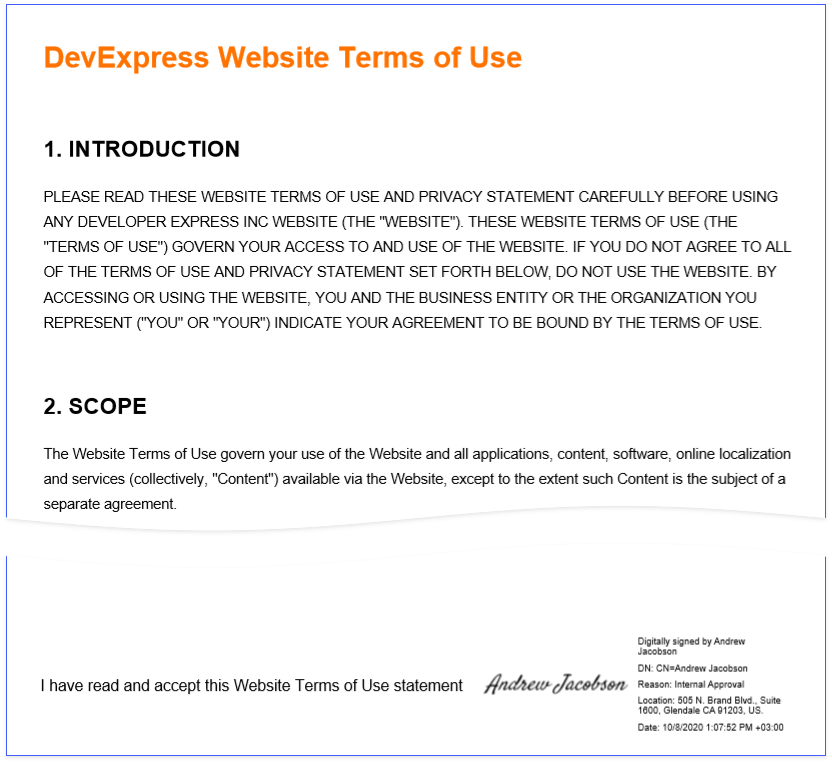
Double-click the control and insert text of the DevExpress Website Terms of Use.
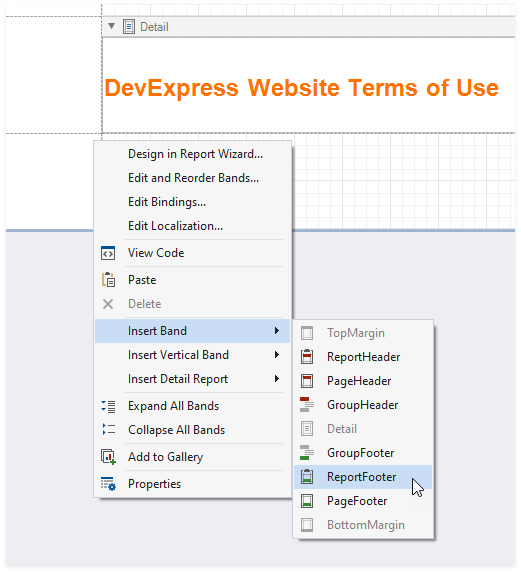
Right-click the design surface. Select Insert Band / ReportFooter from the context menu. Enable the footer band‘s PrintAtBottom property.
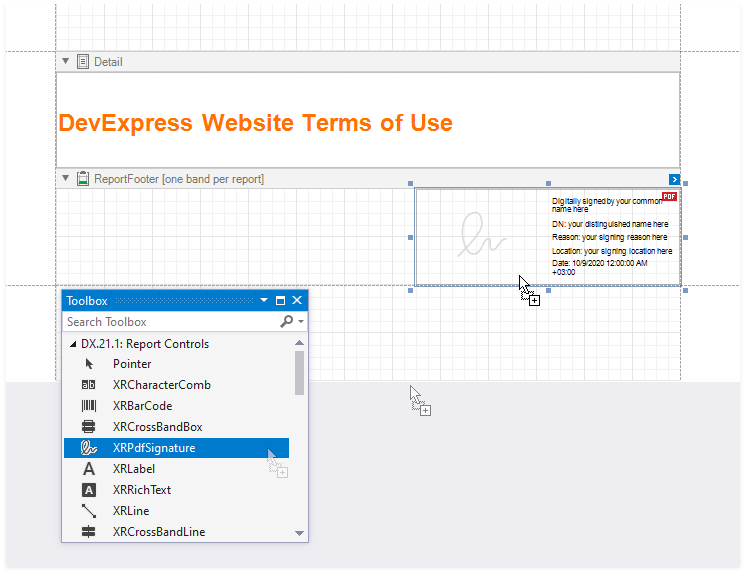
Drop the XRPdfSignature control from the DX.21.2: Report Controls Toolbox tab onto the Report Footer band.
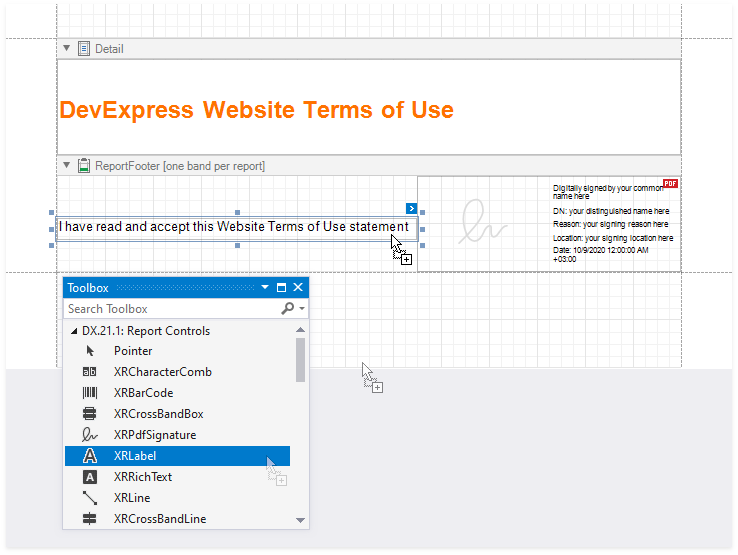
Place the XRLabel control to the left of the XRPdfSignature and add the following text: I have read and accept this Website Terms of Use statement.
Click the Preview tab to see the result.

Export and Sign the Report
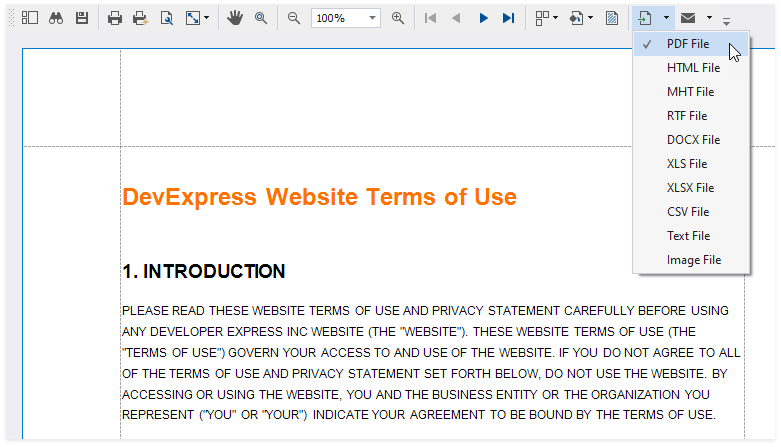
In Preview, click Export Document and select PDF File.
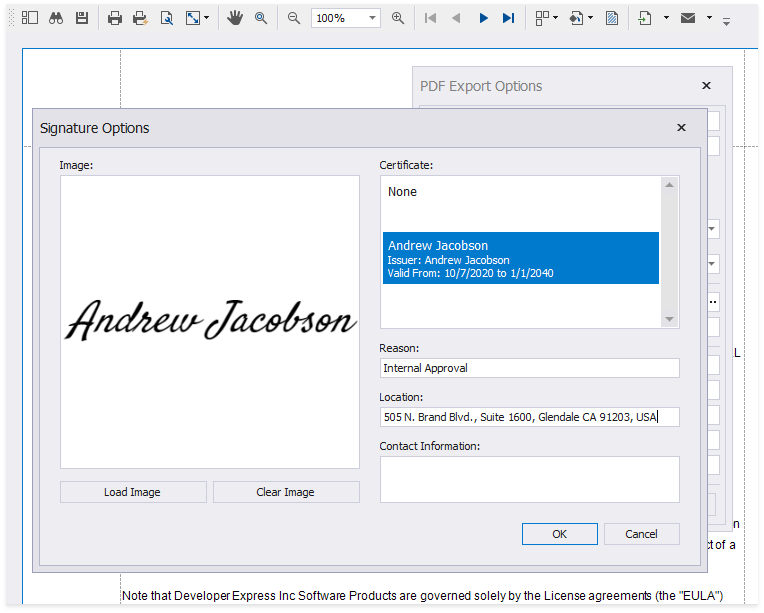
In the invoked PDF Export Options dialog, click the Digital Signature option’s ellipsis button.
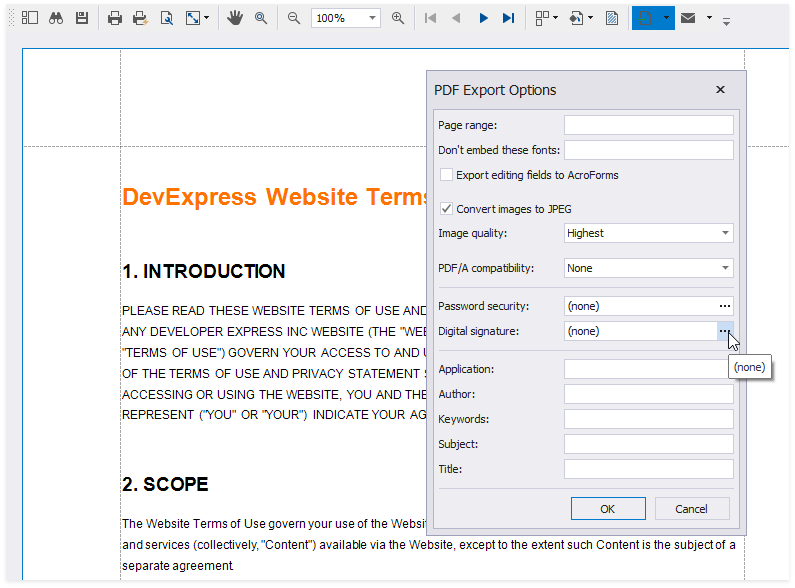
In the invoked Signature Options dialog, choose a certificate and specify signature details.
Save and open the document to see the final result.
Tip
All signature fields are displayed in the exported document. You can also hide unnecessary fields. See the XRPdfSignature control’s description for details on how to configure the fields.
PDF Signature Control Limitations
- The XRPdfSignature control is not exported to non-PDF formats. A placeholder is added to exported documents instead.
- The Web Document Viewer does not allow you to sign an exported document. The XRPdfSignature control’s Display Document Signature property is not in effect. You can add a signature to an exported file in a PDF editor.