Tutorial 4 - Customize Report Appearance
- 3 minutes to read
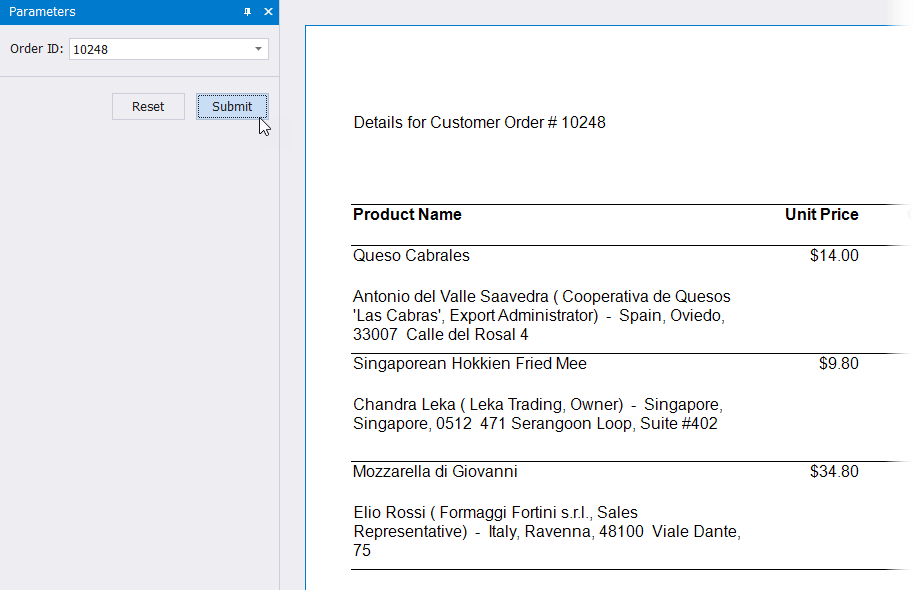
In the previous tutorial, we explained how to use report parameters to filter report data dynamically. Specifically, we created a parameter called Order ID and used this parameter to filter order records:
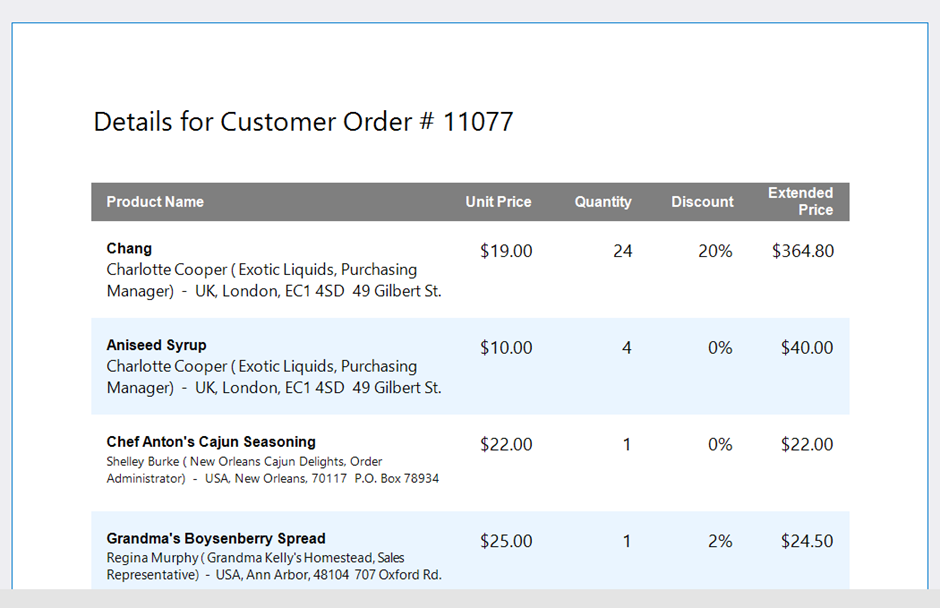
This tutorial describes how to use report styles to customize the appearance of reports and get a nice-looking report document:
Create Styles and Apply Them to the Report Table
Create Styles and Set Up Their Properties
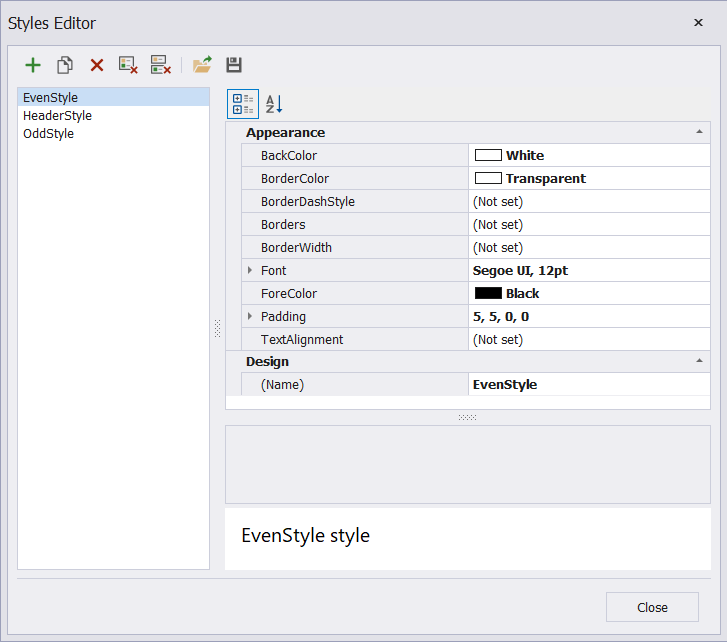
Create report styles to visually distinguish table headers and rows. Switch to the Report Explorer window, right-click the Styles item, and select Edit Styles from the context menu.

Add three new styles and specify their names as follows: HeaderStyle, OddStyle, EvenStyle. You can set up the BackColor, BorderColor, Font, Padding, and other properties for report styles. In this tutorial, we specify properties of the created styles as follows:
Property | HeaderStyle | OddStyle | EvenStyle |
|---|---|---|---|
| 127,127,127 | 234,245,255 | White |
| Gray | Transparent | Transparent |
| Segoe UI, 8pt, style=Bold | Segoe UI, 12pt | Segoe UI, 12pt |
| White | Black | Black |
| 0,5,0,0 | 5,5,0,0 | 5,5,0,0 |
Apply the Styles to the Table
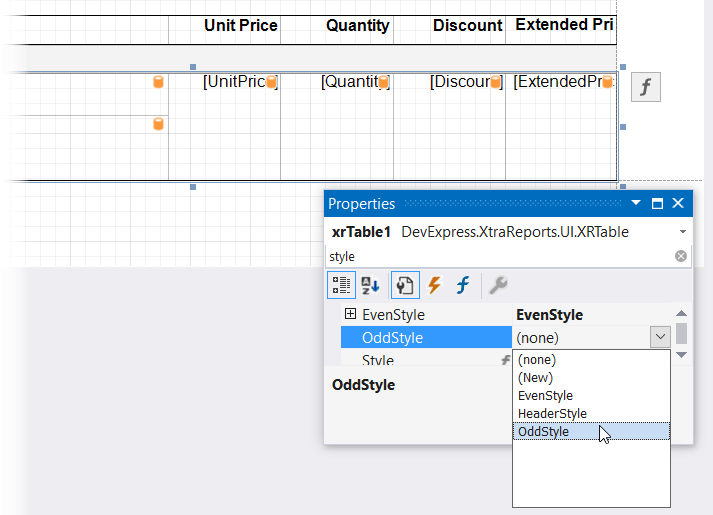
Select the table in the Detail band and assign the created EvenStyle and OddStyle styles to the table’s EvenStyle and OddStyle properties, respectively.
Tip
If a report control’s property value is stored both in a style applied to this control and in the control itself, the control’s StylePriority property is used to determine which of the values has higher priority. See the property description for more information: StylePriority Property.
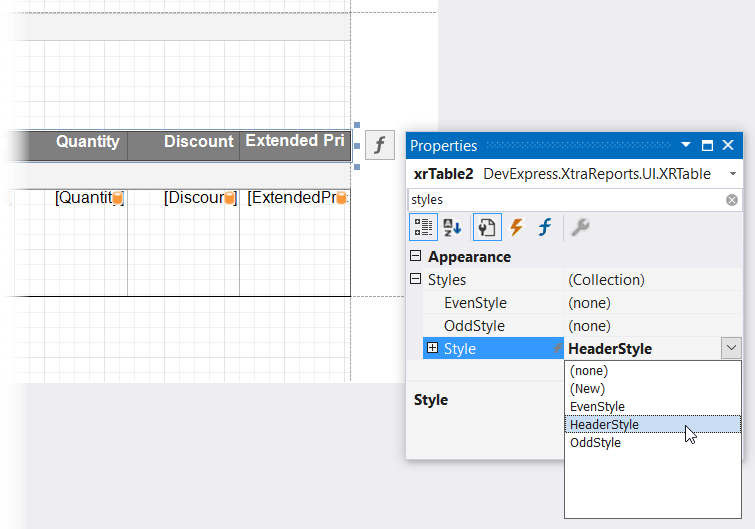
Select the table header and assign the HeaderStyle style to the header’s Style property.
Customize Font, Paddings, and Text Alignment for the Table Cells
In addition to styles, you can also configure table cell properties (such as Bold, Padding, TextAlignment, and others) to customize the report appearance. In this tutorial, we use the following property values for cells of the table in the Detail band:
Property | ProductName | Supplier | Other Cells |
|---|---|---|---|
| true | false | false |
| 15,5,0,2 | 15,5,0,10 | 2,15,15,0 |
| BottomLeft | TopLeft | TopRight |
For cells of the table in the GroupHeader band, we set the TextAlignment and Padding properties to values listed in the following table:
Property | ProductName | Other Cells |
|---|---|---|
| MiddleLeft | MiddleRight |
| 15,5,0,0 | 0,15,0,0 |
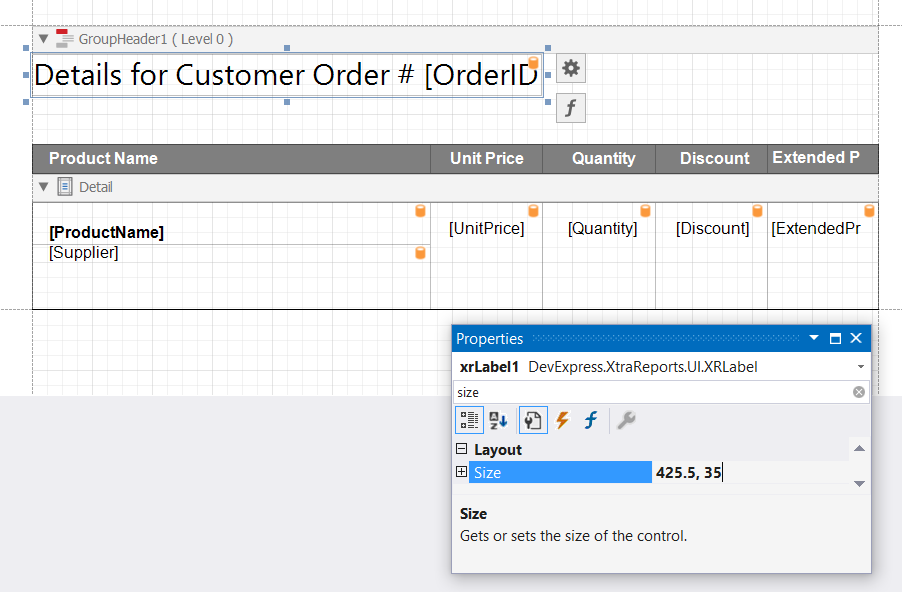
Select the label that displays an order ID. To make the order number more readable, set the label’s font size, Width, and Height properties to 18pt, 425.5, and 35, respectively. You can also configure the label’s Font property as required (in this tutorial, we set the label’s font to "Segoe UI").
Switch to the Preview tab and specify the order ID parameter value. The current version of your report document should look as follows:
Summary
In this tutorial, we created report styles and used them to customize the report appearance. For more information and examples, refer to the following documentation section: Customize Report Appearance.
The next tutorial explains how to group report data and calculate summaries. See the following topic for further instructions: Tutorial 5 - Group Report Data and Calculate Summaries.