Creating an Interactive E-Form
- 3 minutes to read
This tutorial describes how to create an electronic form in Visual Studio at design time and make this form fillable directly in Print Preview before printing or exporting it.
Tip
To get started with this tutorial, open an existing reporting application or create a new one from scratch. To learn how to create a reporting application on the platform of your choice, see Adding a Report to Your .NET Application.
This topic consists of the following sections:
Use a Preprinted Form Template
Use a picture watermark as a template to display an image of the preprinted form on the report’s body.
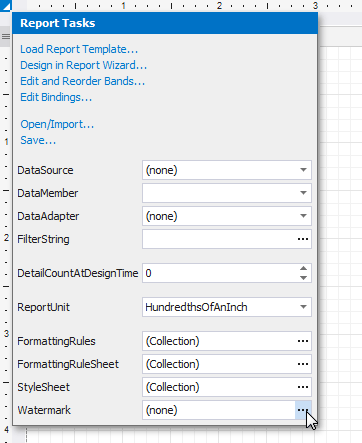
Cick the report’s smart tag, and in the invoked actions list, click the ellipsis button for the XtraReport.Watermark property.
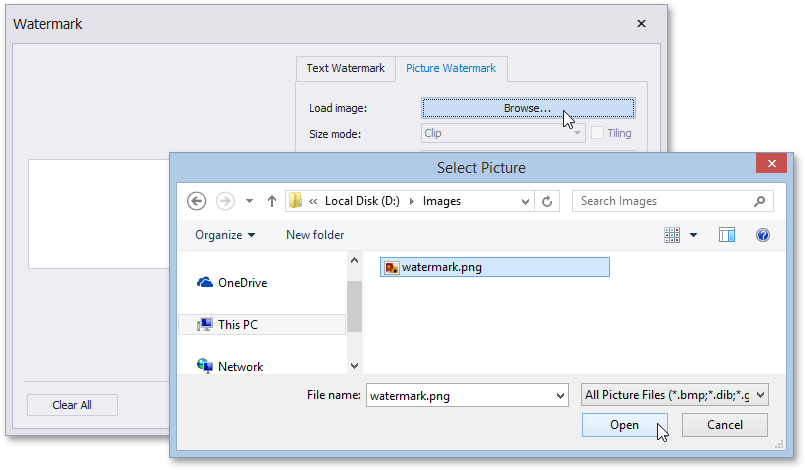
In the invoked Watermark dialog, switch to the Picrute Watermark tab and click the Browse button. In the Select Picture dialog, select the image file with a required preprinted form and click Open.
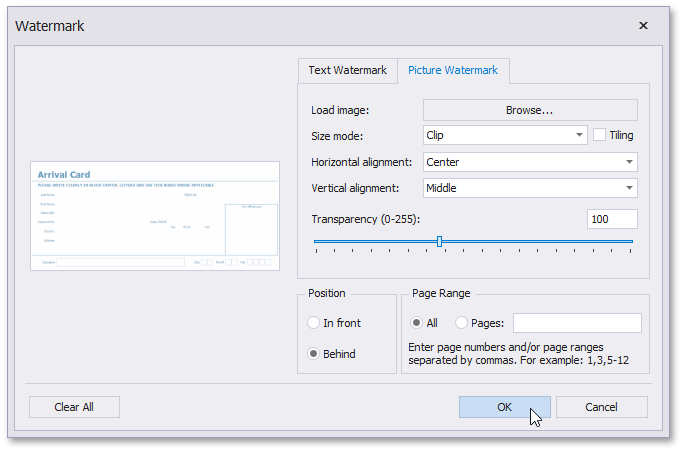
If required, specify the position, sizing mode, transparency and other options for the picture.
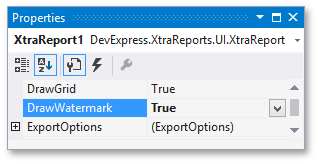
To display the watermark at design time, select the report, and in the Properties window, set its XtraReport.DrawWatermark property to True.
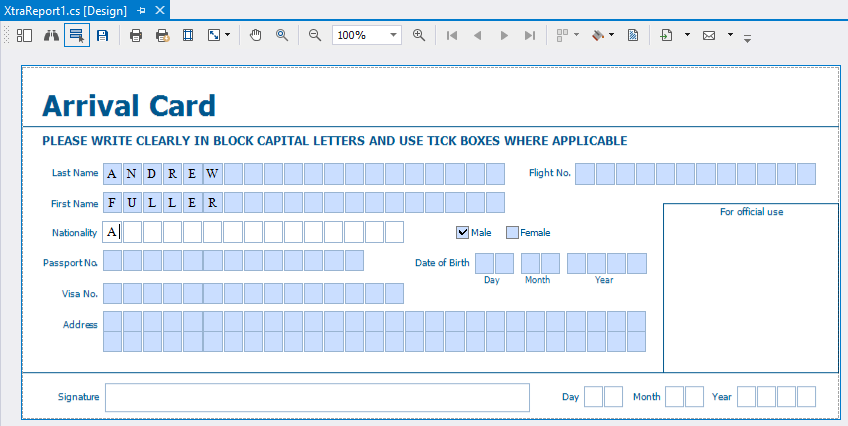
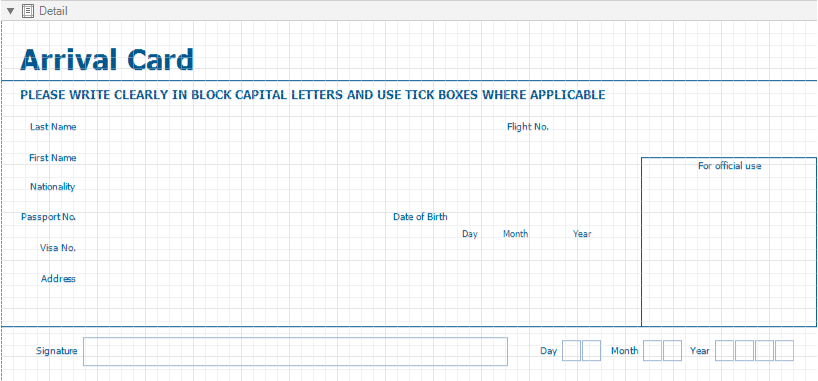
The following image illustrates a report with a watermark providing a template of the preprinted form at design time.
Provide Content Controls
The next step is to provide the report with controls whose content should be customizable in preview mode.
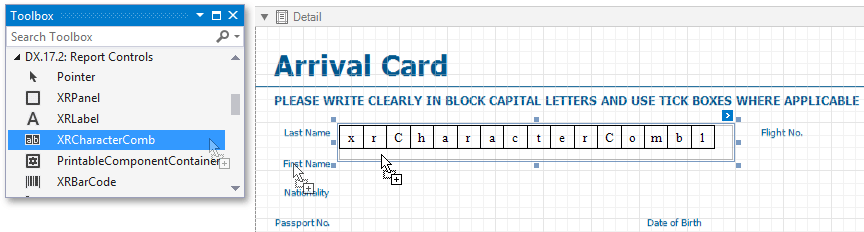
To allow entering characters in individual cells one by one, add the Character Comb controls to the report for all required fields.
For this, drop the XRCharacterComb item from the Toolbox onto the Detail band.
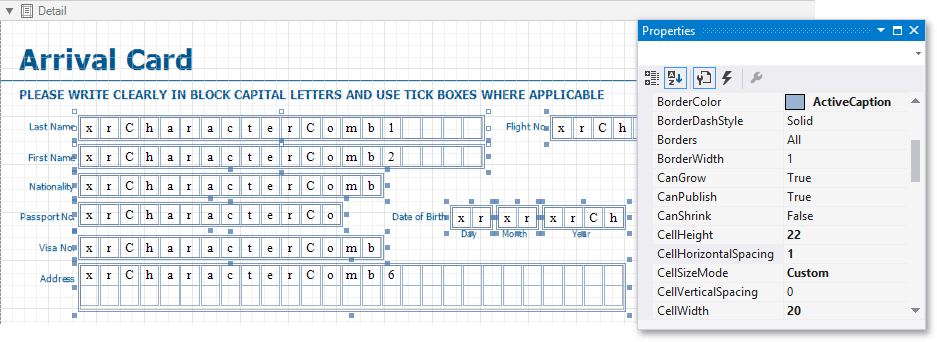
Then, select all the added controls, and in the Properties window, adjust cell settings (such as XRCharacterComb.CellSizeMode, XRCharacterComb.CellHeight, XRCharacterComb.CellWidth, etc.).
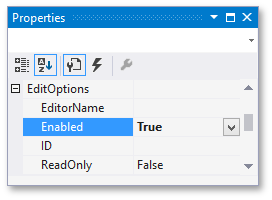
To enable content editing in Print Preview for the same controls, expand the XRLabel.EditOptions property and set the EditOptions.Enabled property to True.
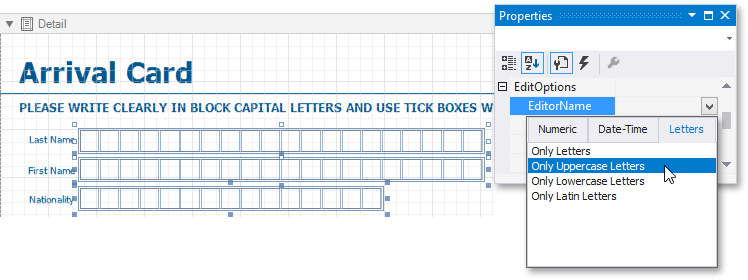
For controls intended for entering letters only, invoke a drop-down list for the TextEditOptions.EditorName property and select the required item from the Letters category to assign an editor with the corresponding mask.
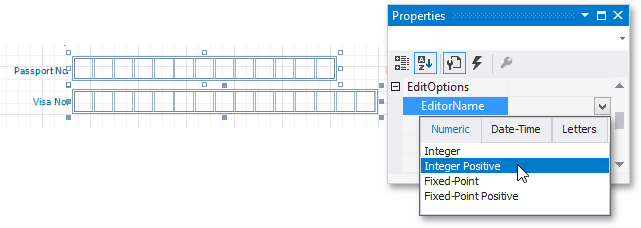
To provide a mask for editing integer values, set the TextEditOptions.EditorName property to Integer Positive
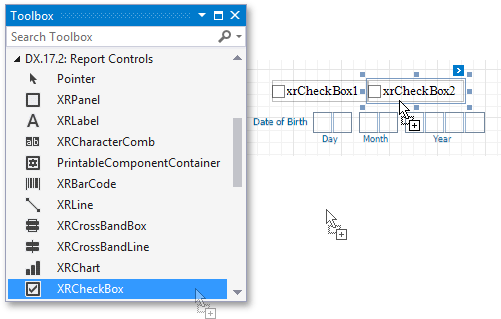
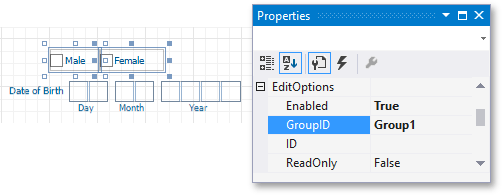
Add two Check Box controls to the report for selecting a gender. Then, change their text and appearance settings.
To enable switching check box states in Print Preview, set the EditOptions.Enabled property to True as you did before. To allow selecting only one option at a time, combine these check boxes into a logical group by specifying the same value for the CheckEditOptions.GroupID property.
Get the Result
The e-form report is now ready. Switch to the Preview tab to view the result.
To highlight all editing fields available in the form, click the ![]() button on the Print Preview toolbar. Clicking a field will invoke the appropriate editor. To apply the entered values and navigate between editing fields, use the TAB and SHIFT+TAB key combinations.
button on the Print Preview toolbar. Clicking a field will invoke the appropriate editor. To apply the entered values and navigate between editing fields, use the TAB and SHIFT+TAB key combinations.