Lesson 1 - Add a GridControl to a Project
- 2 minutes to read
This tutorial demonstrates how to add a GridControl to your project and bind the control to a database:
Download the following blank sample project with an adjusted database connection:
Note
GitHub Example: https://github.com/DevExpress-Examples/wpf-blank-app-with-the-northwind-database.
Create a ViewModel:
using DevExpress.Mvvm; using System.Collections.ObjectModel; using System.Data.Entity; namespace WPFBlankAppWithDatabase { public class ViewModel : ViewModelBase { NorthwindEntities northwindDBContext; public ViewModel() { if (IsInDesignMode) { Orders = new ObservableCollection<Order>(); } else { northwindDBContext = new NorthwindEntities(); northwindDBContext.Orders.Load(); Orders = northwindDBContext.Orders.Local; } } public ObservableCollection<Order> Orders { get => GetValue<ObservableCollection<Order>>(); private set => SetValue(value); } } }Note
To use the Order object’s properties at design time without a direct database connection, add an empty Orders collection to the ViewModel.
Add the GridControl toolbox item to your project:
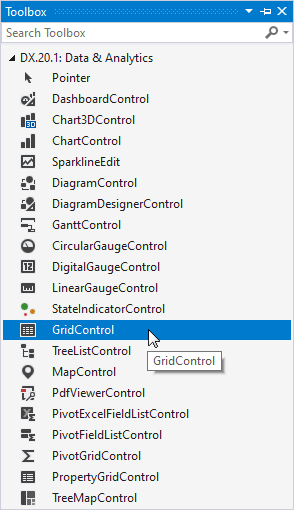
Visual Studio performs the following actions:
Adds the following references to the project:
- DevExpress.Data.Desktop.v20.1
- DevExpress.Data.v20.1
- DevExpress.Mvvm.v20.1
- DevExpress.Printing.v20.1.Core
- DevExpress.Xpf.Core.v20.1
- DevExpress.Xpf.Grid.v20.1
- DevExpress.Xpf.Grid.v20.1.Core
Generates the code below:
<dx:ThemedWindow
    xmlns="http://schemas.microsoft.com/winfx/2006/xaml/presentation"
    xmlns:x="http://schemas.microsoft.com/winfx/2006/xaml"
    xmlns:dx="http://schemas.devexpress.com/winfx/2008/xaml/core"
    xmlns:dxg="http://schemas.devexpress.com/winfx/2008/xaml/grid"
    x:Class="WPFBlankAppWithDatabase.MainWindow"
    Title="MainWindow" Height="450" Width="800">
    <dxg:GridControl AutoGenerateColumns="AddNew"
                     EnableSmartColumnsGeneration="True"
                     HorizontalAlignment="Left"
                     VerticalAlignment="Top">
        <dxg:GridControl.View>
            <dxg:TableView ShowTotalSummary="True"/>
        </dxg:GridControl.View>
    </dxg:GridControl>
</dx:ThemedWindow>
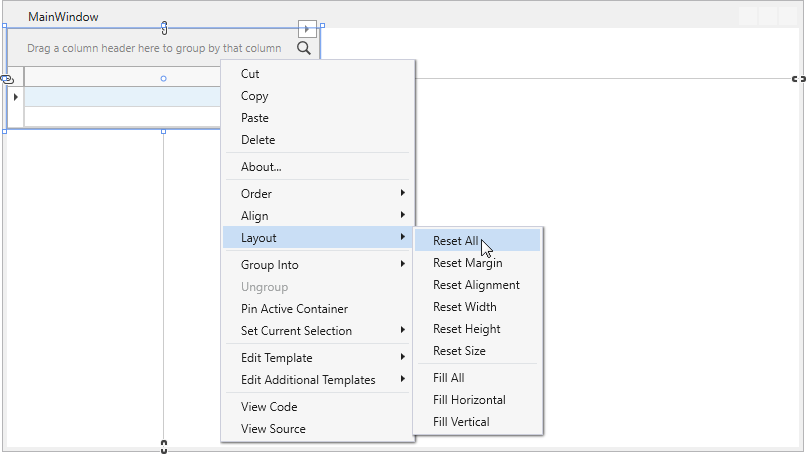
Right-click the GridControl and select Layout - Reset All to make it fill the entire window:
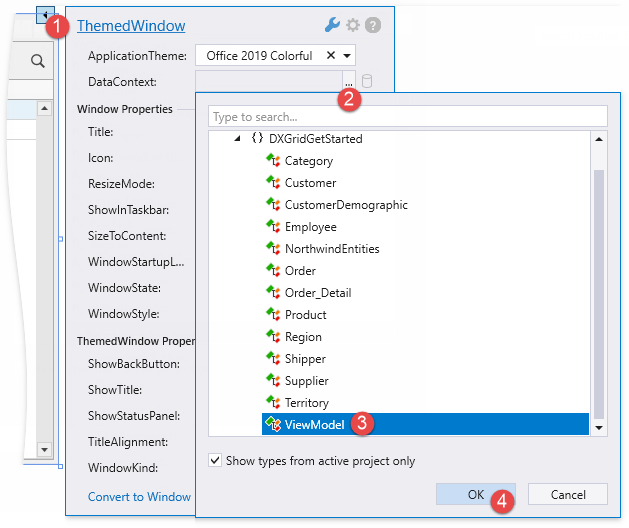
Build the solution to make the ViewModel class visible in the window’s smart tag DataContext menu.
Open the ThemedWindow‘s smart tag menu and define the window’s data context:
You can also define the window’s data context in code:
<dx:ThemedWindow
    ...
    xmlns:local="clr-namespace:WPFBlankAppWithDatabase">
    <dx:ThemedWindow.DataContext>
        <local:ViewModel/>
    </dx:ThemedWindow.DataContext>
Open the GridControl‘s smart tag menu and specify the ItemsSource:
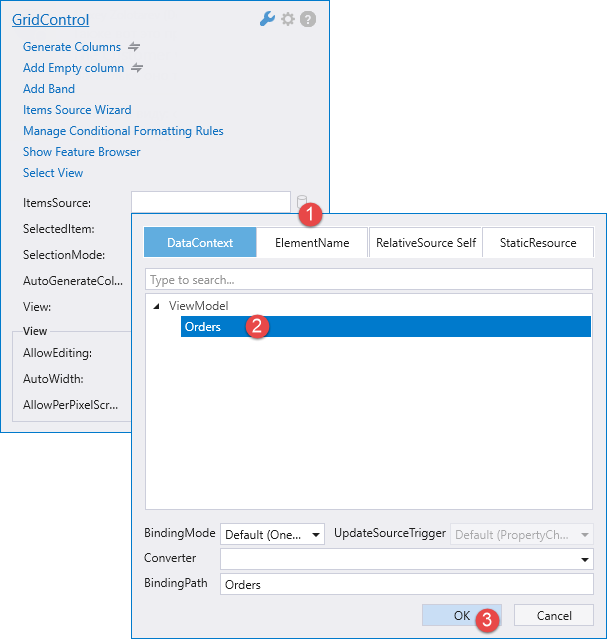
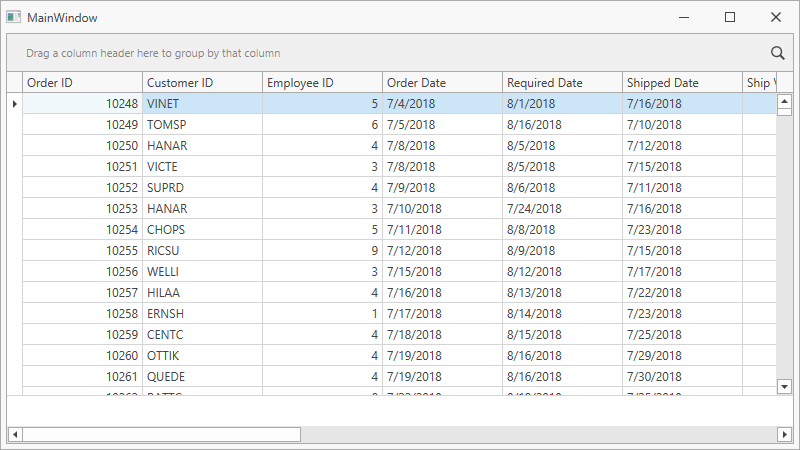
To bind the GridControl to data in code, specify the DataControlBase.ItemsSource property:
<dxg:GridControl AutoGenerateColumns="AddNew"
                 EnableSmartColumnsGeneration="True"
                 ItemsSource="{Binding Orders}">
    <dxg:GridControl.View>
        <dxg:TableView ShowTotalSummary="True"/>
    </dxg:GridControl.View>
</dxg:GridControl>
Run the project. The GridControl generates columns for all fields from a bound data source: