Getting Started
- 3 minutes to read
This topic describes how to create a .NET application, configure it to use DevExpress WPF controls, and add the Spreadsheet control.

Prerequisites
Refer to the DevExpress Unified Component Installer section for detailed information on how to download and install DevExpress .NET products.
Note
We implemented a new dotnet CLI-powered Project Wizard you can use across multiple IDEs. The new wizard suggests many additional presets: Cross-IDE Project Template Kit.
Create a New Project
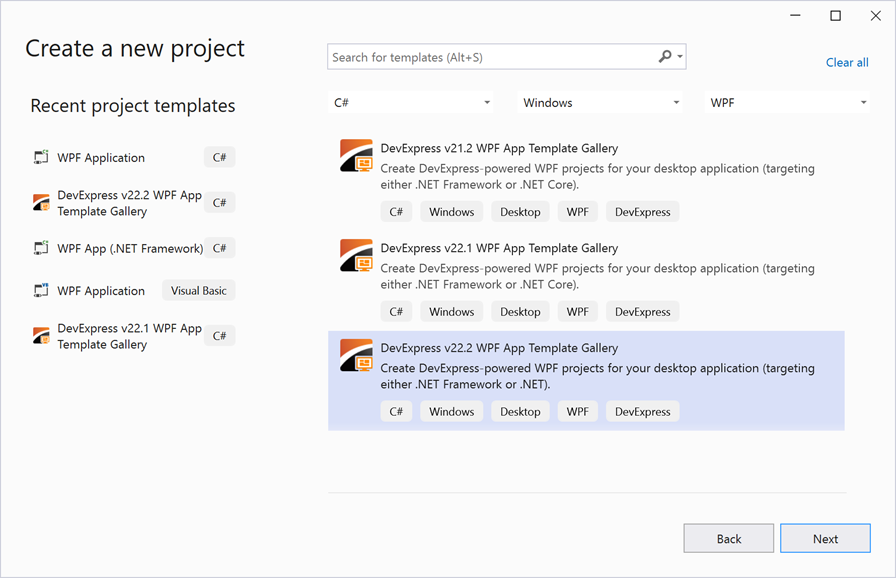
Open Visual Studio and create a new project. Choose the DevExpress v25.2 WPF App Template Gallery template.
Specify the project name and location.

In the DevExpress Template Gallery, select the .NET platform, the Blank Application template, and the .NET 6.0 version.

Use a NuGet Feed
If you add the DevExpress products using a NuGet feed instead of the Unified Component Installer, the DevExpress v25.2 WPF App Template Gallery template is not available. Use the WPF Application template to create a new project.

When the wizard prompts you for the target framework, select .NET 6.0.
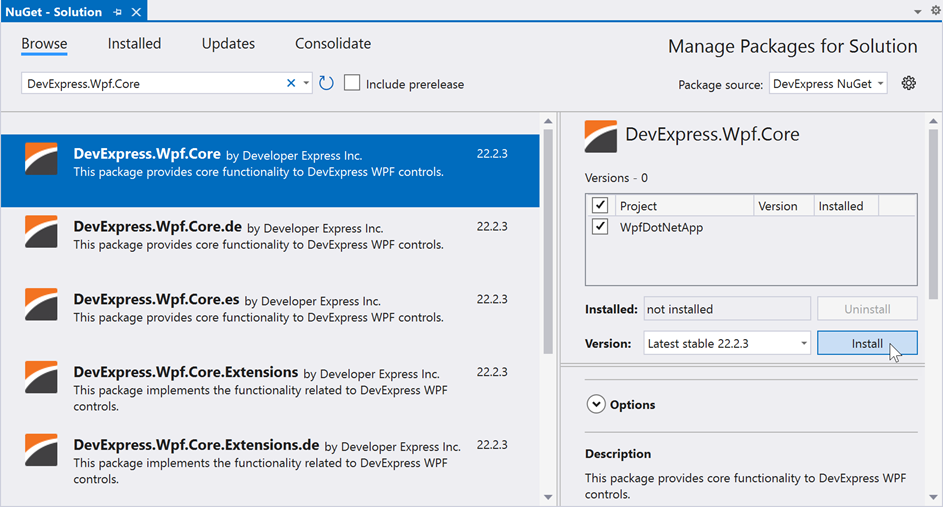
Go to Tools | NuGet Package Manager | Manage NuGet Packages for Solution.
In the “Browse” tab, search for the ‘DevExpress.Wpf.Core’ keyword and install the DevExpress.Wpf.Core package for the current project. Accept the license agreement.
Add Themes
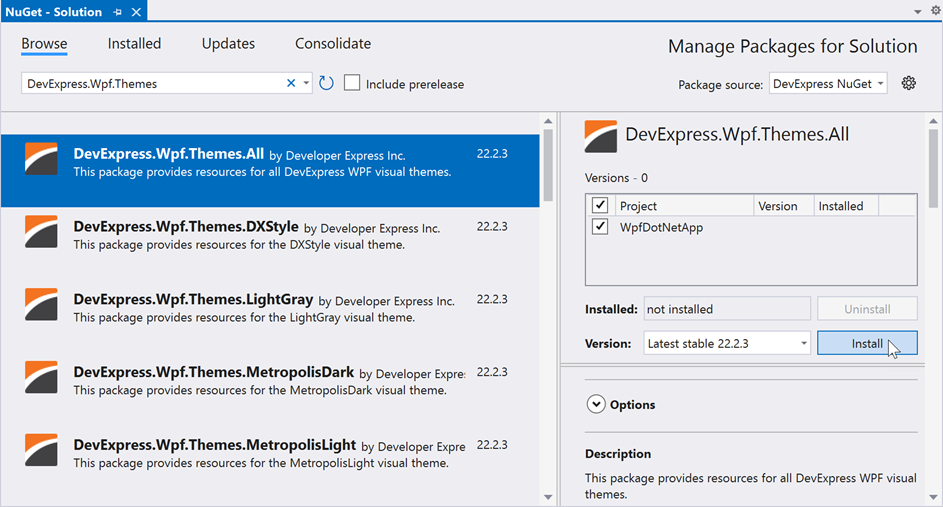
- Go to Tools | NuGet Package Manager | Manage NuGet Packages for Solution.
In the “Browse” tab, search for the ‘DevExpress.Wpf.Themes’ keyword and install a theme package for the current project. You can use the DevExpress.Wpf.Themes.All package to install all themes. You can add individual theme packages instead to reduce the application size. Accept the license agreement.
Build the solution.
Refer to the following topic for information on how to install and manage DevExpress packages in your projects with the DevExpress NuGet feed: Choose Between Offline and Online DevExpress NuGet Feeds.
Add a Control
Open MainWindow.xaml.
Drag the Spreadsheet control from the Visual Studio Toolbox to the XAML code.
When you use the toolbox to add controls, the corresponding NuGet packages are automatically added to the solution.
Tip
If you add the DevExpress products with a NuGet feed instead of the Unified Component Installer, the toolbox doesn’t contain DevExpress controls until you add the corresponding NuGet package.
Go to Tools | NuGet Package Manager | Manage NuGet Packages for Solution and add the DevExpress.Wpf.Spreadsheet NuGet package.
Change the application markup as follows:
<dx:ThemedWindow x:Class="WpfDotNetApp.MainWindow"
    xmlns="http://schemas.microsoft.com/winfx/2006/xaml/presentation"
    xmlns:x="http://schemas.microsoft.com/winfx/2006/xaml"
    xmlns:dx="http://schemas.devexpress.com/winfx/2008/xaml/core"
    xmlns:dxsps="http://schemas.devexpress.com/winfx/2008/xaml/spreadsheet"
    xmlns:local="clr-namespace:WpfDotNetApp"
    Title="MainWindow" Height="450" Width="800">
    <Grid>
        <dxsps:SpreadsheetControl CommandBarStyle="Ribbon" ShowFormulaBar="True"/>
    </Grid>
</dx:ThemedWindow>
Build and run the solution.