Lesson 5 - Create an Application Using the Instant Layout Assistant (for VS 2015 and earlier)
- 2 minutes to read
Important
The Instant Layout Assistant is not supported in Microsoft Visual Studio 2017. Use the approach described in the Lesson 1 - Create a Simple Rich Text Editor document to create a rich edit application.
This topic demonstrates how to create a simple application with the RichEditControl using the Instant Layout Assistant. The Instant Layout Assistant provides you with the option to select the required application template when the project is already created.
Create a new WPF Application project and open the MainWindow.xaml file in the Visual Studio Designer.
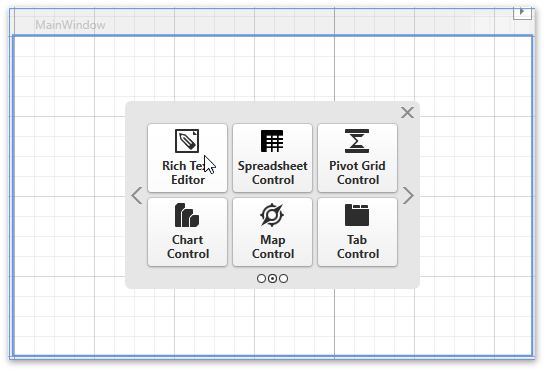
In an empty design space, you can see The Instant Layout Assistant. Click the Rich Text Editor tile.
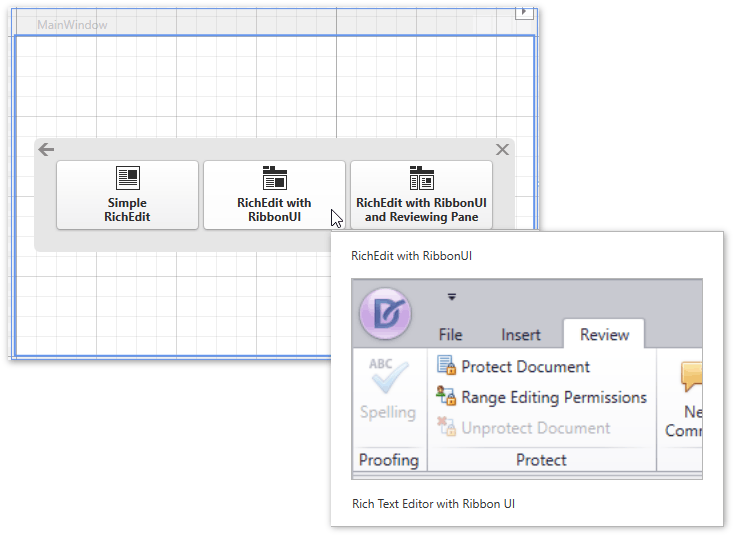
At the next level, you can select any layout configurations for the selected Rich Edit control. In this tutorial, the Rich Edit with Ribbon UI is selected.
Tip
If the main window does not display the Instant Layout Assistant, you can add it from the main Visual Studio menu by selecting DEVEXPRESS | WPF Controls v19.1 | Enable Instant Layout Assistant.
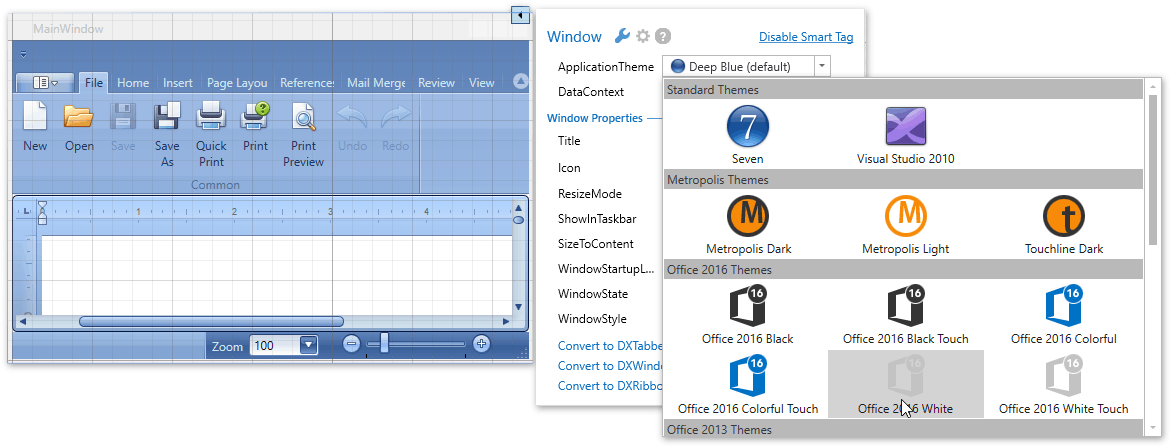
Specify the application’s theme. To do that, click the Window‘s smart tag, and select the preferred theme from the ApplicationTheme drop-down menu.
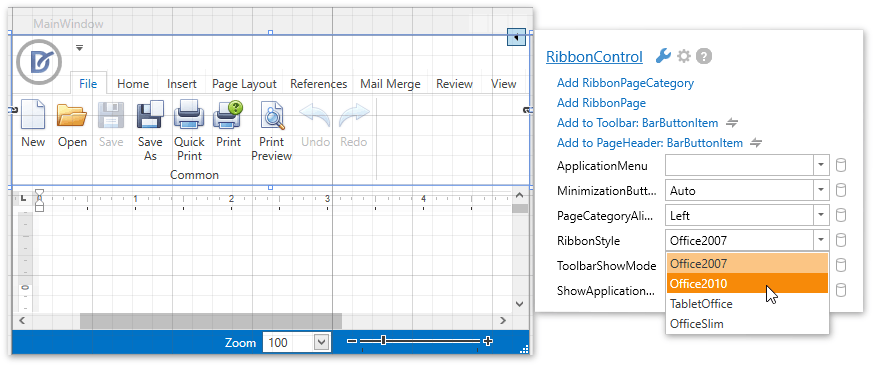
Also, you can specify the ribbon’s style, by clicking the Ribbon Control’s smart tag and selecting the required style from the RibbonStyle drop-down menu.
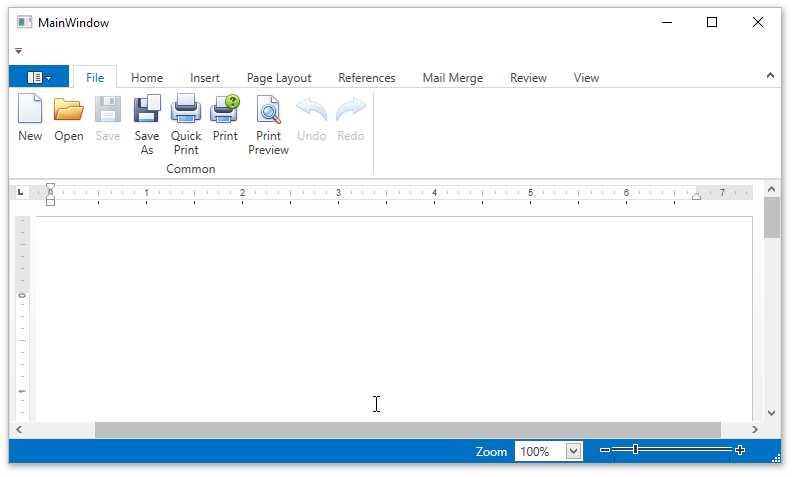
Run the application. As a result, you now have a project with the Rich Edit Control and Ribbon Control in the Main Window.