Lesson 2 - Create Separate Command UI for a Rich Text Editor
- 3 minutes to read
This topic describes how you can add ribbon or bar UI to the WPF Rich Text Editor to provide end-users with a familiar Office-inspired interface.
Note
The newly created WPF Rich Text Editor application already contains the integrated ribbon with all available ribbon pages. You can customize the integrated ribbon user interface by adding new ribbon elements, modifying or removing the existing ones. Refer to the Lesson 3 - Customize the Integrated Ribbon UI topic for example.
This tutorial consists of the following sections:
Create a Rich Text Editor Application
Create a new WPF Application project and Add the RichEditControl object to your project. You can do this by dragging the RichEditControl item from the DX.19.1: Rich Text Editor Toolbox tab to the canvas.

Right-click the RichEditControl object and select Layout | Reset All to stretch the RichEditControl to fill the entire window.
After this, your XAML should look like the following. (If it does not, you can overwrite your code.)
<Window xmlns="http://schemas.microsoft.com/winfx/2006/xaml/presentation"
        xmlns:x="http://schemas.microsoft.com/winfx/2006/xaml"
        xmlns:d="http://schemas.microsoft.com/expression/blend/2008"
        xmlns:mc="http://schemas.openxmlformats.org/markup-compatibility/2006"
        xmlns:local="clr-namespace:WpfApplication1"
        xmlns:dxre="http://schemas.devexpress.com/winfx/2008/xaml/richedit" x:Class="WpfApplication1.MainWindow"
        mc:Ignorable="d"
        Title="MainWindow" Height="350" Width="525">
    <Grid>
        <dxre:RichEditControl CommandBarStyle="Ribbon"/>
    </Grid>
</Window>
Note that you can add the RichEditControl by overwriting your MainWindow.xaml file with this code without dragging the RichEditControl control to the window. However, in this case, you need to manually add references to the following libraries.
- DevExpress.Data.v19.1.dll
- DevExpress.Mvvm.v19.1.dll
- DevExpress.Office.v19.1.Core.dll
- DevExpress.Pdf.v19.1.dll
- DevExpress.Printing.v19.1.Core.dll
- DevExpress.RichEdit.v19.1.Core.dll
- DevExpress.Images.v19.1.dll
- DevExpress.Xpf.Core.v19.1.dll
- DevExpress.Xpf.Docking.v19.1.dll
- DevExpress.Xpf.DocumentViewer.v19.1.dll
- DevExpress.Xpf.Layout.v19.1.Core.dll
- DevExpress.Xpf.Printing.v19.1.dll
- DevExpress.Xpf.Ribbon.v19.1.dll
- DevExpress.Xpf.RichEdit.v19.1.dll
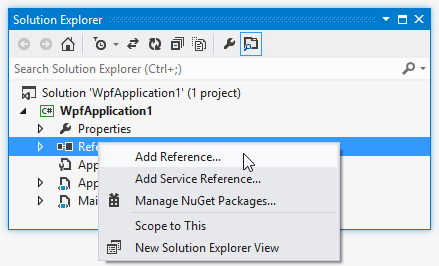
To add references, right-click the References node in the Solution Explorer and select Add Reference… in the invoked context menu. Refer to the Redistribution and Deployment article for a full list or required assemblies.
Note
Normally, when adding references to these assemblies, you should choose them from the Global Assembly Cache (GAC). However, if you prefer to copy them locally, or need to include them later into your product’s installation, you can find copies of them in the following directory.
C:\Program Files (x86)\DevExpress 19.1\Components\Bin\Framework\
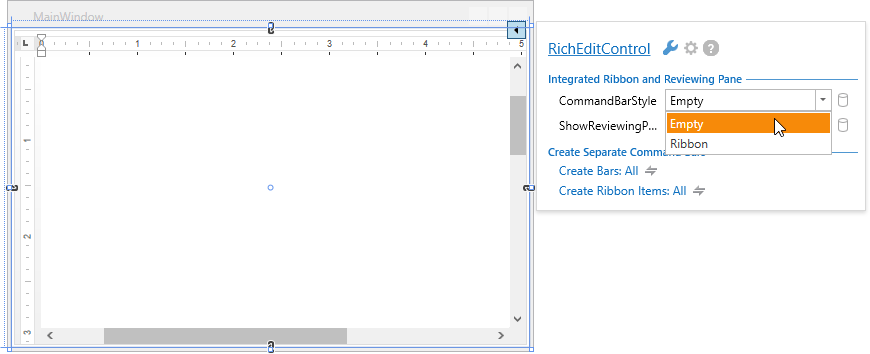
Click the RichEditControl’s smart tag. In the invoked menu, under Integrated Ribbon and Reviewing Pane, select Empty from the CommandBarStyle drop-down list.
Create a Ribbon UI
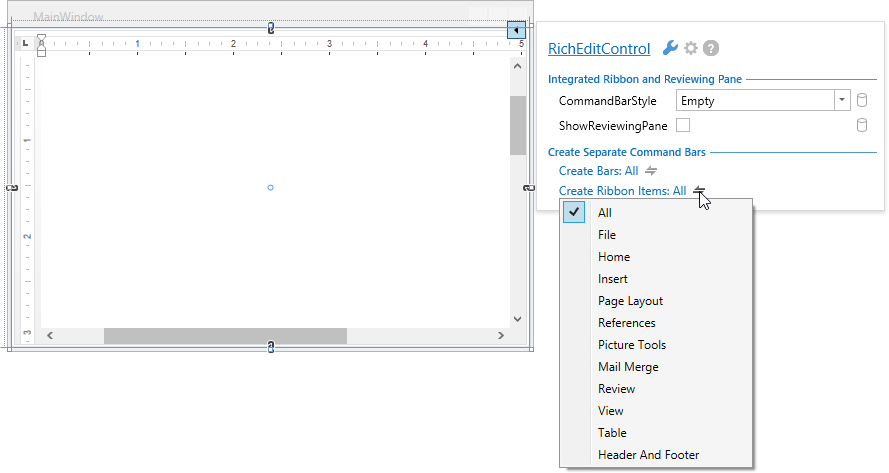
Right-click the RichEditControl in the Visual Studio Designer, and select Create Ribbon Items in the invoked context menu. You can add required ribbon pages individually, or select All to add all available ribbon pages at once.
Create a Bar UI
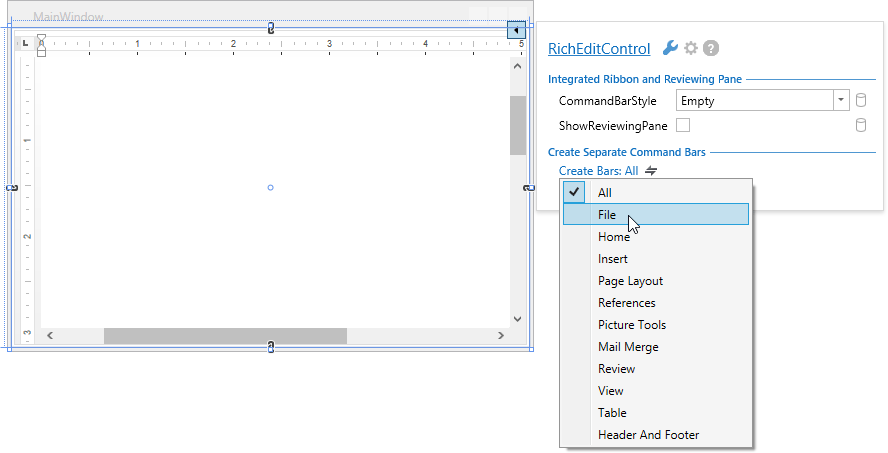
Right-click the RichEditControl in the Visual Studio Designer, and select Create Bars in the invoked context menu. You can add required bar items individually, or select All to add all available bars at once.
Note
Commands executed using the Bar (Ribbon) user interface can throw unhandled exceptions if a problem occurs. Consider the situation when a document is being saved to a locked or read-only file. To prevent application failure, subscribe to the RichEditControl.UnhandledException event and set the RichEditUnhandledExceptionEventArgs.Handled property to true.
Delete Command UI Items
Note
This section is not applicable to the integrated Ribbon UI (created using the RichEditControl.CommandBarStyle property).
To delete the desired command UI item, right-click the corresponding bar button item at design-time and select Delete BarButtonItem in the invoked context menu…
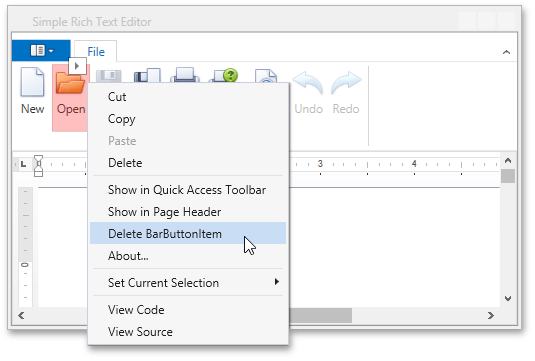
…or comment or delete the corresponding BarButtonItem and BarButtonItemLink in your XAML file. The code sample below shows how the Open button is represented in XAML:
<dxb:BarButtonItem x:Name="biFileOpen" Command="{Binding FileOpen,
Mode=OneTime, Source={StaticResource commands}}"/>
<dxb:BarButtonItemLink BarItemName="biFileOpen"/>