How to: Show and Hide a Worksheet
- 2 minutes to read
Important
You need a license for the DevExpress Office File API Subscription or DevExpress Universal Subscription to use these examples in production code.
This example demonstrates how to manage worksheet visibility in a workbook. To do this, use the following properties.
-
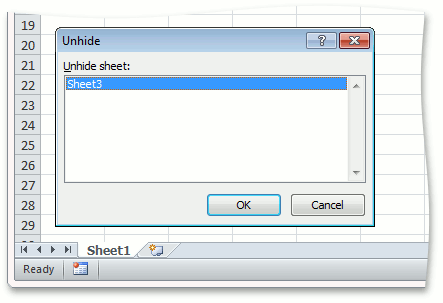
Set this property to false to hide a worksheet. To make a worksheet visible again, you can set the Visible property to true or the Worksheet.VisibilityType property to the WorksheetVisibilityType.Visible enumeration member. End-users can show a hidden worksheet via the user interface (for example, when opening a workbook in Microsoft® Excel® or SpreadsheetControl).
-
Setting this property to WorksheetVisibilityType.Hidden is equivalent to setting the Worksheet.Visible property to false - the hidden worksheet can be shown again by end-users via the user interface (for example, Microsoft® Excel® or SpreadsheetControl).
The VisibilityType property also allows you to hide a worksheet so that it becomes impossible for end-users to access this worksheet. To do this, mark a worksheet as “very hidden” by setting the VisibilityType property to WorksheetVisibilityType.VeryHidden. To show a worksheet again, set the Visible property to true or VisibilityType to WorksheetVisibilityType.Visible.
Note
A workbook must always contain at least one visible worksheet.
// Hide the worksheet under the "Sheet2" name and prevent end-users from unhiding it via user interface.
// To make this worksheet visible again, use the Worksheet.Visible property.
workbook.Worksheets["Sheet2"].VisibilityType = WorksheetVisibilityType.VeryHidden;

// Hide the "Sheet3" worksheet.
// In this state a worksheet can be unhidden via user interface.
workbook.Worksheets["Sheet3"].Visible = false;
After executing the code above, the “Sheet2” worksheet is hidden, and cannot be accessed by an end-user in Microsoft® Excel®. The “Sheet3” worksheet is also hidden, but its visibility can be restored by an end-user.
