Visual Web Part Creation
- 2 minutes to read
This tutorial illustrates how to use DevExpress ASP.NET controls in a standard Visual Studio Visual Web Part project.
Requirements
- Install all required DevExpress assemblies into the GAC. Refer to the Installation and Deployment topic to learn how to do this.
Register the ASPxHttpHandlerModule module entry in the target SharePoint site Web.config.
The code sample below demonstrates how to register the ASPxHttpHandlerModule module.
Registration for Version 14.2 and newer
<?xml version="1.0" encoding="UTF-8" standalone="yes"?>
<configuration>
  ...
  <system.webServer>
    ...
    <modules runAllManagedModulesForAllRequests="true">
      ...
      <add type="DevExpress.Web.ASPxHttpHandlerModule, DevExpress.Web.v18.2, Version=18.2.10.0, Culture=neutral, PublicKeyToken=b88d1754d700e49a" name="ASPxHttpHandlerModule" />
    </modules>
  </system.webServer>
</configuration>
Registration for Version 14.1 and older
<?xml version="1.0" encoding="UTF-8" standalone="yes"?>
<configuration>
  ...
  <system.webServer>
    ...
    <modules runAllManagedModulesForAllRequests="true">
      ...
      <add type="DevExpress.Web.ASPxClasses.ASPxHttpHandlerModule, DevExpress.Web.v14.1, Version=14.1.8.0, Culture=neutral, PublicKeyToken=b88d1754d700e49a" name="ASPxHttpHandlerModule"/>
    </modules>
  </system.webServer>
</configuration>
Register the ASPxUploadProgressHttpHandler handler entry in the target SharePoint site Web.config.
The code sample below demonstrates how to register the ASPxUploadProgressHttpHandler handler.
Registration for Version 14.2 and newer
<?xml version="1.0" encoding="UTF-8" standalone="yes"?>
<configuration>
  ...
  <system.webServer>
    ...
    <handlers>
        ...
        <add type="DevExpress.Web.ASPxUploadProgressHttpHandler, DevExpress.Web.v18.2, Version=18.2.10.0, Culture=neutral, PublicKeyToken=b88d1754d700e49a" verb="GET,POST" path="ASPxUploadProgressHandlerPage.ashx" name="ASPxUploadProgressHandler" preCondition="integratedMode" />
     </handlers>
  </system.webServer>
</configuration>
Registration for Version 14.1 and older
<?xml version="1.0" encoding="UTF-8" standalone="yes"?>
<configuration>
  ...
  <system.webServer>
    ...
    <handlers>
        ...
        <add type="DevExpress.Web.ASPxUploadControl.ASPxUploadProgressHttpHandler, DevExpress.Web.v14.1, Version=14.1.8.0, Culture=neutral, PublicKeyToken=b88d1754d700e49a" verb="GET,POST" path="ASPxUploadProgressHandlerPage.ashx" name="ASPxUploadProgressHandler" preCondition="integratedMode" />
     </handlers>
  </system.webServer>
</configuration>
Creating a new Visual Web Part
- Create a new Visual Web Part project (refer to the How to: Create a SharePoint Visual Web Part MSDN article for more information). Select the Deploy as a farm solution trust level.
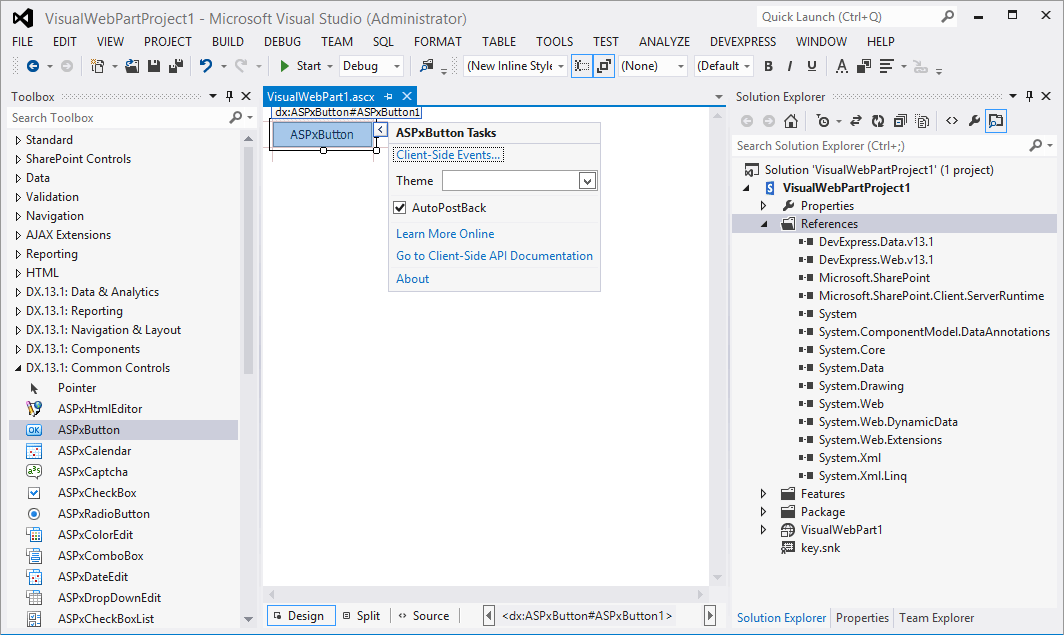
Drag the required control (an ASPxButton in this example) from the Toolbox, and drop the control onto a WebUserControl (the *.ascx file).
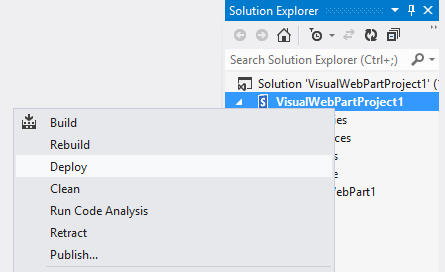
Build and deploy the Visual Web Part to a target SharePoint site via the “Deploy” command.
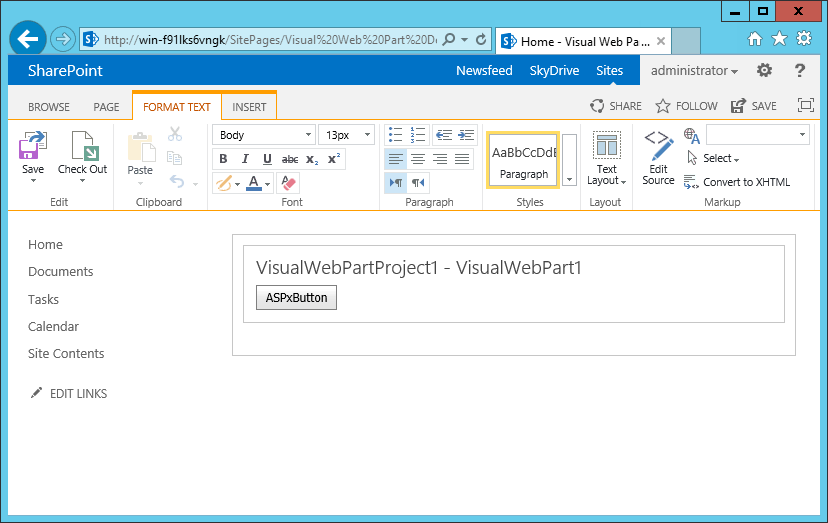
When the deployment is successfully completed, navigate to the required SharePoint page and insert the deployed Visual Web Part via the Site Actions -> Edit Page -> Insert -> Web Part command. By default, custom Visual Web Parts are available in the Custom group.
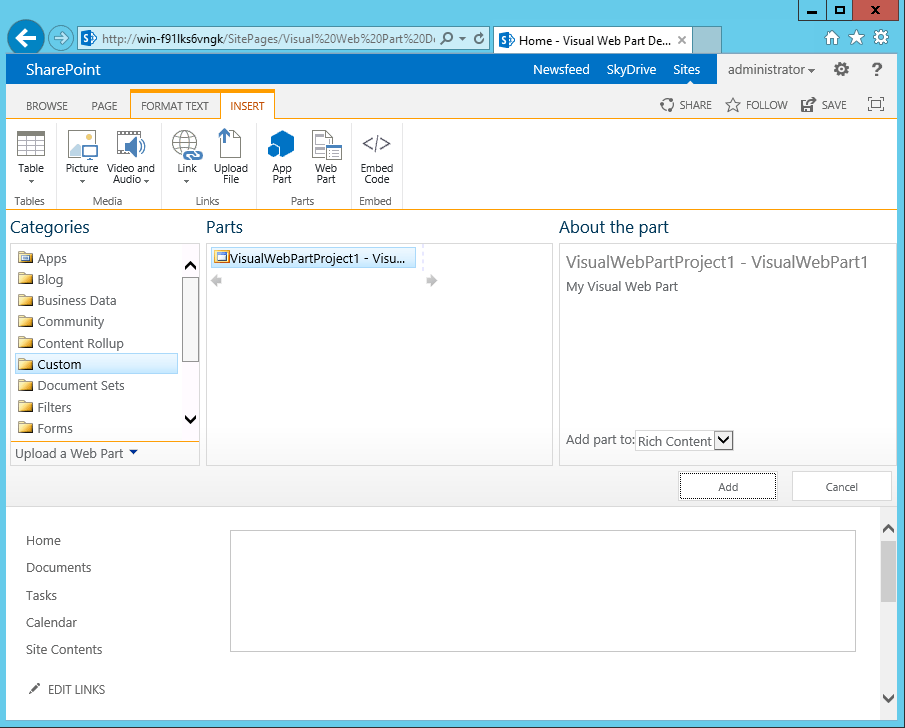
The result is illustrated in the image below.