How to: Configure Bands in a Grid List Editor
- 2 minutes to read
This topic describes how to group grid columns using bands in an XAF application.
Tip
This topic describes a scenario based on the Demo List View from the Main project that ships with XAF. You can find this demo in the following folder: %PUBLIC%\Documents\DevExpress Demos 25.
In the MainDemo.Module project, run the Model Editor for the Model.DesignedDiffs.xamfl file. In the node tree, navigate to the Views | MainDemo.Module.BusinessObjects | DemoTask | DemoTask_ListView node.
Select the BandsLayout child node. Set the Enable property to
true.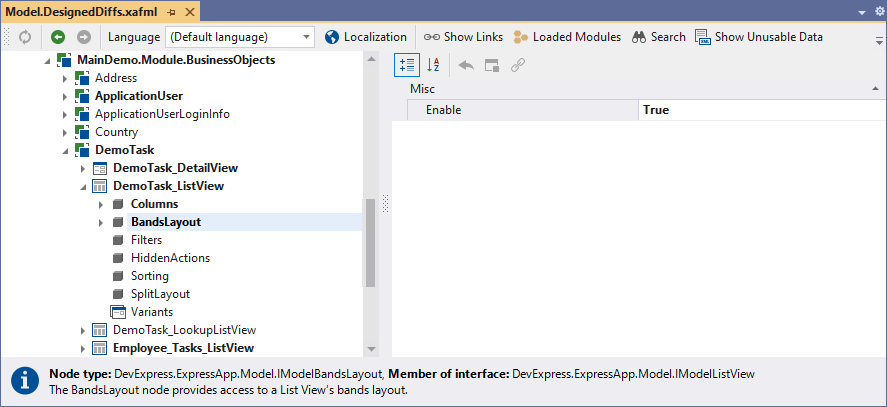
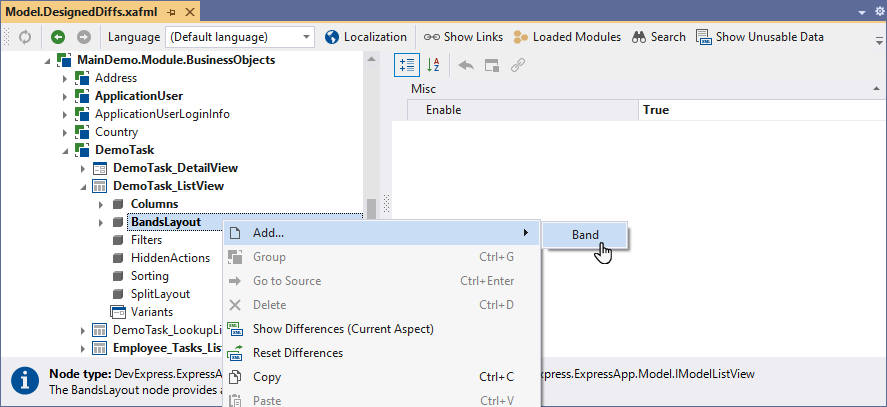
You can now expand the BandsLayout node to access its child nodes (grid columns). To add a band, right-click BandsLayout and choose Add… | Band.
Select the newly added node and set its
IdtoTaskDetails.
Note
XAF generates the IModel
Band. property value automatically based on theCaption Idvalue. You can change the caption if necessary.Select columns that you want to add to the TaskDetails band (hold the CTRL key and click the corresponding nodes). Drag the selected columns to the TaskDetails band node.
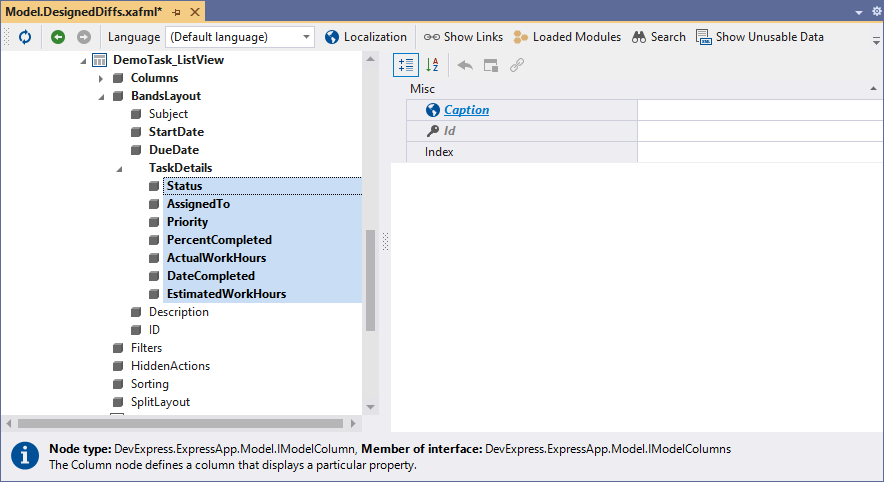
Add another band and name it Schedule. Move the remaining columns to the band. Your band structure should look like this:

Tip
You can add a band inside an existing band to create multi-level band hierarchy.
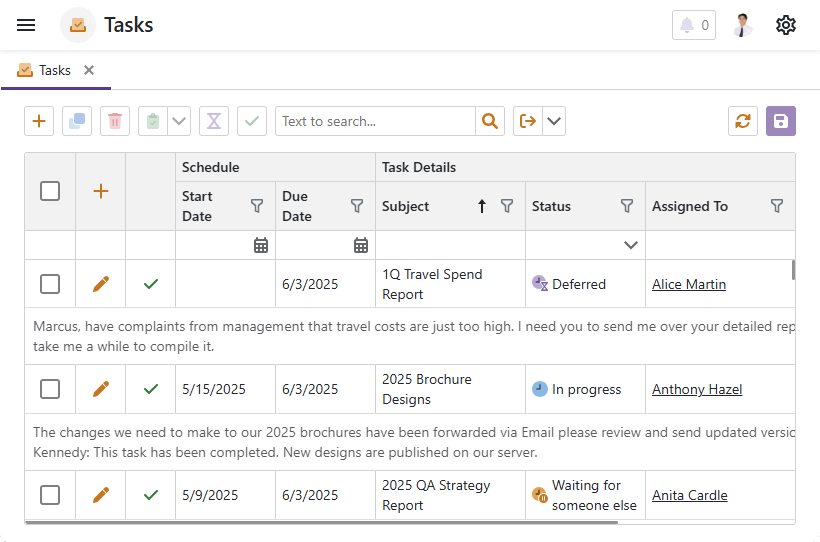
Run the application.
- ASP.NET Core Blazor Result
- Windows Forms Result
