Create and View Reports in a WinForms Application
- 2 minutes to read
This topic describes how an end-user can create and view a report at runtime in a WinForms application.
Copy a Predefined Report
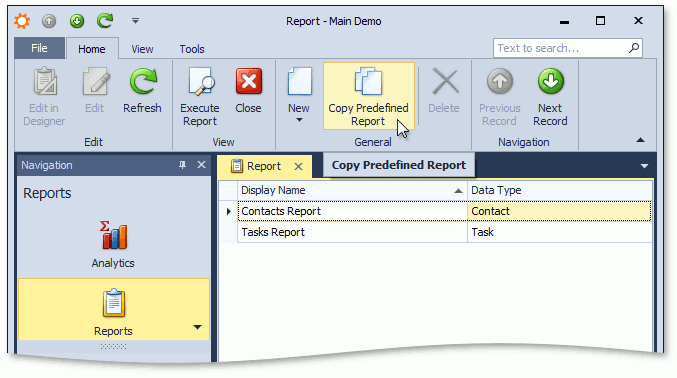
Copy a predefined report using the Copy Predefined Report ( ) button and then edit it.

Create a New Report from Scratch
To create a report at runtime, do the following.
- Choose the Reports item in the Navigation.
- Click New.
In the invoked Report Wizard dialog, specify the following and click Next.
- Display Name - the report’s name.
- Data Type - the business object type to be used in the report. Only the types that have the DefaultClassOptionsAttribute or VisibleInReportsAttribute attribute applied can be chosen.

Choose the report type.

- Follow the wizard’s prompts to select report columns, and specify other settings.
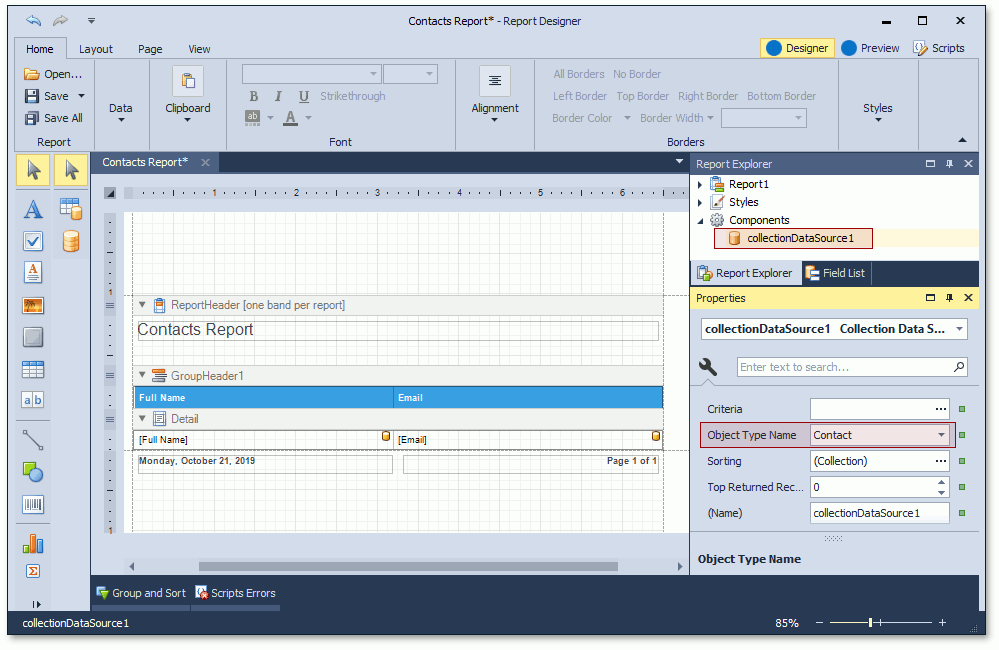
Finally, the new report will be opened in the Report Designer, which provides advanced report layout customization options.

You can see that the data source component has already been added. The data source’s ObjectTypeName property is set to the business object type specified in the first page of the Report Wizard.
When the VisibleInReports attribute is applied to a business class property, it specifies whether or not the target property is visible in the Report Designer field list. In the Report Designer, you can modify the existing fields layout and add more fields.
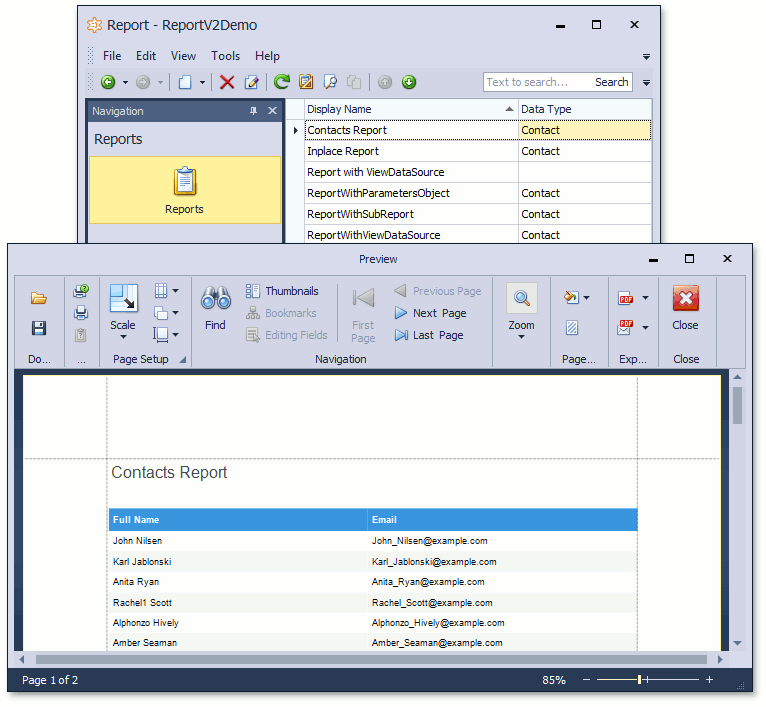
After a report is saved in the designer, it is added to the Reports List View. You can double-click a report to preview it in a Print Preview Form.
