Application Personalization
- 3 minutes to read
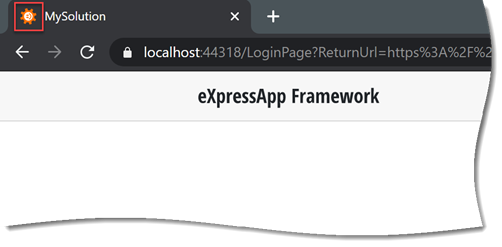
Application Logo and Info
XAF-powered WinForms applications display an application logo and supplementary application information within an About window. XAF-powered ASP.NET and Blazor applications display this information at the top-left and bottom-left corners of the main page.
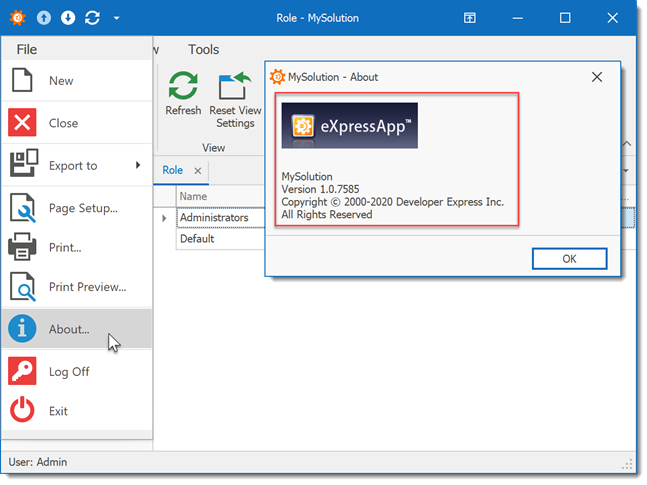
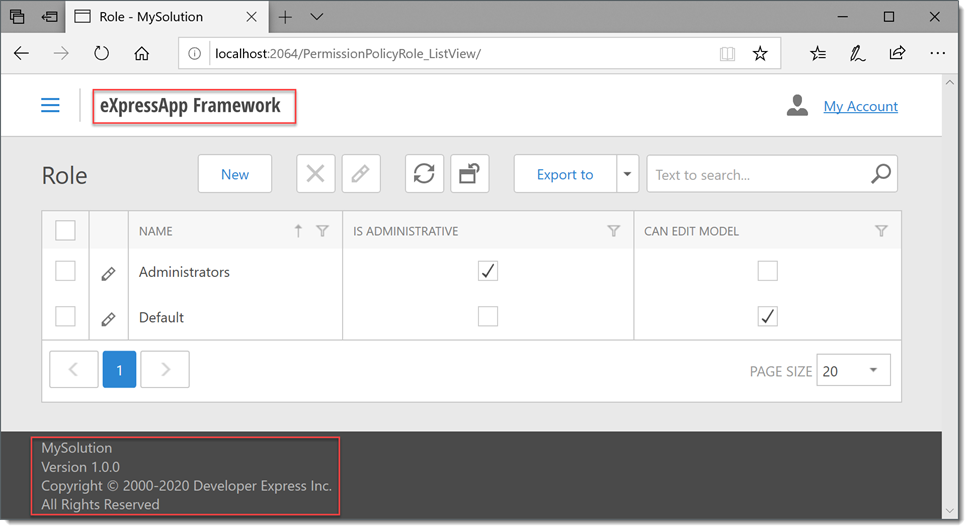
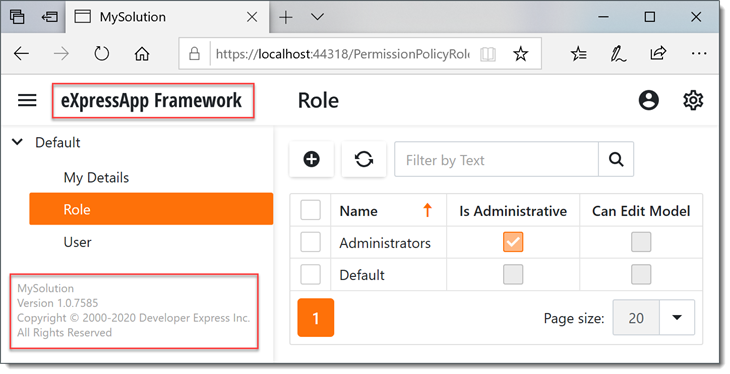
You can specify info texts in the Model Editor‘s Application root node. This node also allows you to change a logo image in WinForms applications. To customize a logo image for a Blazor application, specify the image name in the header-logo CSS class. For more information, refer to the following help topic: How to: Change an Application Logo and Info.
Application Icon
WinForms Applications
XAF specifies a WinForms application icon in the Icon property within the Application page of the Project Designer. This approach is common for .NET Windows Forms applications (see How to: Specify an Application Icon). The icon is displayed in the compiled application at the top-left corner of the form, in the Windows Explorer, and the Windows taskbar. The default icon (ExpressApp.ico) is in the WinForms application project folder.
See also: Application Page, Project Designer (C#) | Application Page, Project Designer (Visual Basic)
Blazor Applications
To change the application icon that is displayed in browser tabs, replace the MySolution.Blazor.Server\wwwroot\favicon.ico file with a custom image. This approach applies to all ASP.NET Core applications.
Splash Screen
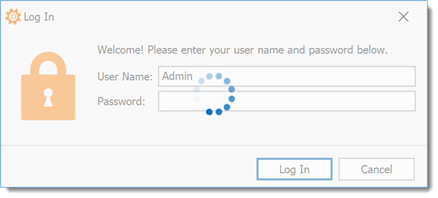
WinForms Applications
XAF-powered WinForms applications display the following Splash Screen on startup:

Applications with the Security System also display the Overlay Form over the Logon Form.
You can customize the startup behavior as described in the following help topics:
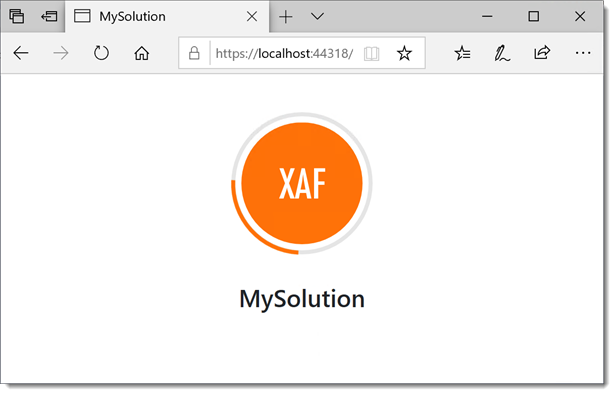
Blazor Applications
XAF-powered Blazor applications display the following Splash Screen on startup:
You can customize the default Splash Screen’s caption and image in the MySolution.Blazor.Server\Pages\_Host.cshtml file. If you want to use a custom image, add it to the MySolution.Blazor.Server\wwwroot\images folder.
<!-- ... -->
<html lang="en">
<body>
    <!-- ... -->
    <component type="typeof(SplashScreen)"
                   render-mode="Static"
                   param-Caption='"My Blazor application"'
                   param-ImagePath='"images/CustomSplashScreenImage.svg"' />
    <!-- ... -->
</body>
</html>
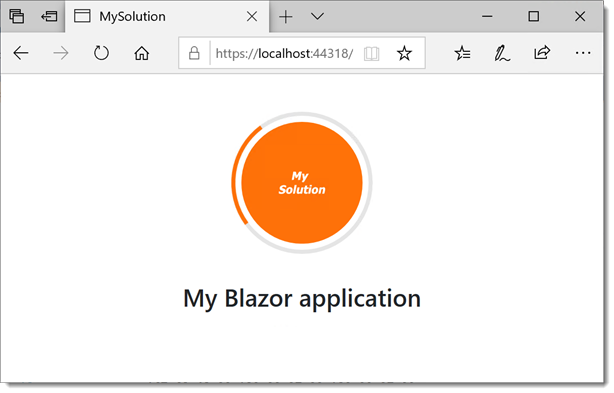
The following image shows the customized Splash Screen:
If you want to display a custom Splash Screen instead of the default screen, follow the steps below:
Add a new Razor component to the Blazor application project. You can customize the built-in SplashScreenComponent or create your own. Note that the built-in Splash Screen uses the parameters specified in the _Host.cshtml file. The following code snippet shows how to customize SplashScreenComponent and access the param-ImagePath parameter:
@using DevExpress.ExpressApp.Blazor.Components
<SplashScreenComponent>
    <LoadingIndicator>
        <img class="rounded bg-primary text-white p-3" src="@ImagePath" />
    </LoadingIndicator>
</SplashScreenComponent>
@code {
    [CascadingParameter(Name = "ImagePath")]
    protected string ImagePath { get; set; }
}
In the MySolution.Blazor.Server\Pages\_Host.cshtml file, set the Splash Screen’s param-ContentType parameter to the type of the newly created component:
<!-- ... -->
<html lang="en">
<body>
    <!-- ... -->
    <component type="typeof(SplashScreen)"
                render-mode="Static"
                param-Caption='"My Blazor application"'
                param-ImagePath='"images/CustomSplashScreenImage.svg"'
                param-ContentType="typeof(MySolution.Blazor.Server.Component)" />
    <!-- ... -->
</body>
</html>