Localization Editor (WinForms)
- 3 minutes to read
The Localization Editor allows you to change the values of localizable text properties for all controls in a report.

The left panel allows you to change the report’s language, add a new language, or delete an existing language.
The right panel contains a grid that displays the property name, the text specified for that property in the default language, and the text for the selected language. Text strings of the selected language are editable. You can save localized strings in CSV format or load them from a file.
Invoke the Localization Editor
Do one of the following to invoke the Localization Editor:
Switch to the View ribbon tab and click the dialog box launcher in the Localization group.

Click the report’s smart tag in the Visual Studio designer and select Edit Localization… in the invoked tasks list:

Click the ellipsis (…) button next to the Localization property in the Properties window.

Use the Localization Editor
When the Localization Editor is invoked, the grid in the right panel displays values for the Text property of the report controls. You can click the Property column header to modify a filter and select other properties or clear the filter to show all text properties.

Grid rows are arranged in the same order as report controls - from top to bottom and from left to right.
To add a new language, click the plus button at the right panel. All values for the new language are set to the values for the default language.
To add a translated string, click the desired language in the left panel, select the property, and enter the text in the Value column. Click the Apply button to apply your changes and preview the text in the Report Designer.
Click OK to apply changes and close the editor.
Localized Strings Export and Import
You can export and import localized strings in CSV (Comma Separated Values) format. This feature is useful if you use external translation services. You can export strings into a CSV file, send the file to the translator, and then import the modified file to the Localization Editor.
Click Export to save localized strings for all languages in the report to a file. You will be prompted for a file name and location. The default file name is the name of the report with the .csv extension.
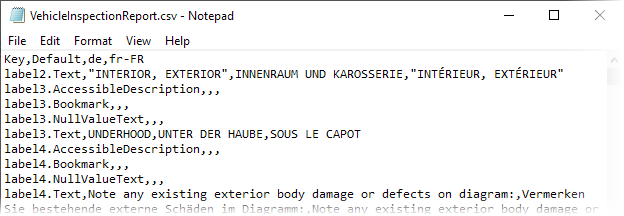
The CSV export file uses a comma as a delimiter. The file contains a header row and a row for every localizable text property in the report. The first column is the Key column that contains the property name. Other columns contain localized property values, with one column for each locale in the report.
The sample export file is shown below:
Click Import to load a CSV file and merge localized strings from the file to the report. The import routine assumes that the column heading is the culture name and attempts to create a culture for that name. If the report does not contain strings for the created culture, the culture is added to the report. If the report already contains localized strings for the created culture, the strings from the file replace the strings contained in the report.
Localize Reports with AI
You can integrate AI-powered Localization functionality into the WinForms Report Designer.
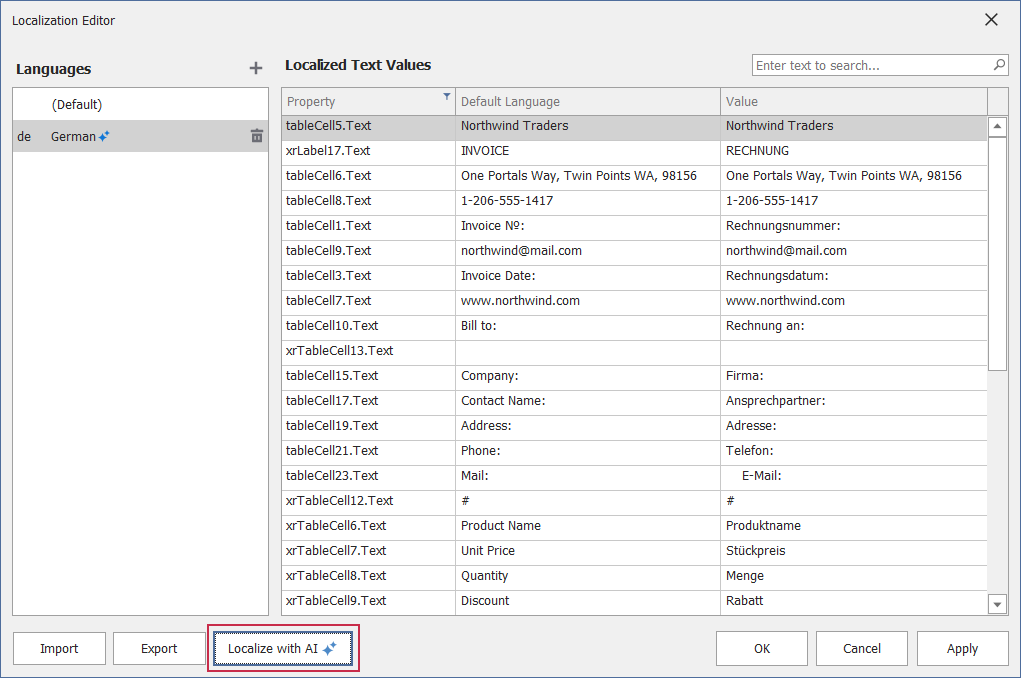
Once you complete, the Localize with AI button appears in the Localization Editor. This button translates all localizable property values to the selected language:
Review the following help topic for more information on how to use this functionality in the WinForms Report Designer: Localize Reports in the WinForms Report Designer.