Document Viewer's Server-Side Configuration (ASP.NET Core)
- 3 minutes to read
This document describes how to create and configure an ASP.NET Core application as a server-side solution to use the HTML5 Document Viewer in JavaScript:
Create an ASP.NET Core Application Based on the Template
You can use the Template Gallery to create a new ASP.NET Core project:
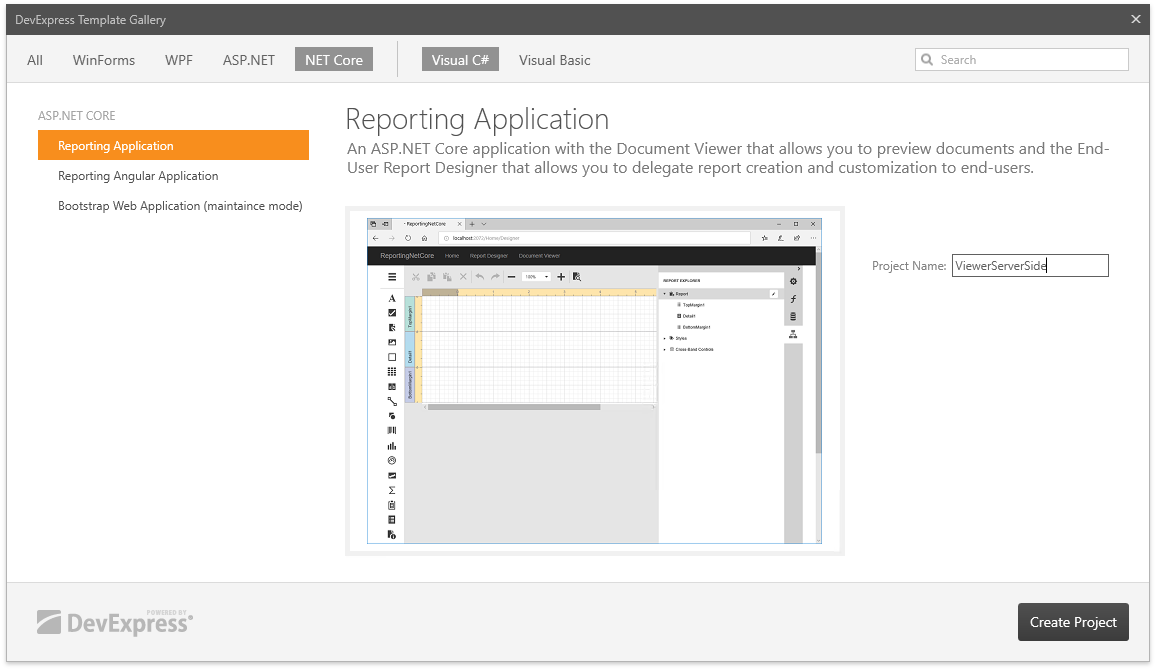
Invoke the DevExpress Template Gallery, select Reporting Application under the NET Core category and click Create Project.
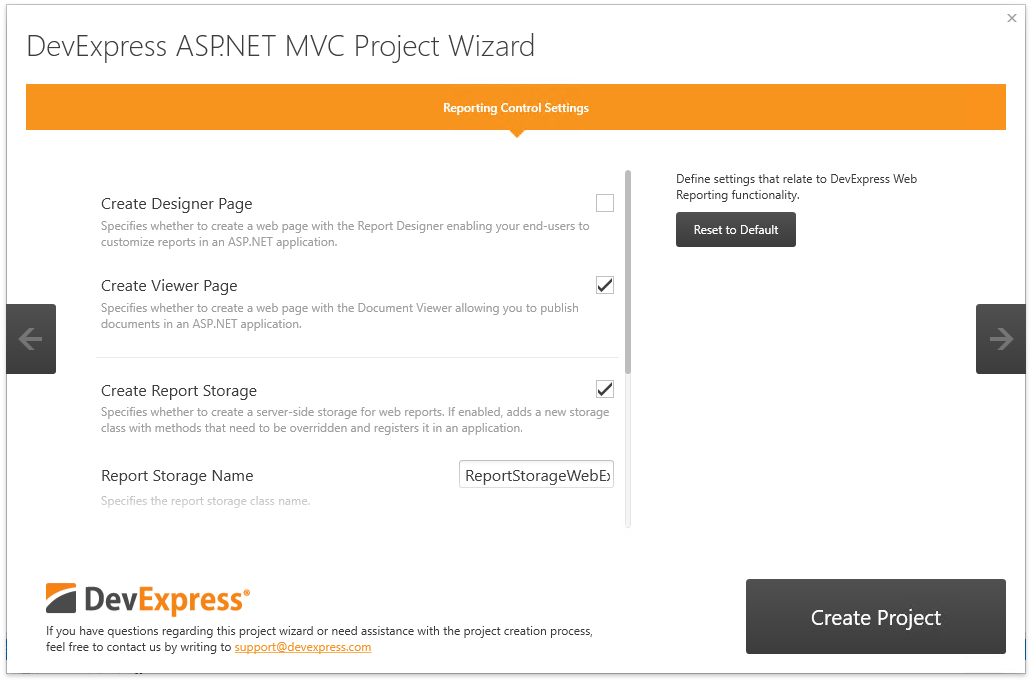
In the DevExpress ASP.NET MVC Project Wizard, enable the Create Viewer Page and Create Report Storage check boxes and click Create Project.
Refer to Create an ASP.NET Core Application with the Document Viewer for a detailed tutorial.
Create an ASP.NET Core Application Manually
You can create a base ASP.NET Core application and prepare it for the Web Document Viewer manually:
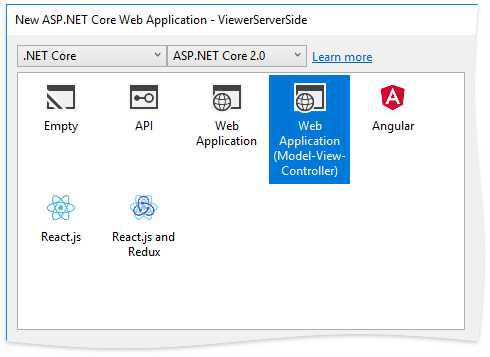
Create a new ASP.NET Core Web Application (or open an existing application).
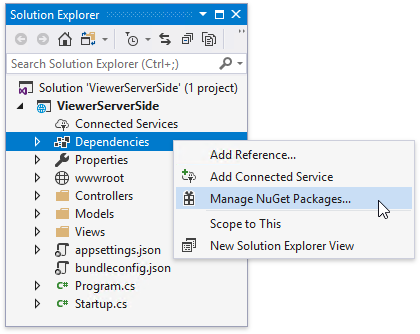
Right-click the Dependencies node in the Solution Explorer and select Manage NuGet Packages in the invoked context menu.
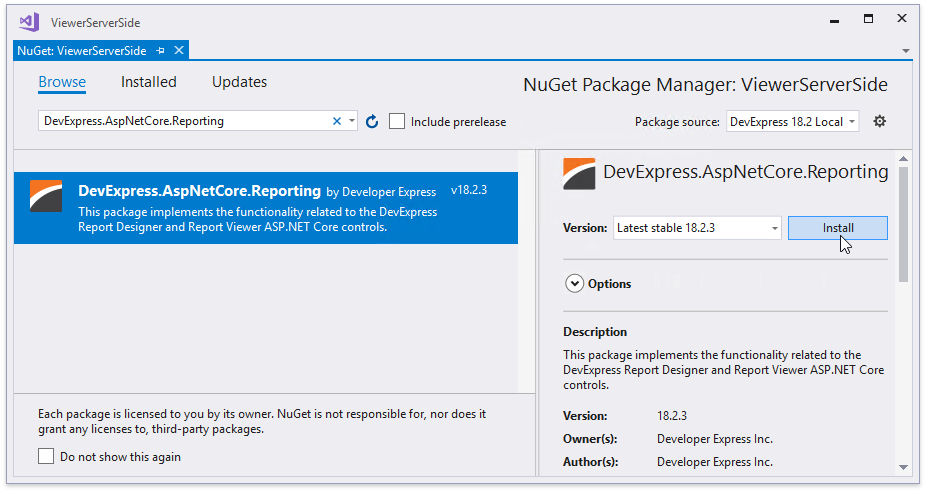
Select DevExpress 18.2 Local in the Package source drop-down list and go to the Browse page. Find the DevExpress.AspNetCore.Reporting package and install it.
Open the Startup file and modify it to configure services as demonstrated below.
using DevExpress.AspNetCore;
using DevExpress.AspNetCore.Reporting;
//...

public class Startup {
//...
    public void ConfigureServices(IServiceCollection services) {
        // Register reporting services in an application's dependency injection container.
        services.AddDevExpressControls();
        // Use the AddMvcCore (or AddMvc) method to add MVC services.
        services.AddMvcCore();
    }

    public void Configure(IApplicationBuilder app, IHostingEnvironment env) {
        // ...
        app.UseStaticFiles();
        // Initialize reporting services.
        app.UseDevExpressControls();
        // ...
    }
}
Add required reports to the application.
Provide a server-side report storage. Add a new class, inherit it from the abstract ReportStorageWebExtension class and override its methods. See the Implement a Report Storage topic for detailed information on this class and custom storage examples.
Use the static ReportStorageWebExtension.RegisterExtensionGlobal method in the Startup file to register the custom report storage.
public void Configure(IApplicationBuilder app, IHostingEnvironment env) {
    // ...
    DevExpress.XtraReports.Web.Extensions.ReportStorageWebExtension.RegisterExtensionGlobal(new CustomReportStorageWebExtension());
}
See Add the Document Viewer to an ASP.NET Core Application for more information about the listed steps.
Configure the Created Application
Enable cross-origin requests (CORS) in the created ASP.NET Core application. Open the Startup file and use the code shown below. Make sure that you correctly specify your client-side part’s URL to the frontendUrl option.
//...

public class Startup {
//...
    public void ConfigureServices(IServiceCollection services) {
        // ...
        services.AddMvc();
        services.AddCors();
    }

    public void Configure(IApplicationBuilder app, IHostingEnvironment env) {
        // ...
        app.UseCors(
            options => {
                string frontendUrl = "http://localhost:10000";
                options.WithOrigins(frontendUrl);
            });
        app.UseDevExpressControls();
        // ...
    }
}