Printing a Remotely Created Document in an ASP.NET MVC
- 3 minutes to read
This tutorial provides an example on how to use a ASP.NET Document Viewer in ASP.NET MVC to publish a document supplied by a remote document source.
Note
This scenario is not currently supported by the HTML5 Document Viewer.
The tutorial consists of the following sections.
Prepare the Server Part
This section of the tutorial describes how to provide an ASP.NET MVC application with a server part (the ‘back end’), which hosts a report service used as a remote document source.
To add a server part to the solution, switch to the Solution Explorer (by pressing CTRL+ALT+L) and right-click the solution. In the invoked context menu, select Add | New Project….
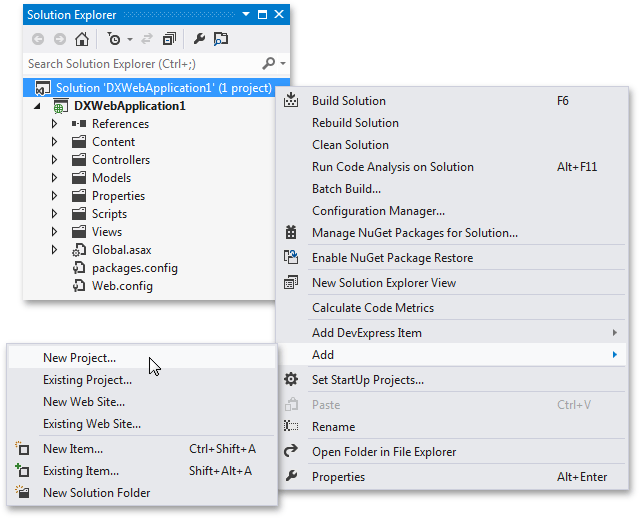
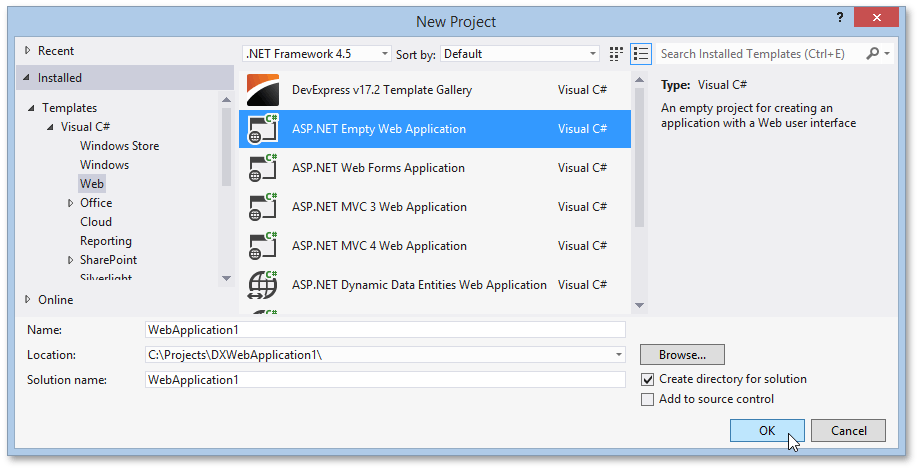
In the invoked Add New Project dialog, expand the Web category, select ASP.NET Empty Web Application and click OK.
To add a report service to the application’s server side, right-click WebApplication1 in the Solution Explorer. In the invoked context menu, select Add | New Item….
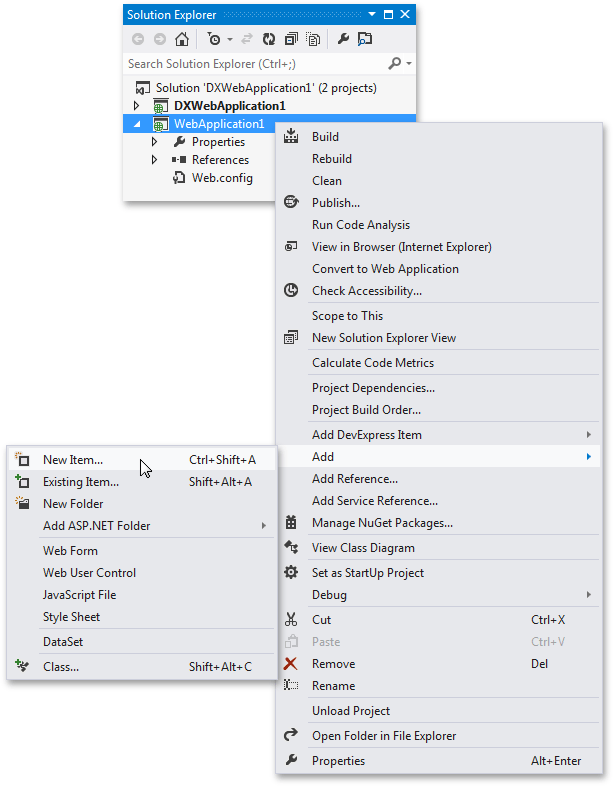
In the invoked Add New Item dialog, expand the Reporting category, select DevExpress v17.2 Report Service and click Add.

Using the same dialog, add a Report Class to the server part. Provide a layout for the newly added report. See the Creating Popular Reports section to learn about the different aspects of designing a report.
Prepare the Client Part
To display a document obtained from a report service, use the DocumentViewerSettings.SetRemoteSourceSettings method to access and specify the ServiceUri and ReportTypeName properties of the object returned by the DocumentViewerSettings.SettingsRemoteSource property.
To implement this functionality, the following code is added to the DocumentViewerPartial.cshtml partial view.
@Html.DevExpress().DocumentViewer(settings =>{
    // The following settings are required for a Report Viewer.
    settings.Name = "documentViewer1";
    // Callback and export route values specify corresponding controllers and their actions.
    // These settings are required as well.
    settings.CallbackRouteValues = new { Controller="Home", Action="DocumentViewerPartial" };
    settings.ExportRouteValues = new { Controller="Home", Action="ExportDocumentViewer" };

    // Specify the report service URI and the name of the report to display.
    settings.SetRemoteSourceSettings(s => {
        s.ServiceUri = @"http://localhost:53813//ReportService1.svc";
        s.ReportTypeName = "WebApplication1.XtraReport1, WebApplication1";
    });
}).GetHtml()
The following code is added to the ExportDocumentViewer action in the HomeController.cs file.
public ActionResult ExportDocumentViewer() {
    // Specify the report service URI and the name of the remote report to export.
    SettingsRemoteSource settings = new SettingsRemoteSource ();
    settings.ServiceUri = @"http://localhost:53813//ReportService1.svc";
    settings.ReportTypeName = "WebApplication1.XtraReport1, WebApplication1";

    return DocumentViewerExtension.ExportTo(settings, HttpContext.Request);
}
Publish the Document
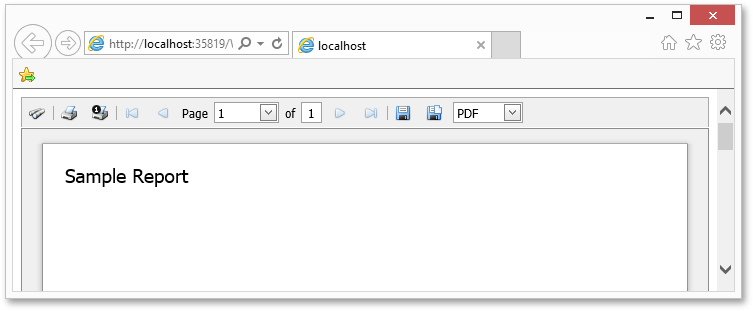
Run the application to view the resulting ASP.NET MVC page, which displays the created document in the system’s default Web browser.
To print or export the document, use the corresponding commands in the ASP.NET Document Viewer Toolbar.