Prerequisites
- 2 minutes to read
The Theme Designer is a free standalone tool and must be downloaded separately. This topic describes how to get, install, update, and run the Theme Designer.
Note
The WPF Theme Designer requires DXperience installation.
Installation
Download the Theme Designer installation file.
The Theme Designer’s MSI is for Group Policy installation and is not a general-purpose installer. If you run this file, the application will be installed only on the next Windows logon.
Use the Setup.exe to install the application. For a friendly IT Admin version, use the MSI.
Note
Machine-wide install (MSI) does not function after the Theme Designer .exe version is uninstalled. Delete the application folder before you install the Theme Designer MSI package. The default application folder is %LocalAppData%\ThemeDesigner\.
After the installation is complete, run the Theme Designer in the Start Menu | All Apps | Developer Express Inc | DevExpress Theme Designer to start the tool.
Application Settings
The Theme Designer automatically detects paths to the DXperience binaries and sources.
To work with the binaries and sources from a custom location, open the Settings tab click add, and specify the following fields:
- Name - a custom text to identify your DevExpress installation.
- Bin path - a path to the DevExpress binaries folder.
- Source path - a path to the DevExpress source folder.
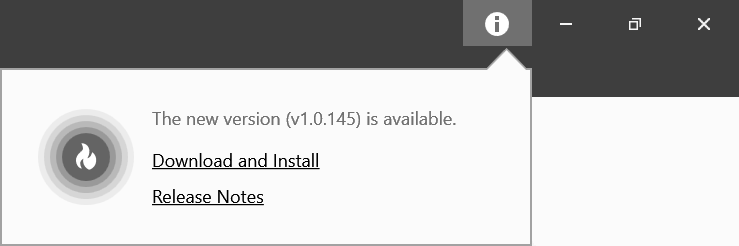
Update
You can enable automatic updates in the Settings tab. The Theme Designer shows a pop-up update window on its upper right when an update is available: