How to: Create a Simple Word Processor with a Ribbon UI
- 2 minutes to read
This tutorial describes how to create an MS Office-inspired word processing application with the ribbon user interface. You can also use the DevExpress Template Gallery to automatically generate a rich text editor with the integrated spell checking tools. For an example, refer to the How to: Use the Template Gallery to Create a Simple Word Processor article.
Note
If you prefer watching a video rather than walking through the step-by-step instructions, see the "Getting Started" tutorial on YouTube: DevExpress WinForms: Rich Text Editor.
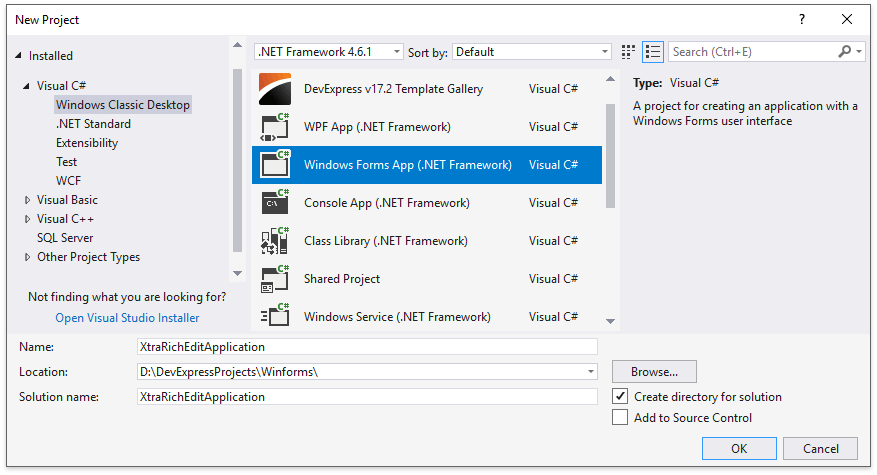
In Visual Studio menu, click FILE | New | Project… In the invoked New Project dialog, select Windows Forms Application, specify the project name and location, and click OK.
Drop the RichEditControl item from the DX.17.2: Rich Text Editor toolbox tab onto the form.

Click the RichEditControl’s smart tag and select Dock in Parent Container in the invoked RichEditControl Tasks menu to stretch the control to fill the parent form.

Click the RichEditControl’s smart tag once again, and select Create Ribbon in the invoked menu to add a RibbonControl onto the form and automatically position it above the rich text editor’s work area.

Select Create All Tabs in the RichEditControl Tasks menu to add all available ribbon pages at once (or click the required item(s) to add a particular ribbon tab(s) to the form).

Click the RibbonControl’s smart tag and select Convert Form To RibbonForm in the invoked RibbonControl Tasks menu to convert the application form to a RibbonForm.

A simple word processing application is now ready. Run it and view the result. For example, type and format text, insert pictures and explore the various ribbon items.

Tip
If you wish to disable or hide any command button on a ribbon tab, specify restriction settings for a RichEditControl by setting the required properties of the RichEditBehaviorOptions (RichEditControl.Options.Behavior) and DocumentCapabilitiesOptions (RichEditControl.Options.DocumentCapabilities) objects to the DocumentCapability value.
Note
Commands executed using the Ribbon (Bar) user interface can throw unhandled exceptions if a problem occurs. Consider the situation when a document is being saved to a locked or read-only file. To prevent application failure, subscribe to the RichEditControl.UnhandledException event and set the RichEditUnhandledExceptionEventArgs.Handled property to true.
For more examples on how to work with the Rich Text Editor, refer to the Examples section.