Create and Customize Reports
- 2 minutes to read
This tutorial describes how to manage reports in the Report and Dashboard Server.
Create a New Report
Click the Documents button on the Report and Dashboard Server’s toolbar to open the document screen.

This screen is available only if a user has a permission to access and customize documents.
Click the Add Document button and choose the Add Report item in the list.
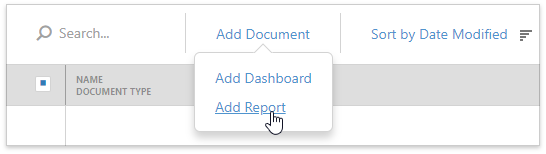
This opens the Web Report Designer that allows you to bind a report to data, add report controls, shape report data, etc.
Save the Created Report
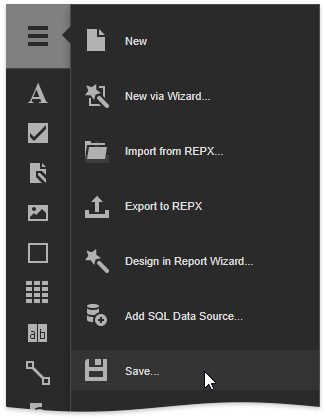
After you created the report in the Web Report Designer, you can upload it to the server. Click the Menu button and select Save.
In the invoked dialog, specify the document name, select an existing category or create a new category, and type the revision comment.
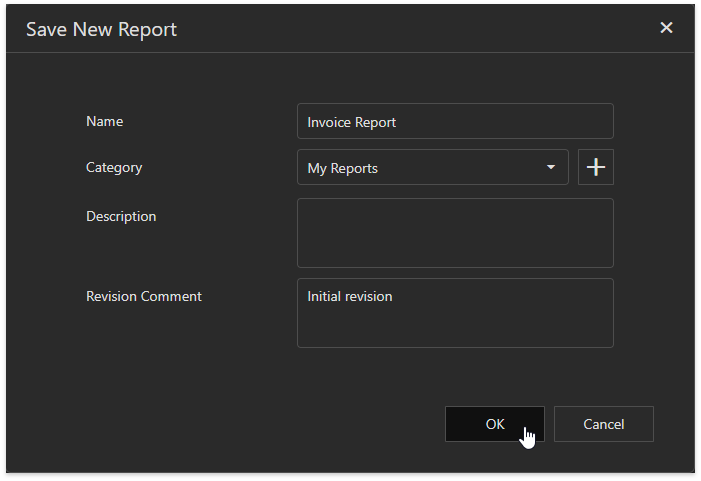
The new report becomes available on the Documents screen.
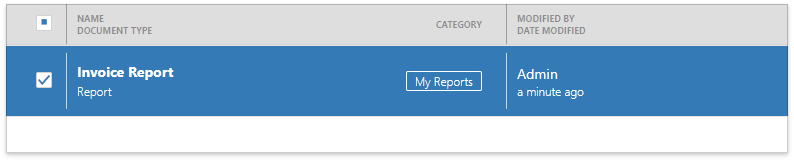
Edit an Existing Report
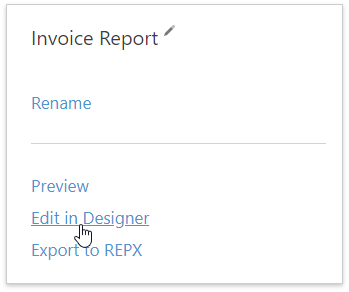
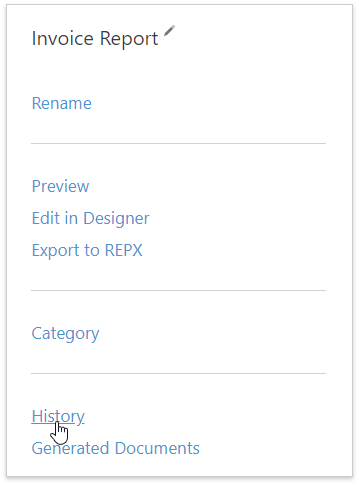
Select the document in the list to see its details. Click the Edit in Designer button to open and customize this report in the Designer.
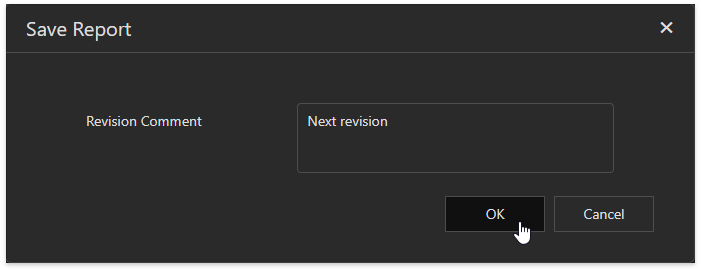
Once you changed this document, you can click the Save button in the menu to save the revision. In the invoked dialog, specify the revision comment and click OK to upload this version to the server.
Preview a Report
Click the Preview button or the report name in the list to open this report in the Web Document Viewer.

Export and Import a Report
Use the Export to REPX button to export the report layout and download the resulting file that has the REPX extension.
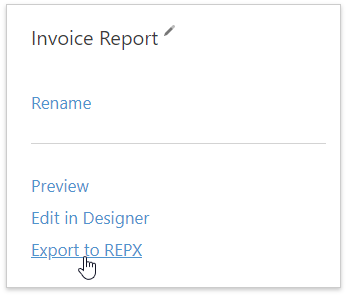
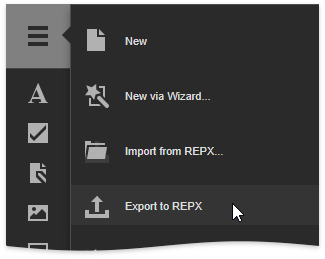
You can also export the report layout in the Report Designer. Click the menu button and select Export to REPX.
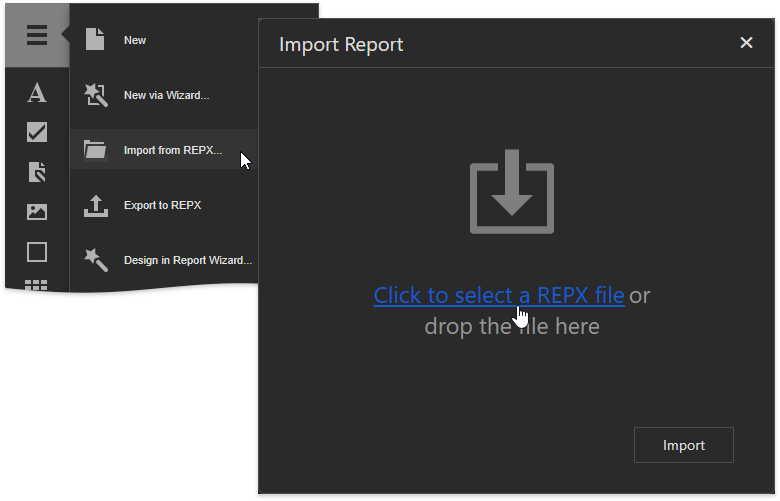
To import the report layout, click Import from REPX in the menu. Use the Click to select a REPX file button and locate the file with the REPX extension in the invoked dialog. Alternatively, you can drop the file onto this dialog. Then, click the Import button to open the layout in the Designer.
Use the Revision History
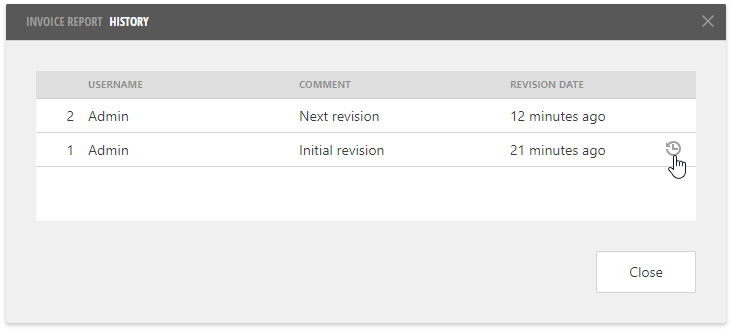
Click the History button to view all the report revisions.
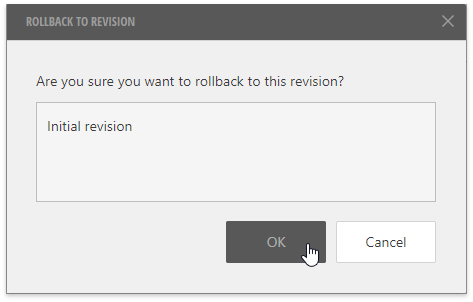
You can use the Rollback button to rollback to a specific document version.
Click OK in the invoked dialog to confirm the operation.