Customize the Report Appearance
- 3 minutes to read
This tutorial demonstrates how to customize the appearance settings of a report and its elements, create global report styles and alternate data records using odd and even styles.
Change Appearance Properties
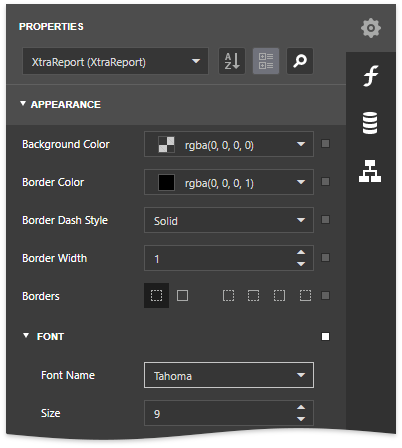
A report and each of its elements (bands and controls) have a complete set of appearance options (such as Background Color, Borders, Font, Foreground Color, Text Alignment, etc.). These properties are not specified by default, meaning that their real values are obtained from a control’s (or band’s) parent, which is the report itself.
A report’s font settings are distributed to all its child elements. Similarly, the appearance of a band is translated to the controls it contains.
You can adjust the control appearance independently from its parent.
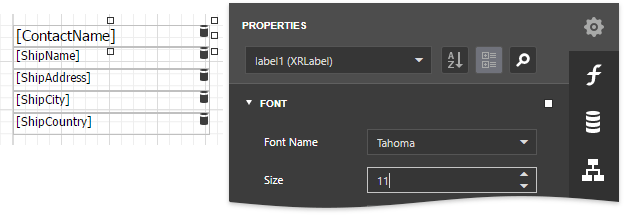
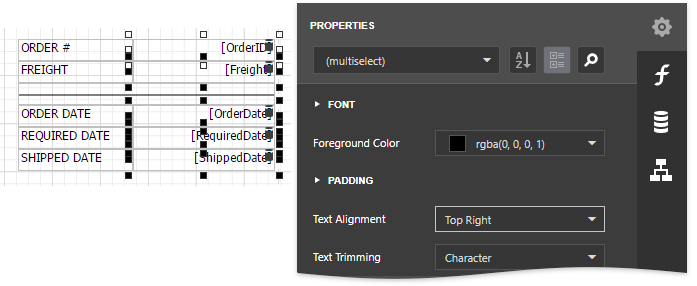
You can also change the appearance settings for multiple controls simultaneously. Select the required controls while holding down the CTRL key and change their Text Alignment option.
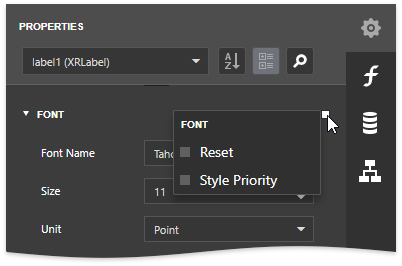
Click the Advanced Options button for a required option in the Properties panel and click Reset if you need to reset a value assigned to a control’s appearance. As a result, the corresponding properties of the control’s parent determine its appearance.
Create Report Styles
You can create global styles in a report, and assign them to individual elements.
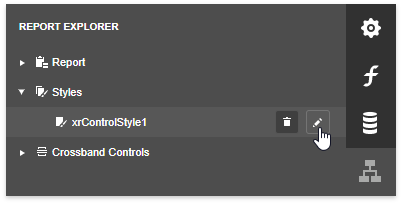
Go to the Report Explorer, select the Styles node and click the plus button to add a new style.

Select the created style and click the Properties button.
This switches to the Properties panel, where you can adjust the required appearance (for instance, change the Foreground Color).

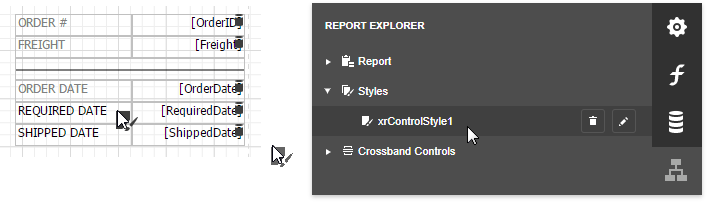
Drag a style from the Report Explorer onto a report control to apply this style.
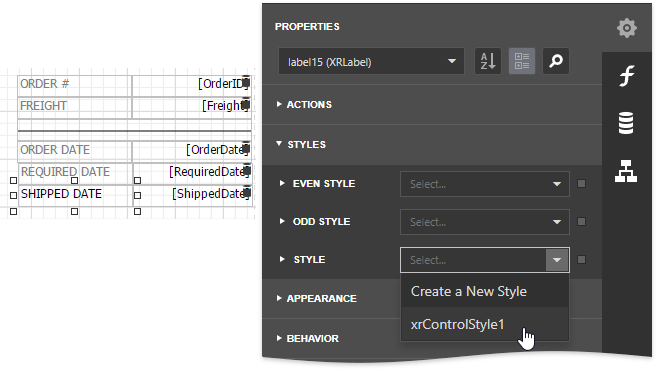
Alternatively, select a report control and use the Properties panel. Invoke the drop-down list for the Style property and choose an existing report style.
Specify the Style Priority
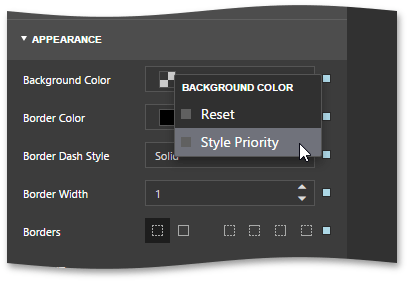
A style defines the same appearance properties as a control’s (or band’s) appearance properties. When you assign both styles and individual appearance settings to an element, you can decide which of the properties to use.
A style’s appearance property has a higher priority than an element’s appearance property by default. The Advanced Options button for this appearance property is highlighted in blue. Click this button and select Style Priority to assign a higher priority to an element’s appearance property. This highlights the Advanced Options button in white.
Use Odd and Even Styles
To assign different style settings to alternating table rows in the detail report, do the following:
Select a table in the Detail band of the detail report and expand the Styles category in the Properties panel. Invoke the drop-down list for the Even Style property and click Create a New Style.

Expand the Even Style option and adjust the required options of the newly created style (for example, specify the Background Color).

- If necessary, perform the same steps to create and assign an odd style.
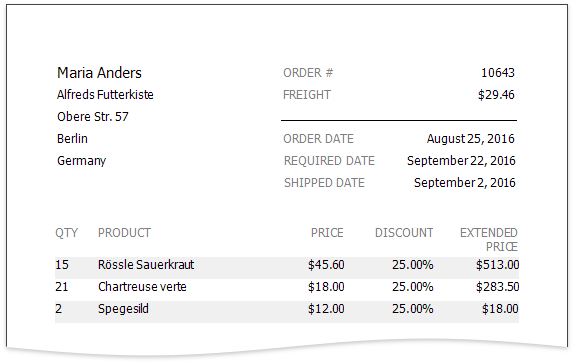
View the Result
Click the Preview  toolbar button to see the result.