Migrate from Localization Service
- 2 minutes to read
If you previously customized localization resources in the Localization Service, you can migrate those translations for use in the Localization Tool.
Use the following workflow:
Download the latest version of the Localization Tool from the DevExpress localization GitHub repository under the “DevExpress Localization Tool” section:
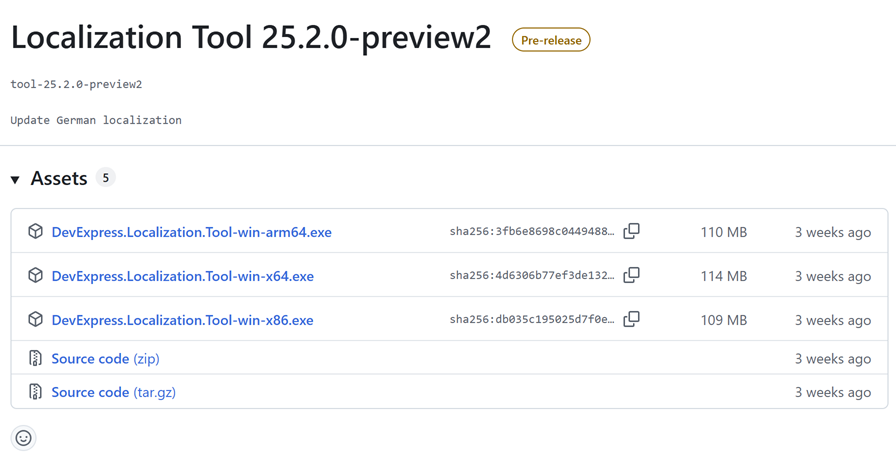
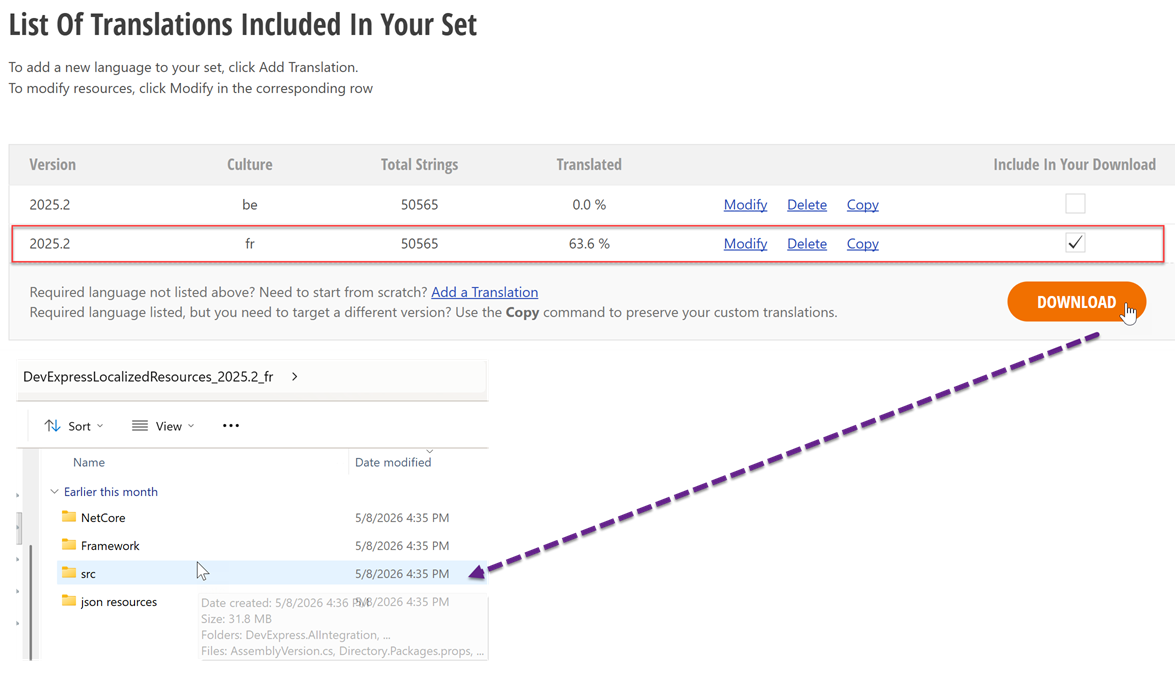
Run the Localization Tool, select v25.2.7 in the popup window, and click Download. Resources are downloaded to the Localization Tool’s directory:
C:\Users\USERNAME\Downloads\Localization
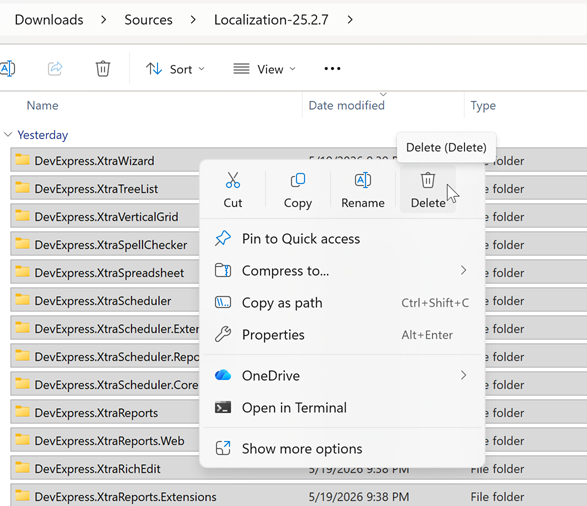
Open the folder with the Localization Tool’s source RESX files (C:\Users\USERNAME\Downloads\Localization\Sources\Localization-25.2.7) and delete all the files in the folder.
Download existing translations from the Localization Service, extract the downloaded DevExpressLocalizedResources_2025.2_fr.exe archive with your custom translations to a folder on your machine, and copy the contents of its src folder (example full path: c:\Users\USERNAME\Downloads\DevExpressLocalizedResources_2025.fr\src):
Return to the folder with the Localization Tool’s source RESX files (<Tool’s directory>\Sources\Localization-25.2.7). Paste copied files from the archive.
Open the Localization Tool and click Add Culture. The added culture includes your custom translations.
Troubleshooting
- Ensure that the folder name matches the downloaded DevExpress version.
- Replace files before you add a culture. If the culture already exists, remove it, replace the files, and add the culture again.
- Verify that the replaced files are valid localization source files for the same DevExpress version.