Install from Download Manager
- 3 minutes to read
If you already have a CodeRush subscription, you can download a registered version from DevExpress Download Manager. You can use either the .exe installer or VSIX installer to install CodeRush.
Get the Registered CodeRush Version
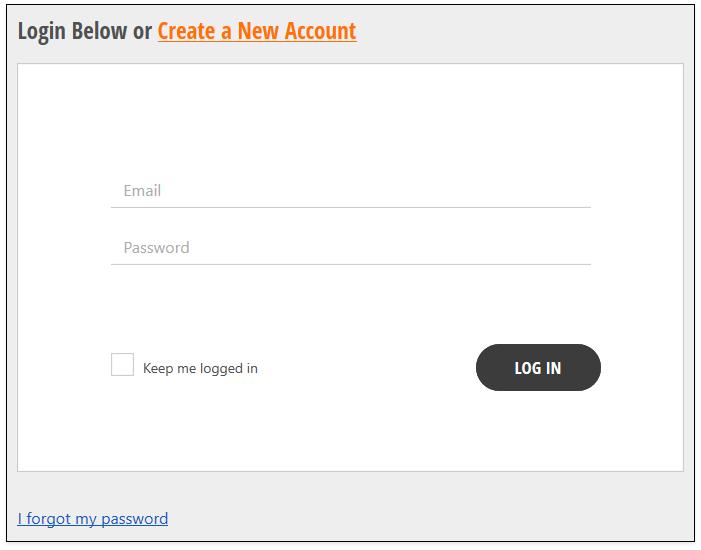
Open a web browser and navigate to https://www.devexpress.com/MyAccount. Enter your credentials and click Log In.
Go to the Download Manager web page: https://www.devexpress.com/ClientCenter/DownloadManager/
Expand the “CodeRush Ultimate Subscription” item.
In the “Select Version” dropdown list, choose the CodeRush version you want to install (for example, “v20.1.7”)
Click the “.exe” link to download the CodeRush installer (the .exe installer). This installer adds a CodeRush extension to every instance of Visual Studio (2015, 2017, 2019, 2022) on your machine.
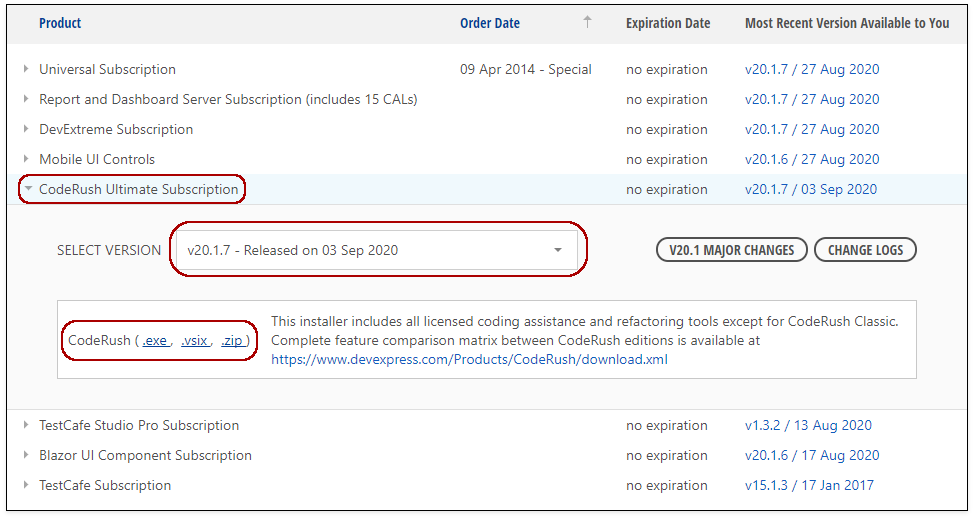
The “vsix” link allows you to download the following vsix files:
“DevExpress.CodeRush.Dev17-{CodeRush version}” to install CodeRush for Visual Studio 2022.
“DevExpress.CodeRush-{CodeRush version}” to install CodeRush for Visual Studio 2015, 2017, 2019.
The following section describes how to use the .exe installer to install CodeRush. If you want to use the VSIX installer, refer to the Install CodeRush from Visual Studio Marketplace topic.
Note
After you install CodeRush, Visual Studio searches for the latest version of CodeRush in the Visual Studio Marketplace. When a new version appears in Marketplace, Visual Studio automatically updates the CodeRush extension to the latest release. Refer to the following topic for more information: Automatic and Manual Updates
Run the .exe Installer
Open the DevExpress.CodeRush-{CodeRush version}.exe file to run the CodeRush installer.
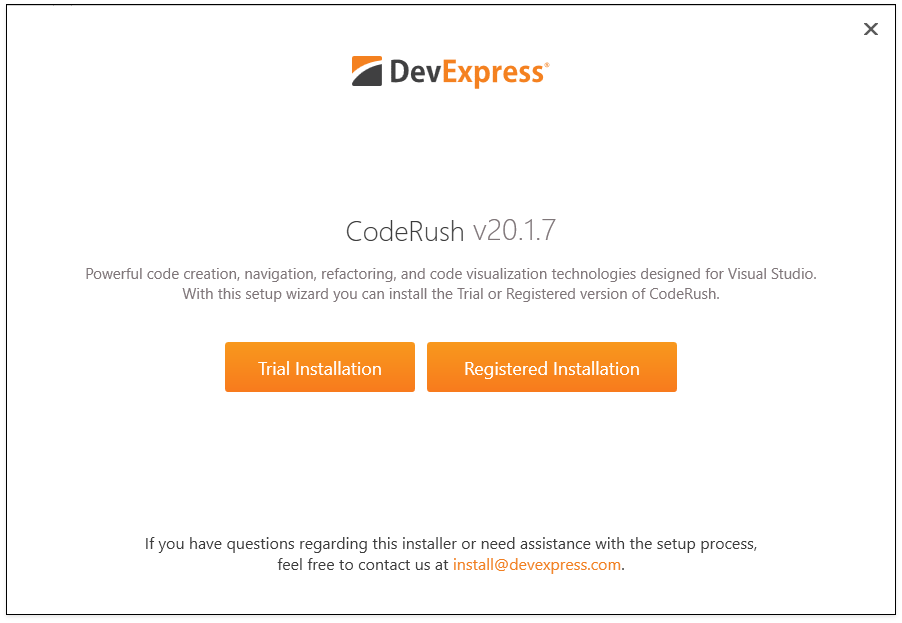
The registration window gives you the option to activate your trial or paid license. Note that you can register CodeRush later if you choose Trial Installation.
Select Registered Installation to register CodeRush.
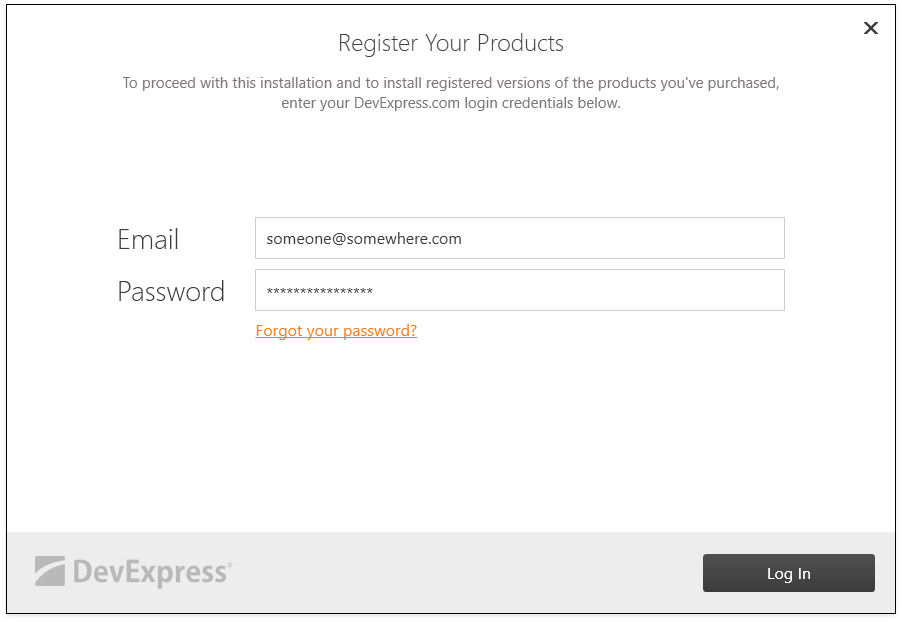
On the next page, enter the email address and password that you used when you registered on the DevExpress website. Click the Log In button, and proceed to the next page.
Note
Your development machine should have an active Internet connection to verify your credentials. If you require to install CodeRush on a machine that has no Internet connection, proceed with Offline Registration mode.
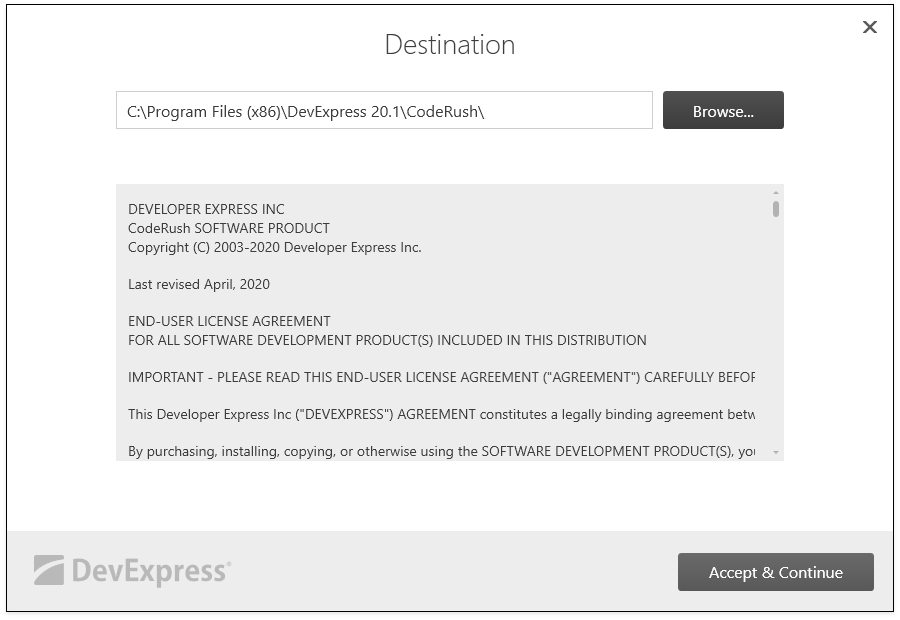
Choose the path where you want to install CodeRush. Click Accept & Continue if you accept the end-user license agreement.
A progress bar shows the progress during the installation.
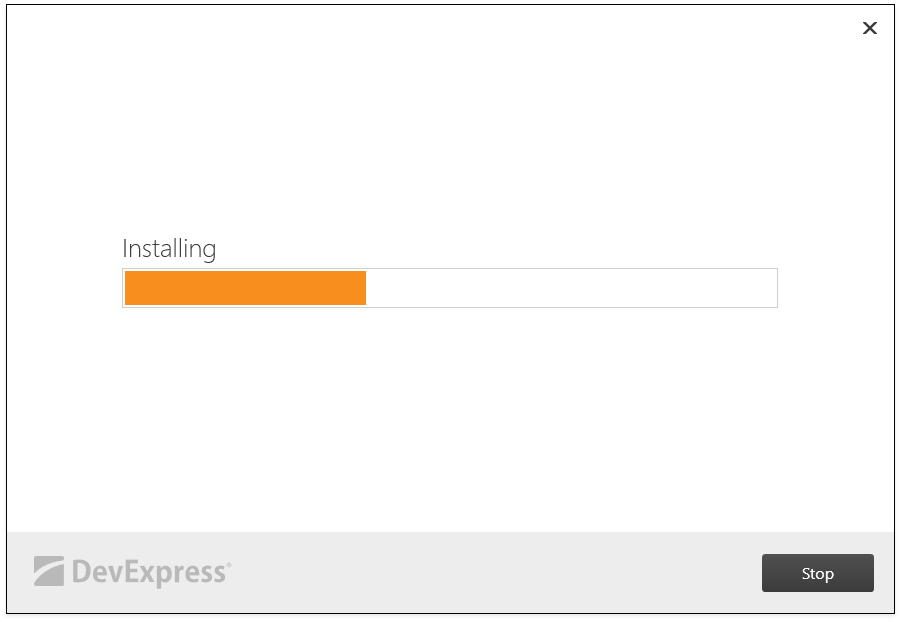
To interrupt or cancel the installation process, click Stop.
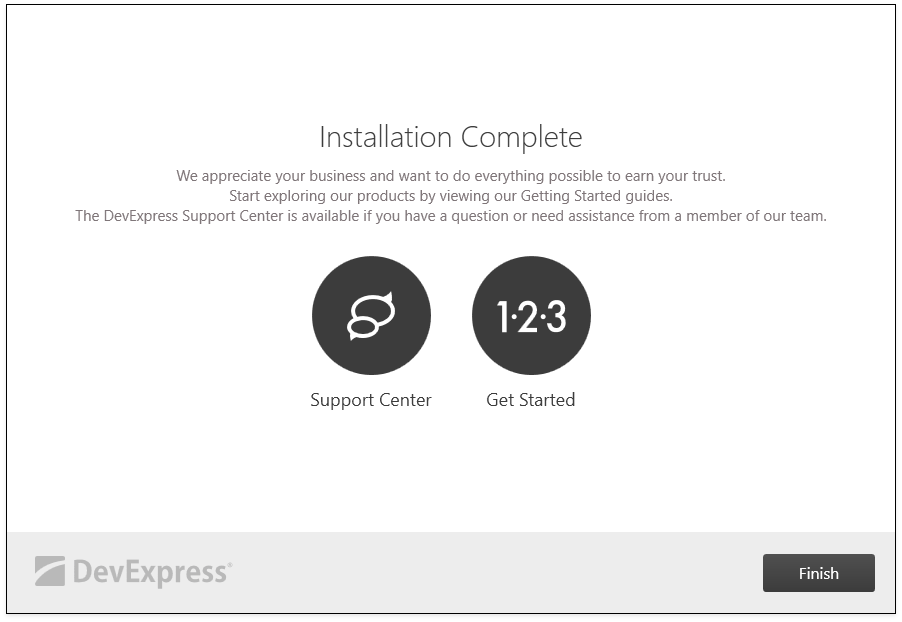
On the Installation Complete page, click Finish to close the installer.
Run Visual Studio and explore CodeRush’s main features. Refer to the First Steps topic for more information.
Remove Previous CodeRush Versions
If you remove legacy CodeRush versions installed via the .exe installer, CodeRush is uninstalled in all Visual Studio versions (2015, 2017, 2019, 2022). Since the .exe installer installs/removes an extension by the id and does not check its current version. To uninstall CodeRush and leave its latest version, remove old CodeRush versions and then install the latest CodeRush version using one of the ways described in the Installation section.
Perform the following actions to remove previous CodeRush versions:
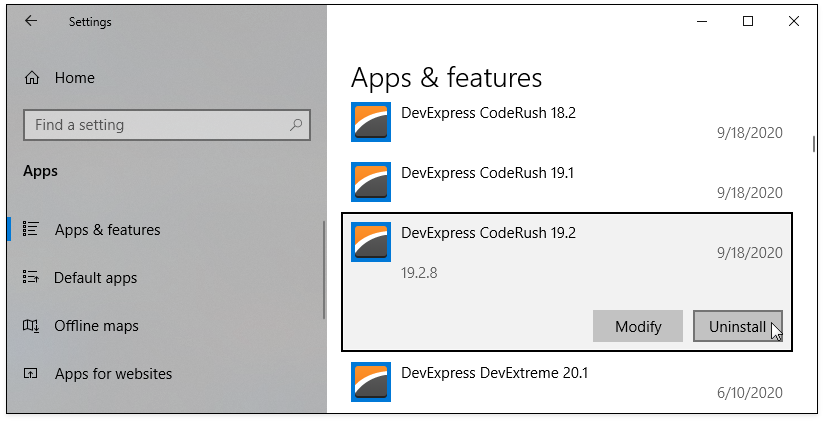
Open Apps & features on your machine settings, select any of installed CodeRush versions, for example, “DevExpress CodeRush 19.2”, and click Uninstall.
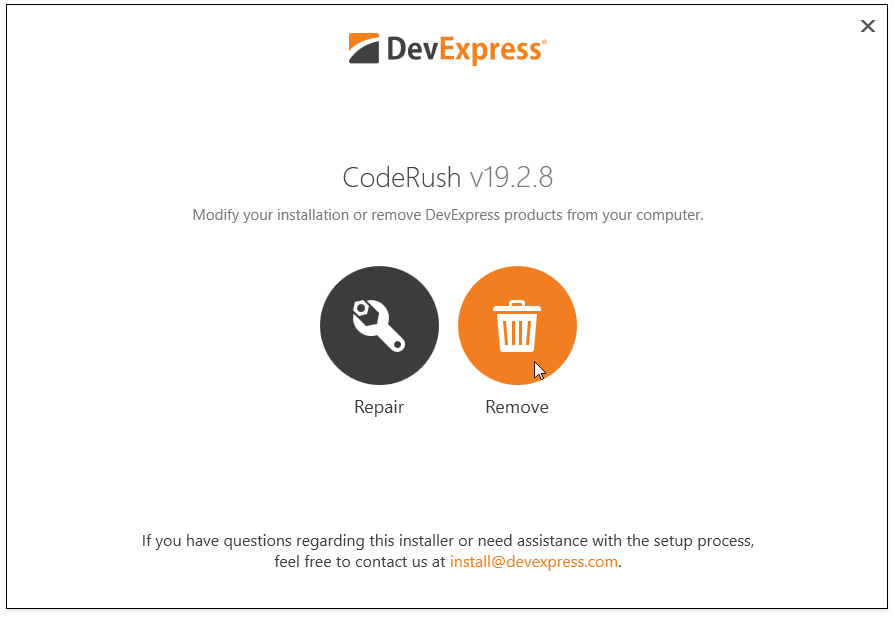
In the CodeRush installer dialog, click Remove.
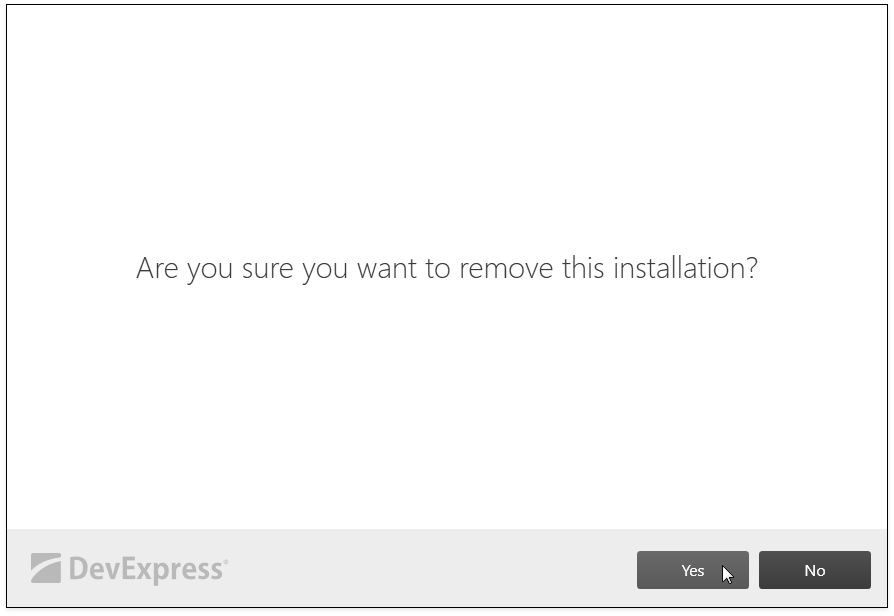
Click Yes to confirm removal.
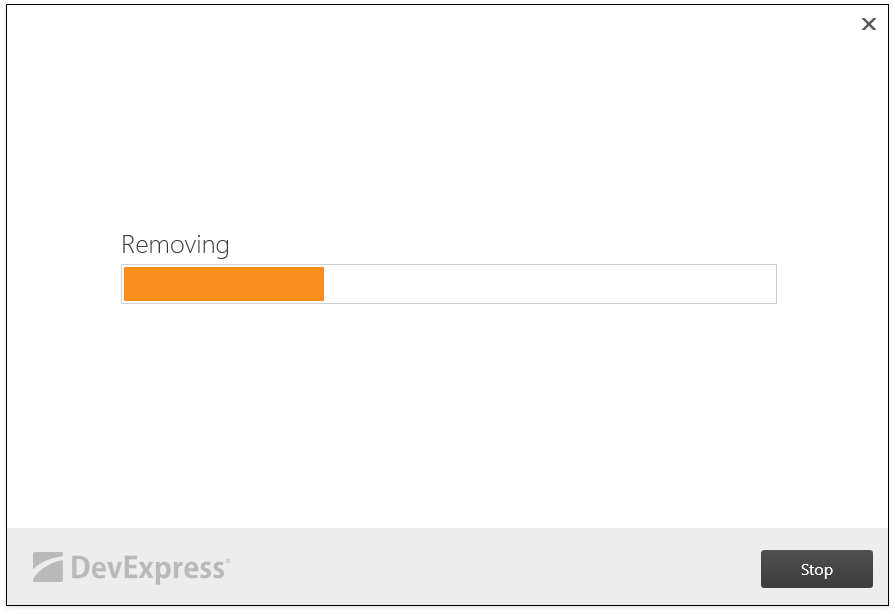
Wait until the process is completed.
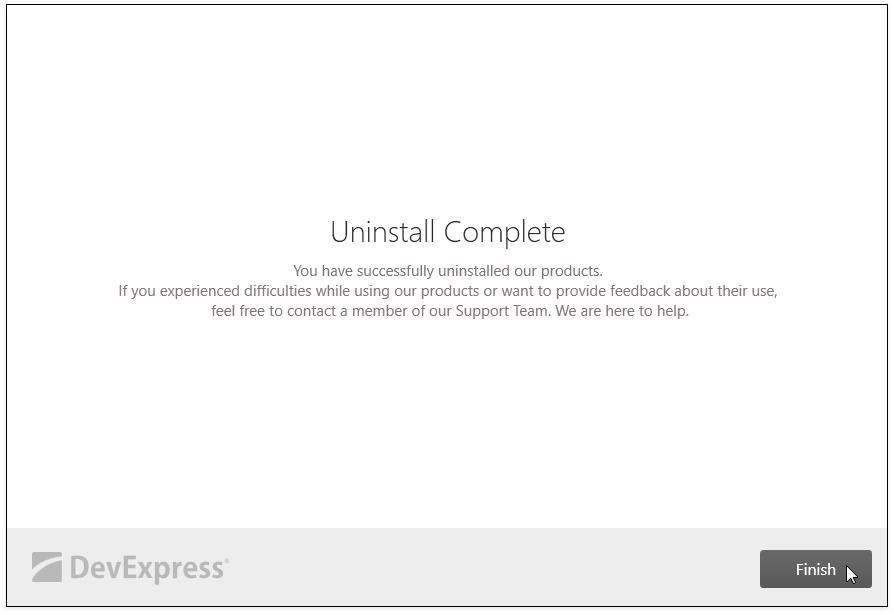
Click Finish to close the installer dialog.
Repeat the previous steps for other old CodeRush versions, for example, the “DevExpress CodeRush 19.1”, and “DevExpress CodeRush 18.2” in the Apps & features.