Create a Standalone Web API Application
- 2 minutes to read
This topic contains step-by-step instructions on how to create an application with the Web API. For more information on the Web API, see the following topic: Backend Web API Service.
Note
The Solution Wizard template for Web API .NET 6-based projects is available in Visual Studio 2022+ after you run the Universal Component Installer from the Download Manager.
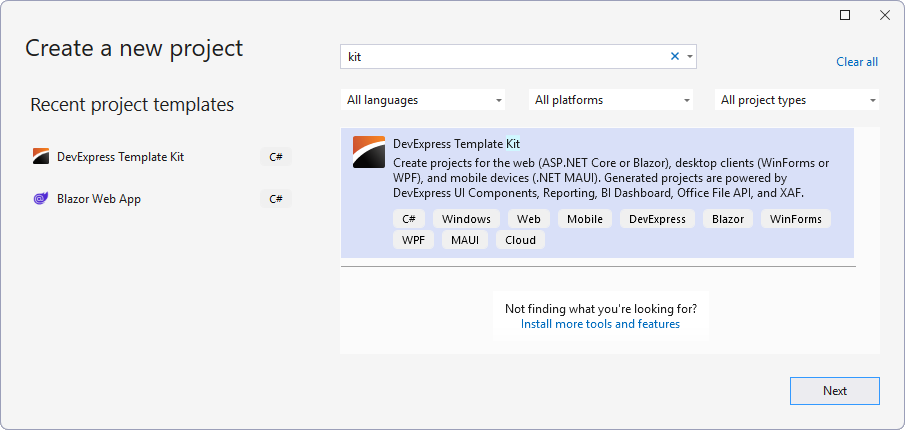
Create a new solution in Visual Studio. Select the DevExpress v24.2 XAF Template Gallery project template and click Next.
Specify the name and location of the new project (solution), and click Create.
Ensure that the .NET Core platform is selected and run the XAF Solution Wizard.
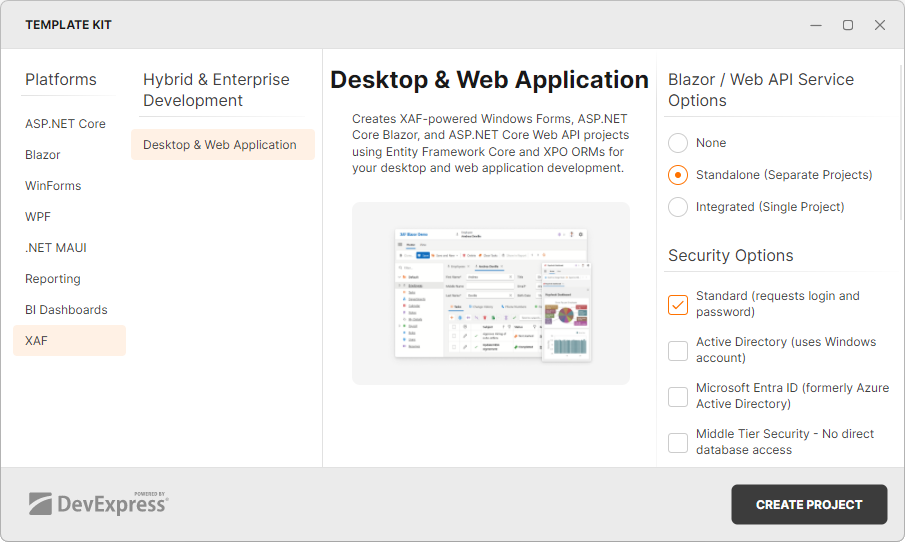
In the Solution Wizard, select Service (ASP.NET Core Web API) and other platforms that you wish to add to the solution.
Select the XPO ORM or EF Core ORM for your application and click Next.
Choose the security options for your application.
See the following topic for details: Authentication in Web API projects.
If you selected ASP.NET Core Blazor on the Choose Target Platforms page, you can also specify if the Web API service should be added as a separate project or integrated into a Blazor application project:
Select additional modules, if necessary. See the following documentation section for additional information on these extra modules: Paid/Enterprise Modules.
This step only applies if you used the “Sha512” algorithm to encrypt passwords in your existing XAF application and want to reuse the same database. In such instances, set the PasswordCryptographer.SupportLegacySha512 property to
true
for backward compatibility.File: MySolution.WebApi\Startup.cs
public class Startup { // ... public void ConfigureServices(IServiceCollection services) { // ... PasswordCryptographer.SupportLegacySha512 = true; // ... } }