Create Multiple View Variants (.NET 5)
- 3 minutes to read
This lesson explains how to create multiple customized variants of the same View, and allow a user to choose the desired View variant at runtime. Variants can be applied to List Views and Detail Views. In this lesson, we create two variants of the Contact List View in the Model Editor. We reference the View Variants Module and add the Change Variant Action to switch between these View variants.
Note
Before proceeding, take a moment to review the following lessons:
- Inherit from the Business Class Library Class (XPO/EF)
- Change Field Layout and Visibility in a List View
Step-by-Step Instructions
Add the DevExpress.ExpressApp.ViewVariantsModule NuGet package to the MySolution.Module project. See the following topic for more information on how to install DevExpress NuGet packages: Install DevExpress Controls Using NuGet Packages.
In the module project’s constructor, add the View Variants Module to the ModuleBase.RequiredModuleTypes list:
File: MySolution.Module\Module.cs
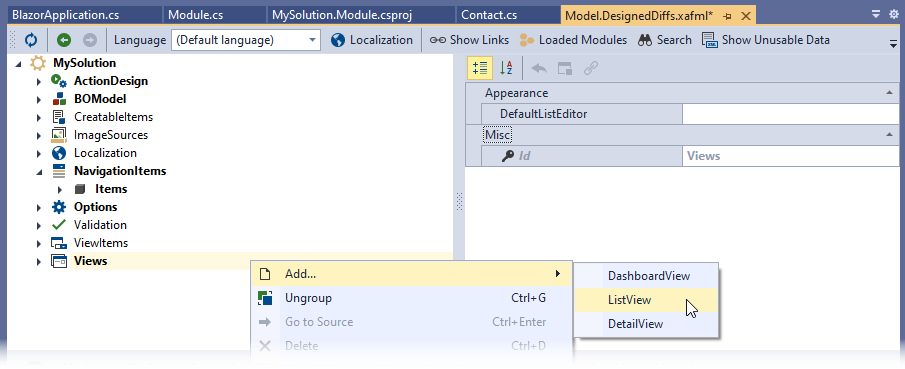
using DevExpress.ExpressApp.ViewVariantsModule;

namespace MySolution.Module {
    public sealed partial class MySolutionModule : ModuleBase {
        public MySolutionModule() {
            InitializeComponent();
            this.RequiredModuleTypes.Add(typeof(ViewVariantsModule));
        }
        // ...
    }
}
Invoke the Model Editor for the MySolution.Module project. Right-click the Views node and select Add… | ListView.
For the new node, set the Id property to Contact_ListView_AllColumns and the ModelClass property to Contact.
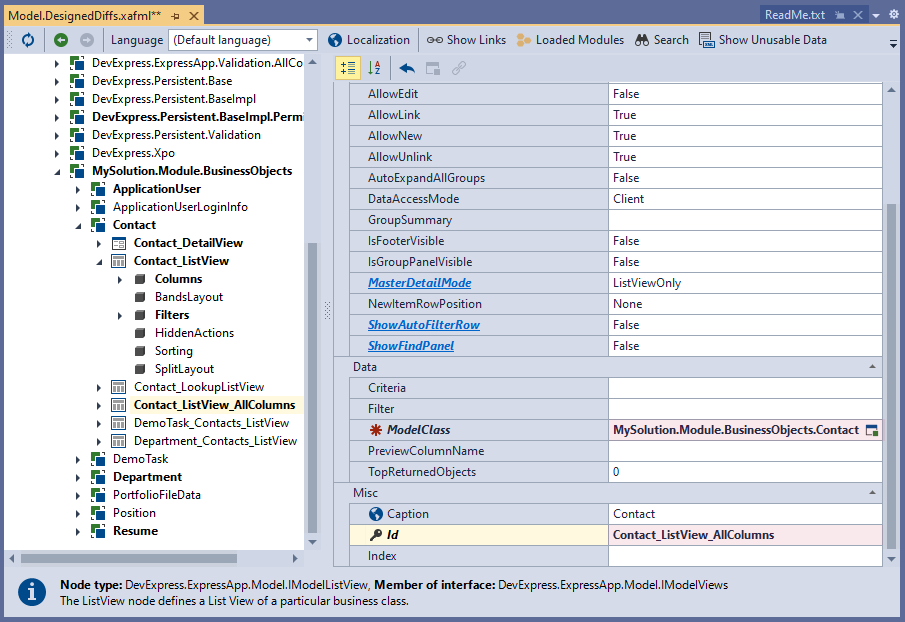
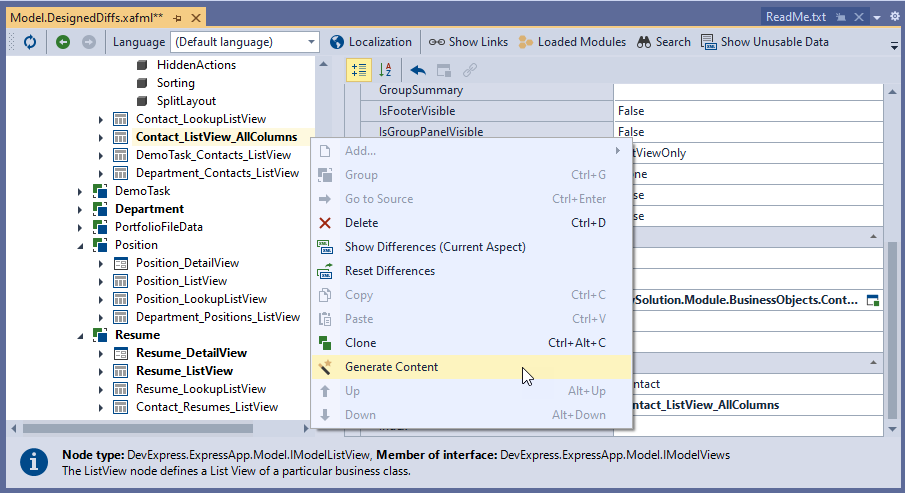
Right-click the newly created node and select Generate Content. The Model Editor uses information from the Contact class (the BOModel | Contact node) and its ancestors to generate columns. As a result, Contact_ListView_AllColumns contains all Contact columns.
Right-click the Views node and select Add… | ListView. For the new node, set the Id property to Contact_ListView_Varied and the ModelClass property to MySolution.Module.BusinessObjects.Contact. Do not generate content for this node.
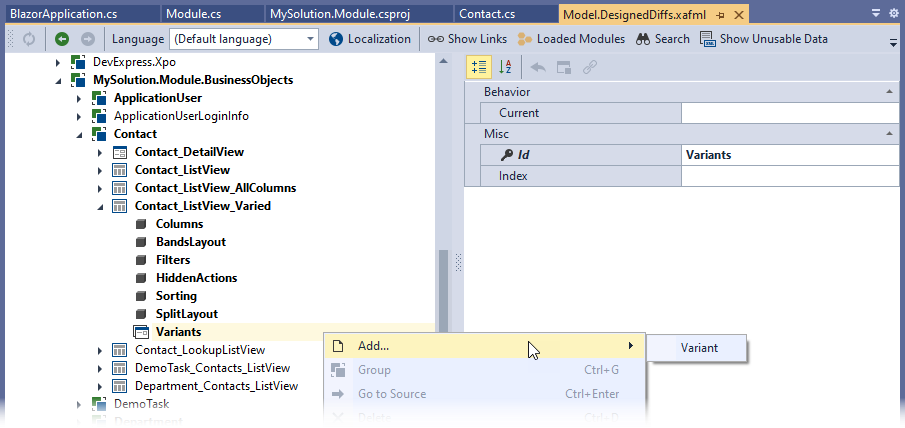
Expand the newly added Contact_ListView_Varied node, right-click the Variants child node, and select Add… | Variant.
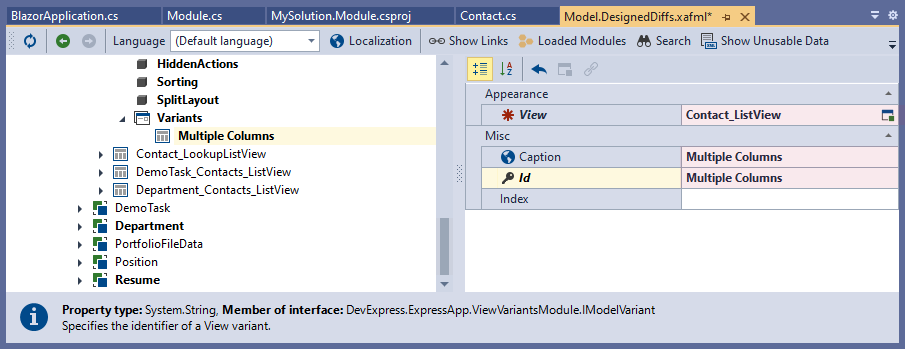
Set the View property to Contact_ListView, and set the Id and Caption properties to Multiple Columns.
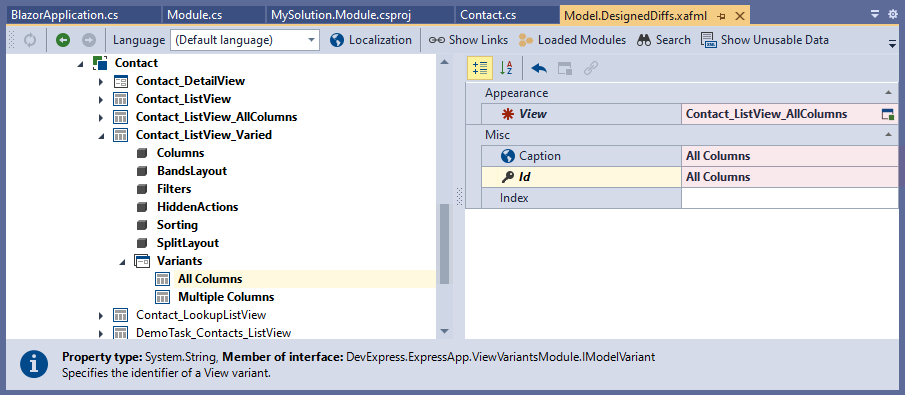
Right-click the Variants node and select Add… | Variant. For the new node, set the View property to Contact_ListView_AllColumns, and set the Id and Caption properties to All columns.
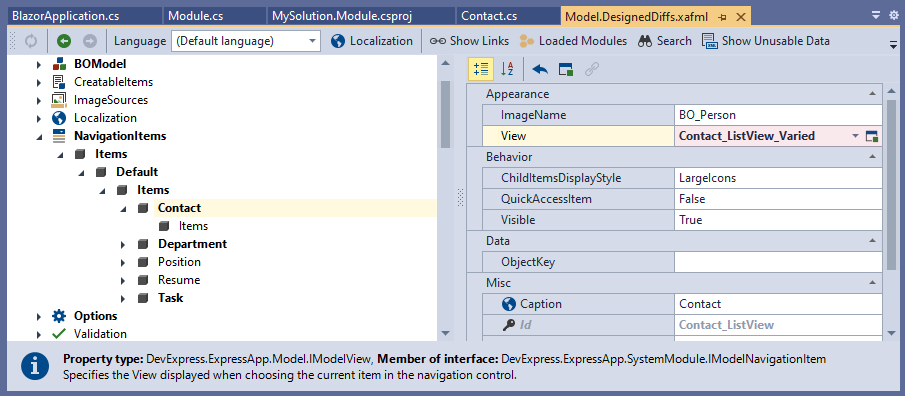
Navigate to the NavigationItems | Items | Default | Items | Contact node. Set its View property to Contact_ListView_Varied.
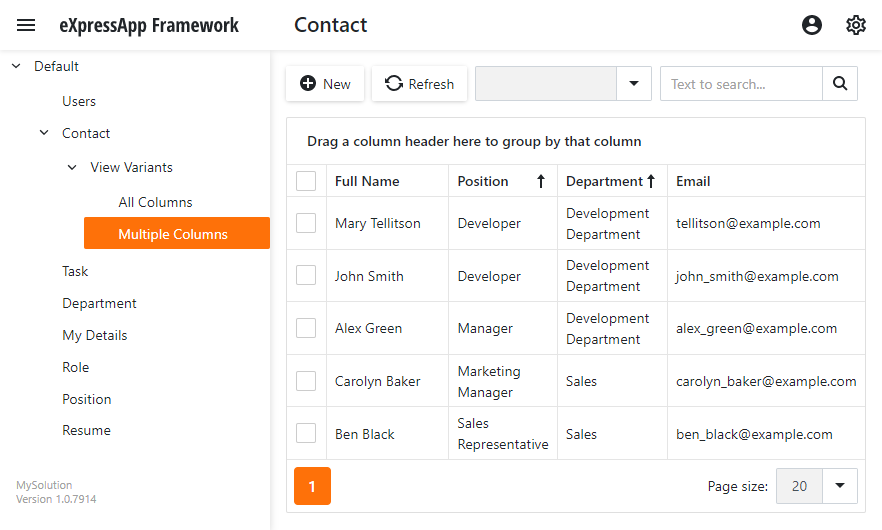
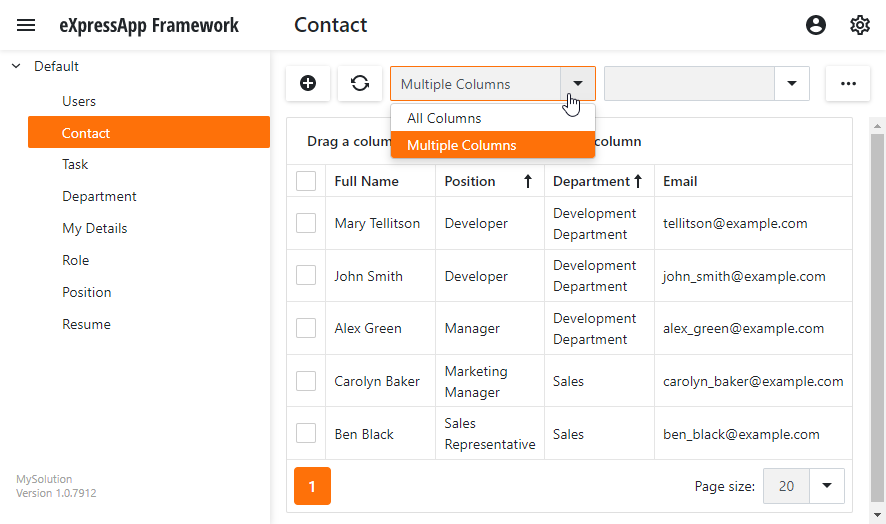
Run the Blazor Application. Select the Contact item. The Contact List View contains the Change Variant Action. The Change Variant Action includes items specified in the Model Editor.
Additional Information
Specify Variant Sort Order
You can use the Index property to specify the sort order of variants in the Change Variant Action drop-down list. Additionally, you can set the Current property of the Variants node to specify the default variant.
Add View Variants to the Navigation Control
Invoke the Model Editor and set the GenerateRelatedViewVariantsGroup property of the NavigationItems node to true to add View variants to the navigation control.
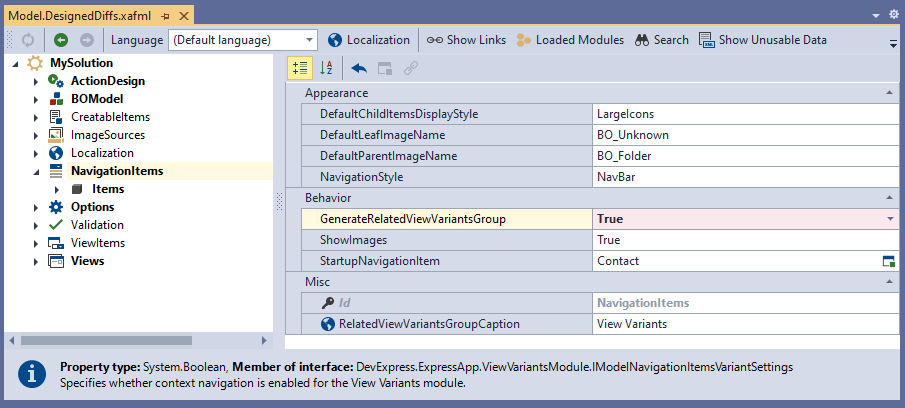
As a result, the Contact navigation item exposes child items for each View variant.