Set a One-to-Many Relationship (EF Core)
- 3 minutes to read
This lesson explains how to create a one-to-many relationship between business objects and how XAF generates the UI for such a relationship.
Note
Before you proceed, take a moment to review the previous lessons:
Step-by-Step Instructions
Add the
Departmentclass. Right-click the Business Objects folder in the MySolution.Module project, choose Add | Class…. Specify Department.cs as the new class name, and click Add. Replace the autogenerated code with the following:using System; using System.Collections.Generic; using System.ComponentModel; using DevExpress.Persistent.Base; namespace MySolution.Module.BusinessObjects { [DefaultClassOptions] [DefaultProperty(nameof(Title))] public class Department : INotifyPropertyChanged{ [Browsable(false)] public Int32 ID { get; protected set; } string title; public string Title { get => title; set { if(title == value) { return; } title = value; OnPropertyChanged(); } } string office; public string Office { get => office; set { if(office == value) { return; } office = value; OnPropertyChanged(); } } public event PropertyChangedEventHandler PropertyChanged; protected void OnPropertyChanged([System.Runtime.CompilerServices.CallerMemberName] string propertyName = null) { PropertyChanged?.Invoke(this, new PropertyChangedEventArgs(propertyName)); } } }Register the
Departmentclass inDbContext. Edit the BusinessObjects\MySolutionDbContext.cs file as shown below.public class MySolutionDbContext : DbContext { //... public DbSet<Department> Departments { get; set; } }To implement the “One” part of the Department-Contact relationship, add a virtual
Departmentproperty to theContactclass.public class Contact : Person { //... Department department; public virtual Department Department { get => department; set => SetReferencePropertyValue(ref department, value); } }To implement the “Many” part of the Department-Contacts relationship, add the Contacts property to the Department class and initialize it in the constructor.
public class Department {
    public Department() {
        Contacts = new List<Contact>();
    }
    //...
    IList<Contact> contacts;
    public virtual IList<Contact> Contacts {
        get => contacts; set {
            if(contacts == value) {
                return;
            }

            contacts = value;
            OnPropertyChanged();
        }
    }

}
Run the application.
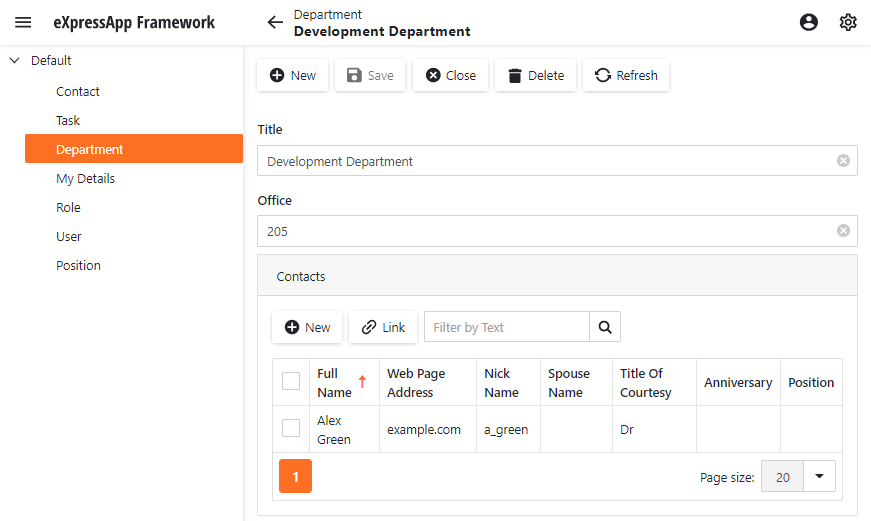
Open the Department detail view. You can see the Contacts group. To add objects to the Contacts collection, use the New or Link button in this tab. The Link button allows users to add references to existing Contact objects.
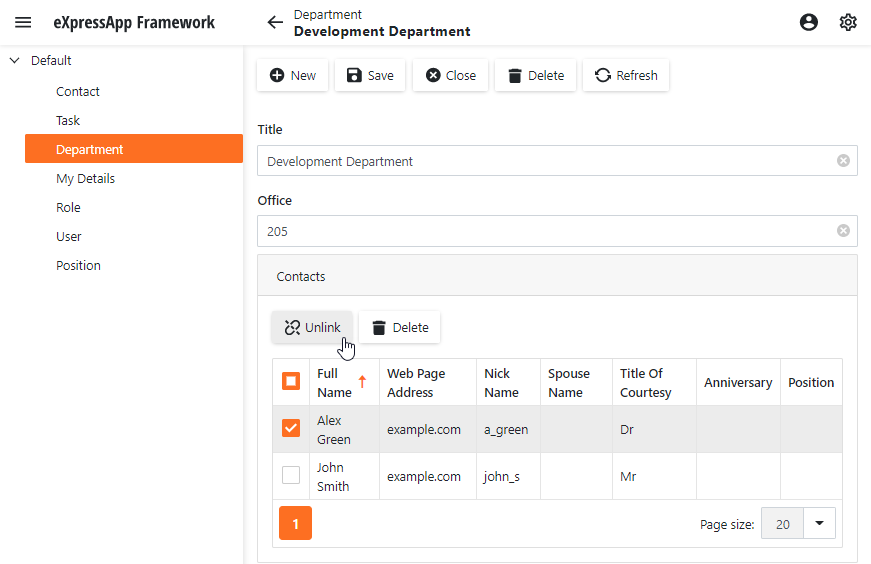
To remove a reference to an object from this collection, select this object and click Unlink.
Tip
If you create a new Department and then create a new Contact in the Contacts collection, an associated Department is not immediately visible in the Detail View of the newly created Contact. The link between these objects is added later, when you save the Contact. You can change this behavior using the XafApplication.LinkNewObjectToParentImmediately property. When it is set to true, the link will be created and saved immediately after you click New.
Next Lesson
Initialize Business Object Properties (EF Core)