Print and Export in Code
- 3 minutes to read
This tutorial describes how to access the methods of a client-side Document Viewer instance that will print or export a report by clicking a corresponding button on the web page.
To enable printing or exporting a web report on the client side, do the following.
- To get started with this tutorial, open an existing reporting application or create a new one from scratch.
- Add a new blank report to the application and create its content.
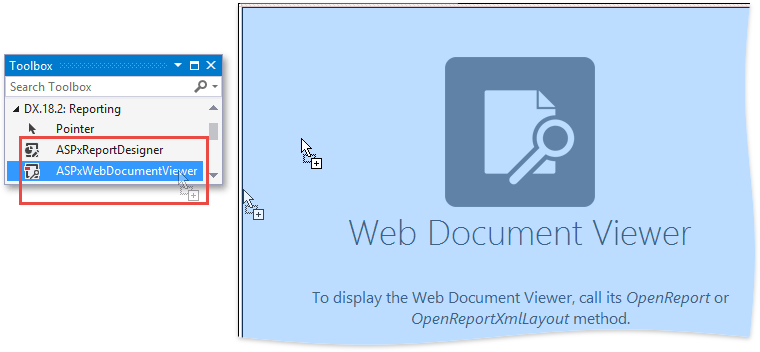
Drag-and-drop the ASPxWebDocumentViewer control from the DX.18.2: Reporting Toolbox tab onto the web page.
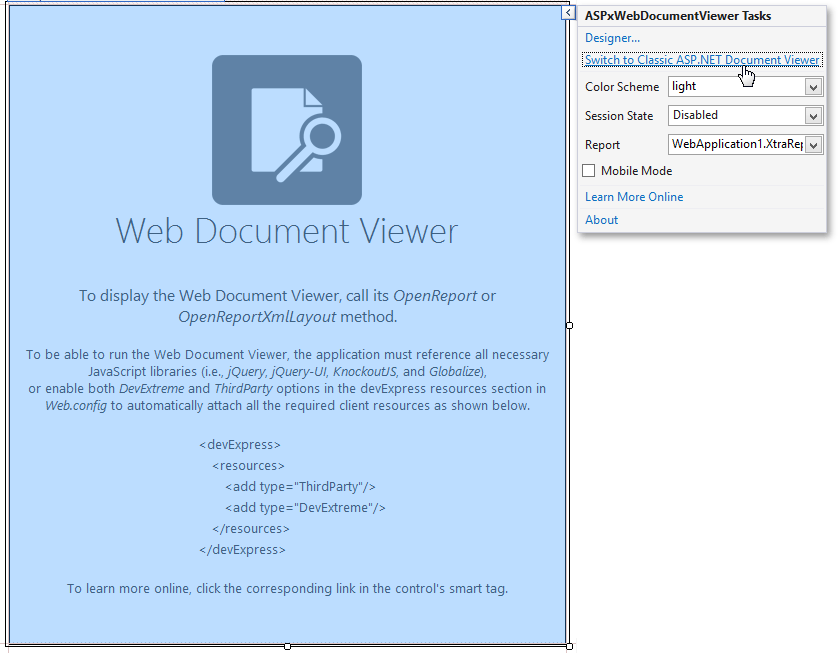
At this moment, you can choose whether to continue using the HTML5 Document Viewer that has been created by default, or switch to using the ASP.NET Document Viewer by selecting a corresponding action in the control’s smart tag.
The difference in using these controls will be illustrated later in this document.
To assign the report to the Document Viewer, click the control’s smart tag and specify the report:
- for an HTML5 Document Viewer, use the Report drop-down menu;
- for an ASP.NET Document Viewer, use the Local Report drop-down menu.

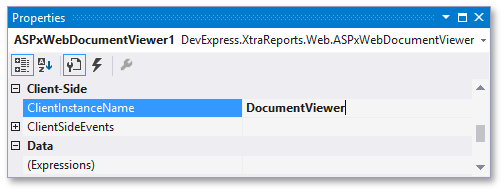
Specify the name by which to address a Document Viewer on the client side to (e.g., DocumentViewer):
- for an HTML5 Document Viewer, use the ASPxWebDocumentViewer.ClientInstanceName property;
- for an ASP.NET Document Viewer, use the ASPxDocumentViewer.ClientInstanceName property.
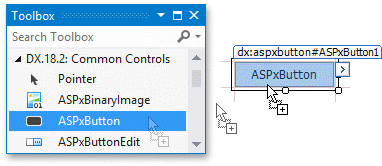
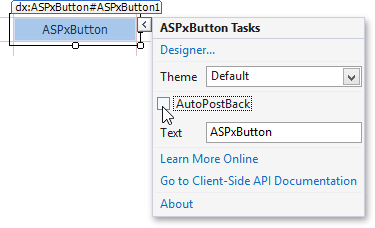
Next, drag-and-drop the ASPxButton control from the DX.18.2: Common Controls Toolbox tab onto the page.
Click the button’s smart tag, and in its actions list, disable the button’s ASPxButton.AutoPostBack property.
In the same actions list, click the Designer… link.
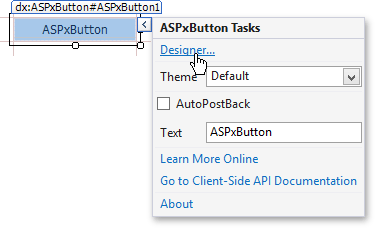
In the invoked ASPxButton Designer, select the button’s Click event handler and write the appropriate code into it.
For an HTML5 Document Viewer:
function(s, e) {
    // The following line prints the document.
    // To print a specific document page, specify its index as the method's parameter.
    DocumentViewer.Print();

    // The following line saves the document as a PDF file.
    // To export the document to a specific format, specify it as the method's parameter.
    // The following formats are currently supported:
    // 'csv', 'html', 'image', 'mht', 'pdf', 'rtf', 'txt', 'xls', and 'xlsx'.
    DocumentViewer.ExportTo();
}
This code addresses the ASPxClientWebDocumentViewer by its client-side name and invokes its ASPxClientWebDocumentViewer.Print and ASPxClientWebDocumentViewer.ExportTo methods.
Note
To print a report, the HTML5 Document Viewer first converts it to PDF, which requires that the web browser supports PDF printing. Otherwise, an attempt to print a report will instruct the web browser to download and open the corresponding PDF. This will execute an embedded script displaying a prompt to install a third-party browser extension on accepting its license agreement.
For an ASP.NET Document Viewer:
function(s, e) {
    DocumentViewer.GetViewer().Print();
    DocumentViewer.GetViewer().SaveToDisk('PDF');
    DocumentViewer.SaveToWindow('PDF');
}
This code gains access to the Document Viewer on the client side (addressing an instance of the ASPxClientDocumentViewer class and calling its GetViewer method) and invokes the following methods:
- ASPxClientReportViewer.Print - prints the document;
- ASPxClientReportViewer.SaveToDisk - exports the document in one of the supported formats (specified in the parameter value) and saves it to the hard drive;
- ASPxClientReportViewer.SaveToWindow - exports the document to a specified format and opens the created file in a new browser window.
Run the application and click the button displayed on the web page to perform the specified actions.