Adding a New Report to an ASP.NET WebForms Application
- 3 minutes to read
This tutorial describes how to add a new report to an ASP.NET Web Application or ASP.NET Web Site at design time within Visual Studio:
Tip
When starting a new web project using Visual Studio, you can choose between creating a Web Application and a Web Site.
We recommend using Web Applications to ensure greater extensibility and easier support of your project in the future.
See the following topic in MSDN to learn more: Web Application Projects versus Web Site Projects in Visual Studio.
Creating a New Application
Create a New Web Application
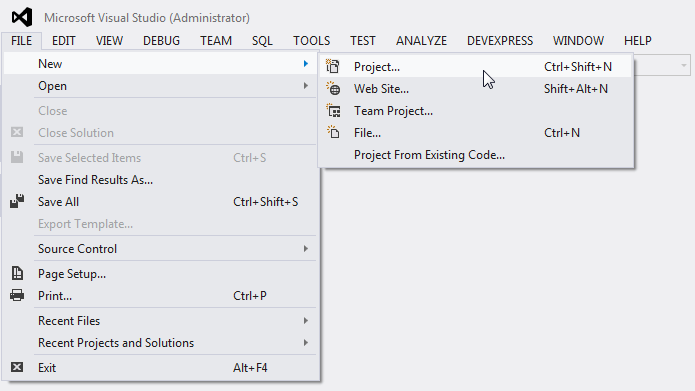
To create a new Web Application, start Microsoft Visual Studio 2010, 2012, 2013, 2015 or 2017 and press CTRL+SHIFT+N, or click FILE | New | Project… in the main menu.
In the New Project dialog that is invoked, expand the Installed category, select a programming language (Visual C# or Visual Basic) in the Templates section and select ASP.NET Web Application.

Specify the application name and click OK.
Create a New Web Site
To create a Web Site in Visual Studio instead of a Web Application, press CTRL+SHIFT+A or click FILE | New | Web Site… in the main menu.

In the New Project dialog that is invoked, expand the Installed category, and select a programming language (Visual C# or Visual Basic) in the Templates section. Then select ASP.NET Empty Web Site and click OK.

Adding a New Report
Do the following to add a new report to your web project:
Start by creating a new folder (named Reports) to store all reports in the Web application. To do this, switch to the Solution Explorer window (by pressing CTRL+ALT+L) and right-click WebApplication1. In the menu that is invoked, select Add | New Folder.

Note
When working with a Web Site, report classes must be placed into a specific directory called App_Code.
In Solution Explorer, select the folder that stores reports and press CTRL+SHIFT+A, or select PROJECT | Add New Item… in the main menu.

In the Add New Item dialog that is invoked, switch to the Reporting directory, select DevExpress v17.2 Report Wizard, specify the report name and click Add.

Note
When adding a new report to a Web Site, you may be prompted to select whether or not to place the report class into the App_Code directory. Choose Yes for the report to work correctly.

This invokes the Report Wizard where you can choose to create a blank or data-bound report.
Tip
See First Look at the Report Designer to learn about the basics of creating reports in Visual Studio.