Lesson 1 - Add a GridControl to a Project and Bind it to Data
- 2 minutes to read
This tutorial demonstrates how to add a GridControl to your project and bind the control to a database:
Download the following blank sample project with an adjusted database connection:
Create a ViewModel template that implements ViewModelBase:
using DevExpress.Mvvm; namespace WPFBlankAppWithDatabase { public class ViewModel : ViewModelBase { } }Add the GridControl toolbox item to your project:

Visual Studio performs the following actions:
Adds the following references to the project:
- DevExpress.Data.Desktop.v22.1
- DevExpress.Data.v22.1
- DevExpress.Mvvm.v22.1
- DevExpress.Printing.v22.1.Core
- DevExpress.Xpf.Core.v22.1
- DevExpress.Xpf.Grid.v22.1
- DevExpress.Xpf.Grid.v22.1.Core
Generates the code below:
<dx:ThemedWindow
    xmlns="http://schemas.microsoft.com/winfx/2006/xaml/presentation"
    xmlns:x="http://schemas.microsoft.com/winfx/2006/xaml"
    xmlns:dx="http://schemas.devexpress.com/winfx/2008/xaml/core"
    xmlns:dxg="http://schemas.devexpress.com/winfx/2008/xaml/grid"
    x:Class="WPFBlankAppWithDatabase.MainWindow"
    Title="MainWindow" Height="450" Width="800">
    <dxg:GridControl AutoGenerateColumns="AddNew" EnableSmartColumnsGeneration="True">
        <dxg:GridControl.View>
            <dxg:TableView/>
        </dxg:GridControl.View>
    </dxg:GridControl>
</dx:ThemedWindow>
Build the solution to make the ViewModel class visible in the window’s Quick Actions.
Open the ThemedWindow‘s Quick Actions and specify the window’s data context:
Tip
You can use the Document Outline Window to select an element for which to invoke Quick Actions.
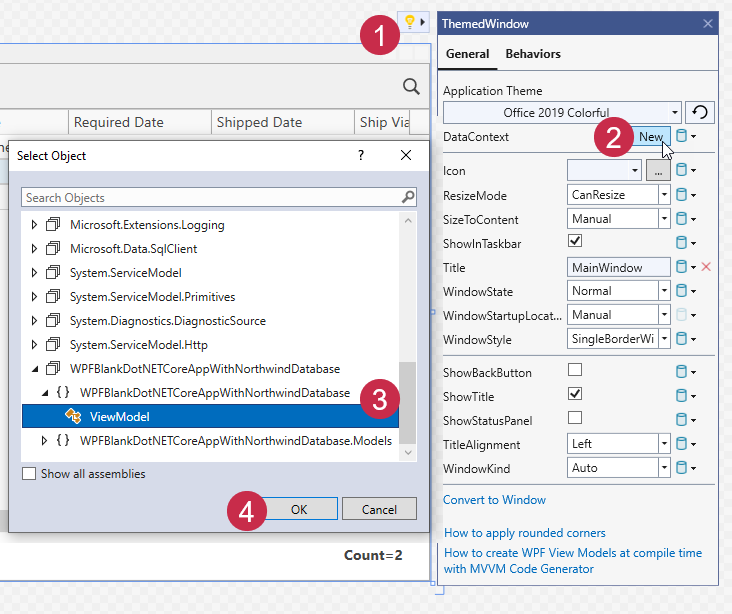
You can also define the window’s data context in code:
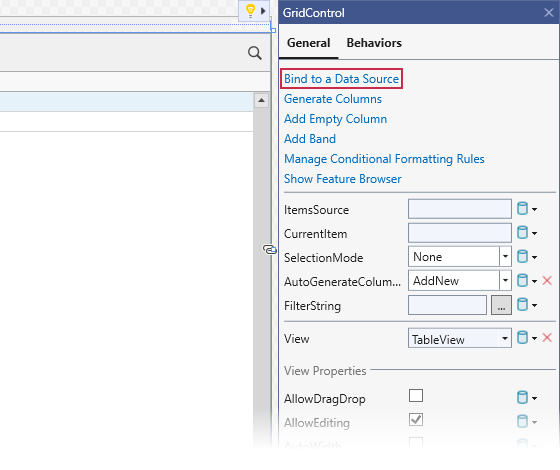
<dx:ThemedWindow
    ...
    xmlns:local="clr-namespace:WPFBlankAppWithDatabase">
    <dx:ThemedWindow.DataContext>
        <local:ViewModel/>
    </dx:ThemedWindow.DataContext>
Select the GridControl and invoke its Quick Actions. Launch the Items Source Wizard.
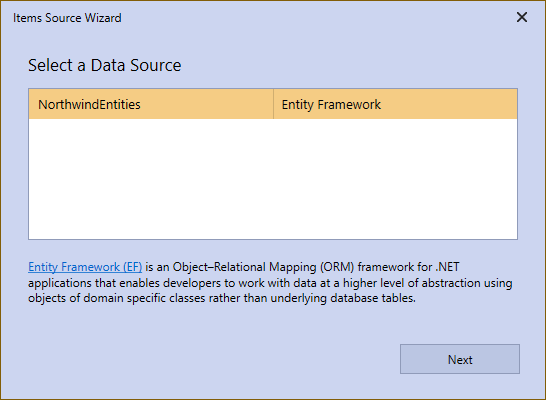
Select the data source.
Select the Order table.

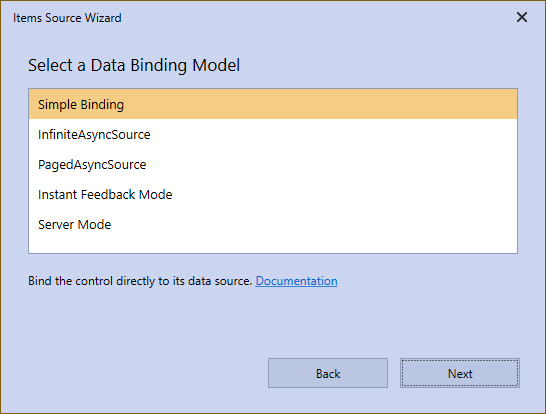
Select the Simple Binding model.
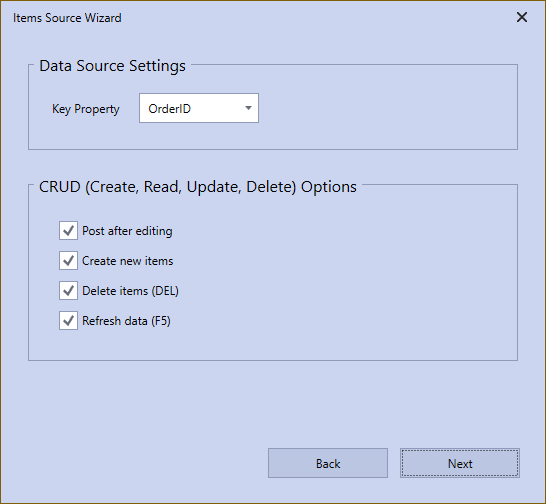
Ensure that the CRUD options are enabled.
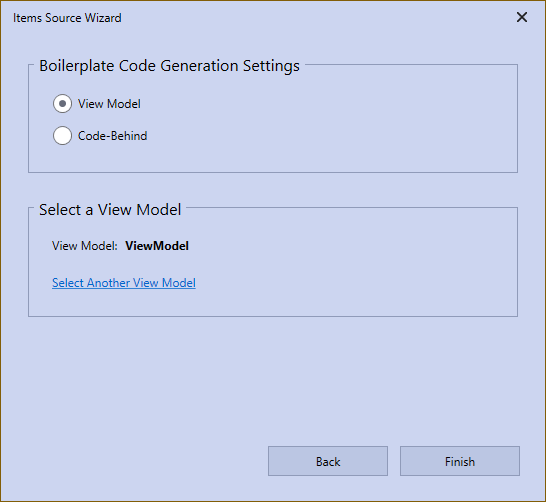
Select the ViewModel option to generate data binding code in the ViewModel class. Verify that the ViewModel class is selected as the View Model.
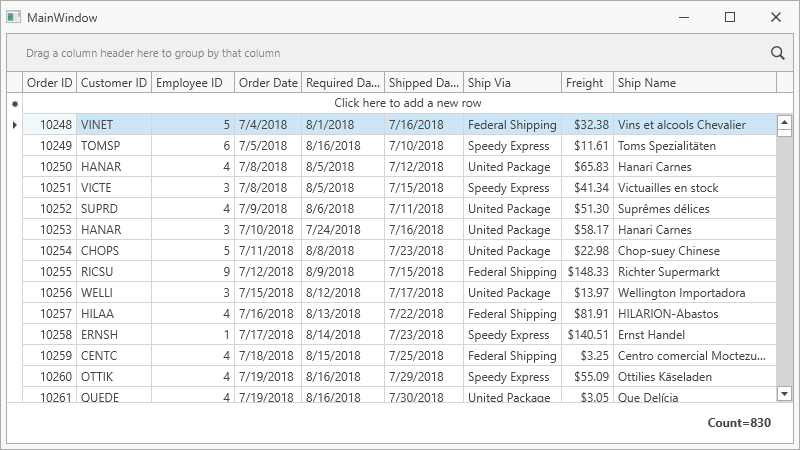
Run the project. The GridControl generates columns for all fields from a bound data source: