How to: Enable Masked Input (Text Editor)
- 2 minutes to read
TextEdit is a single or multiline text editor. It supports all basic text editing features like selections, built-in context menu, word wrapping, etc. It also supports masked input.
This document demonstrates how to create a TextEdit control and specify a phone mask.
Follow the steps listed below:
Steps 1-3. Create a New Project and Add a TextEdit
- Run MS Visual Studio.
- Create a new WPF Application project. For this, choose New Project on the File menu or press Ctrl+Shift+N and then choose WPF Application.
Add a TextEdit component to the project.
To do this, open the Visual Studio toolbox, locate the “DX: Common Controls” category, choose the TextEdit toolbox item and drop it onto the window.
<Window x:Class="Text_Editor_with_Mask.MainWindow"
        xmlns="http://schemas.microsoft.com/winfx/2006/xaml/presentation"
        xmlns:x="http://schemas.microsoft.com/winfx/2006/xaml"
        Title="MainWindow" Height="300" Width="300" xmlns:dxe="http://schemas.devexpress.com/winfx/2008/xaml/editors">
    <Grid>
        <dxe:TextEdit Margin="70,100,70,130" Name="textEdit1" />
    </Grid>
</Window>
Steps 4-5. Specify the Phone Mask
In the design view, select the TextEdit and click the smart tag glyph at the top right corner of the control to invoke the smart tag panel.
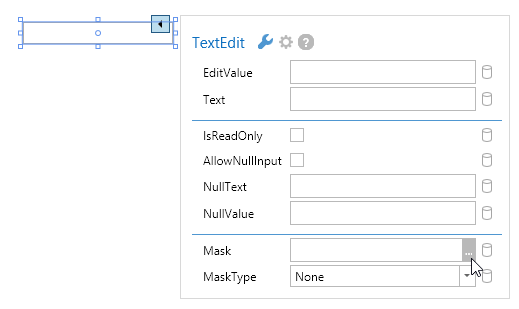
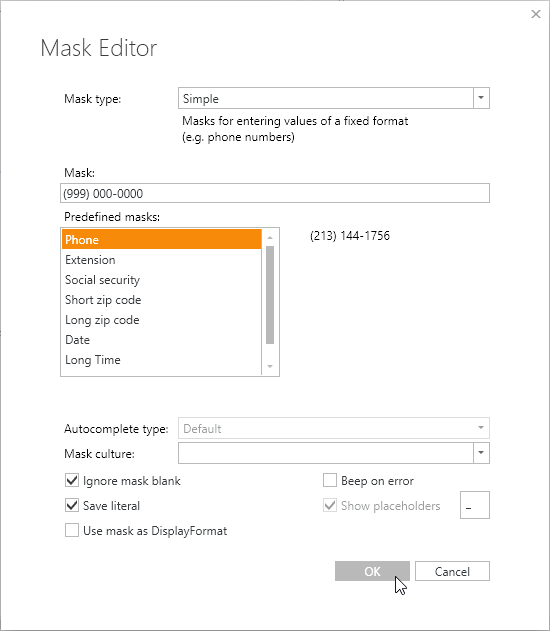
Locate the TextEdit.Mask property within the smart tag panel and click the ellipsis button to invoke the Mask Editor dialog window. Specify the desired mask and click OK.
The following code shows how to specify the mask in XAML.
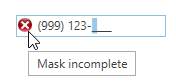
<dxe:TextEdit HorizontalAlignment="Center" VerticalAlignment="Center" Width="150" Mask="(999) 000-0000" MaskType="Simple"/>The image below shows the result.
To learn more, see Masked Input.