Use the Report Wizard to Create a Report
- 4 minutes to read
This topic describes how to invoke and use the Report Wizard, which provides a fast and convenient way to create reports in the Report Designer.
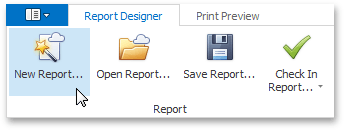
To invoke the Wizard, click the New Report… button in the Report tab of the ribbon toolbar.
Create an Empty Report
To create an empty report, select Empty Report in the first page of the Report Wizard and click Finish.
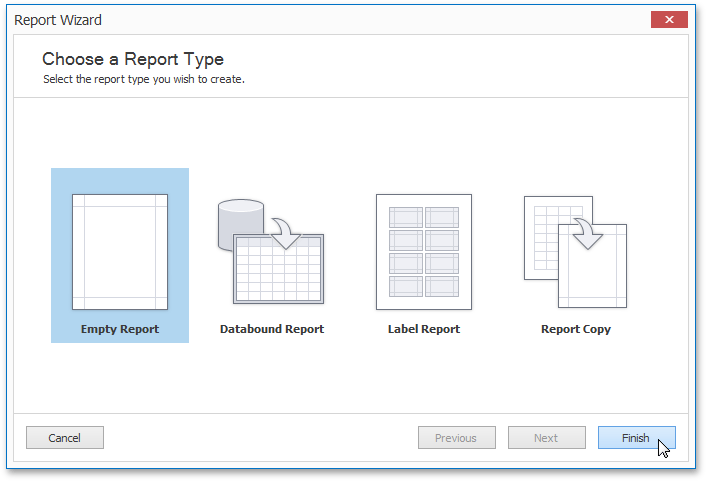
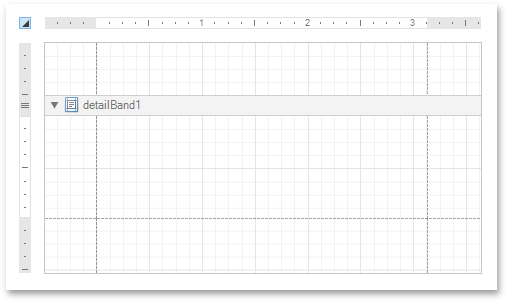
The report created will have no data bindings, and will only contain a Detail Band.
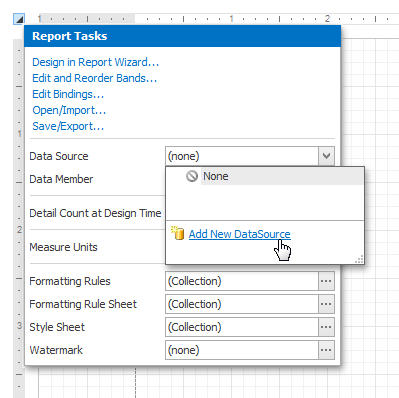
To provide data to your report, do the following:
Click the smart tag of the report, and in the invoked actions list, expand the Data Source drop-down list and click Add New DataSource.
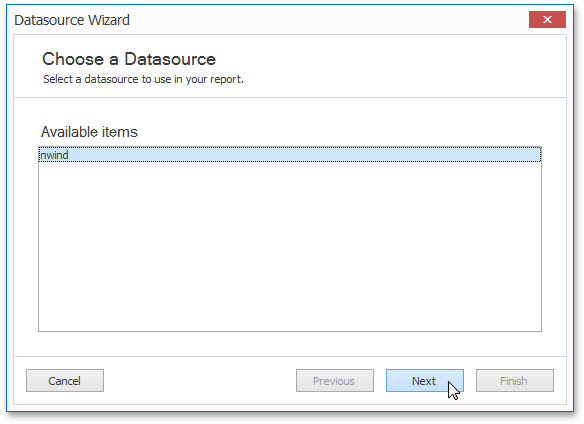
On the first page of the invoked Data Source Wizard, select the data source to use in your report from the list of available items.
On the next page, select tables or views from your database. If you choose multiple tables (e.g., to create a master-detail report), the Report Designer creates a data relationship between them (if possible).
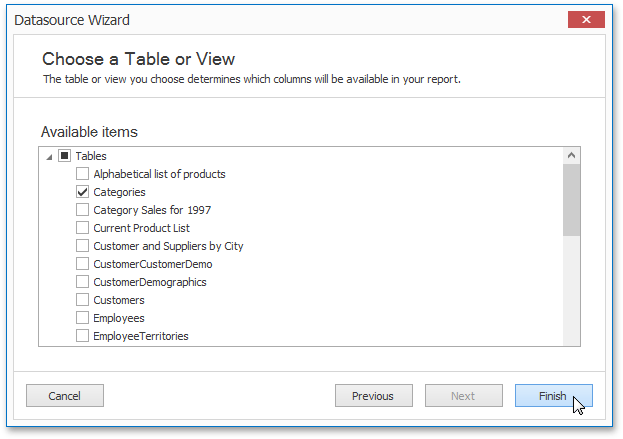
- Click Finish to exit the Data Source Wizard.
Create a Databound Report
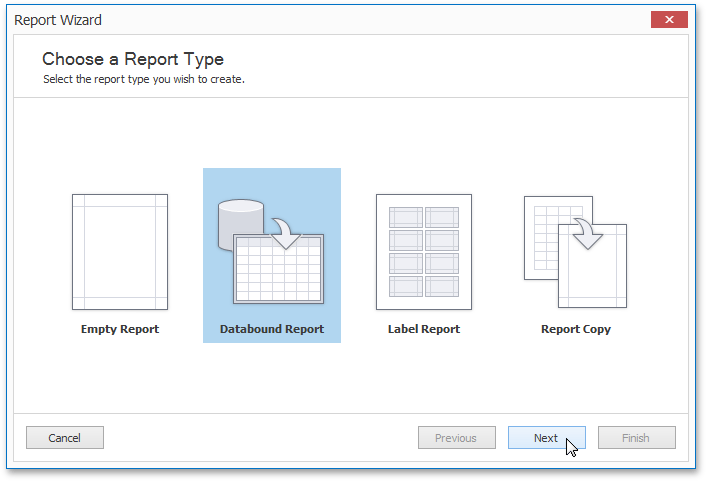
To create a data-bound report, select Databound Report on the first page of the Report Wizard and click Finish.
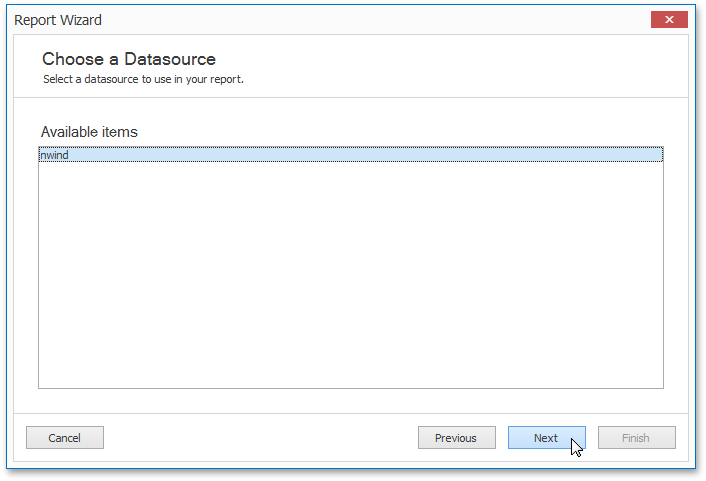
On the second page, select the data source to which you want to connect your report from the list of available items, and click Next.
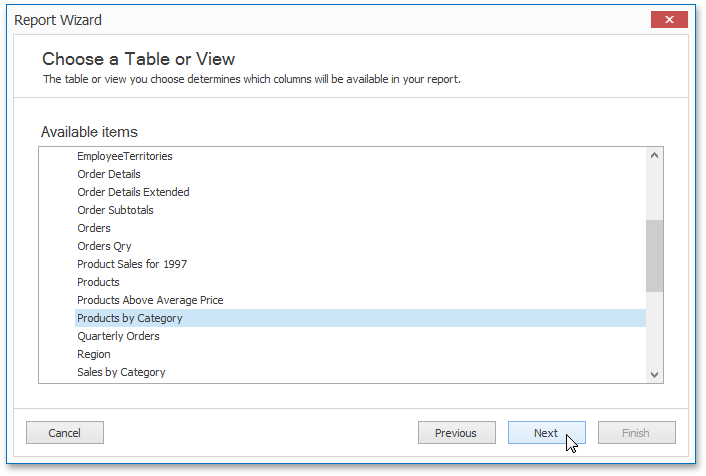
On the next page, select the Table or View you wish to use in the report from the list of available items, and click Next.
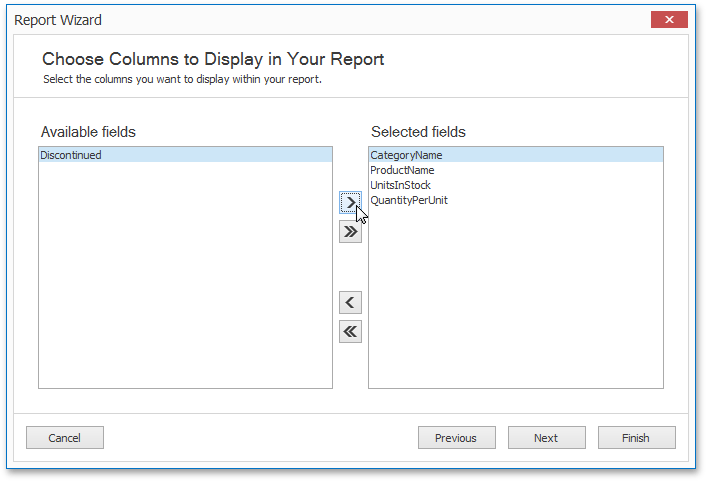
On the next page, select fields to be displayed in the report. The list on the left shows all available fields. To select the required item, click the item, and then click the right arrow (>) button.
Note that steps 5 through 10 below are optional. If you click Finish before reaching the last page of the Report Wizard, all settings that are not specified will be set to their default values.
The next page allows you to add grouping to the report. To add a grouping level, select the field that you wish to use as the grouping criteria, and click the right arrow button.
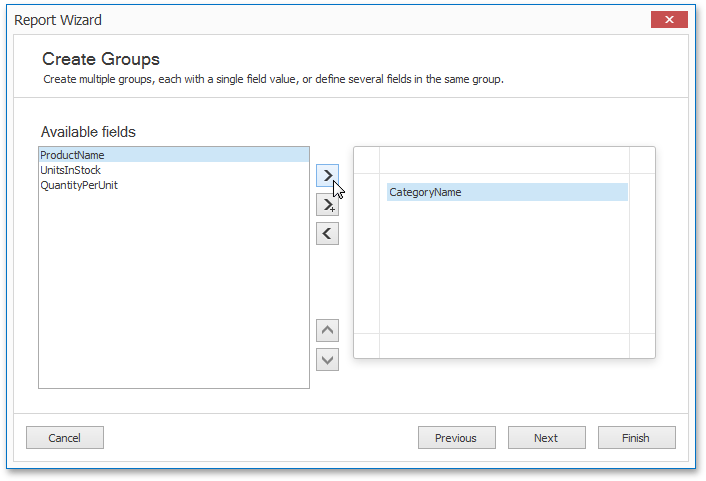
To add a field to an existing grouping level, select the field from the list of available items, select the grouping level from the list on the right, and click the arrow with the plus sign.
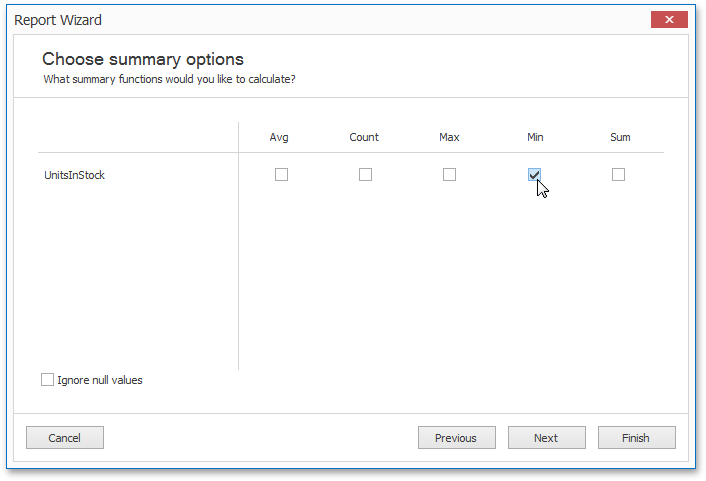
On the next page, you can specify a summary function to be calculated for any numeric data field in the report.
On the next page, you can select the layout of the report.

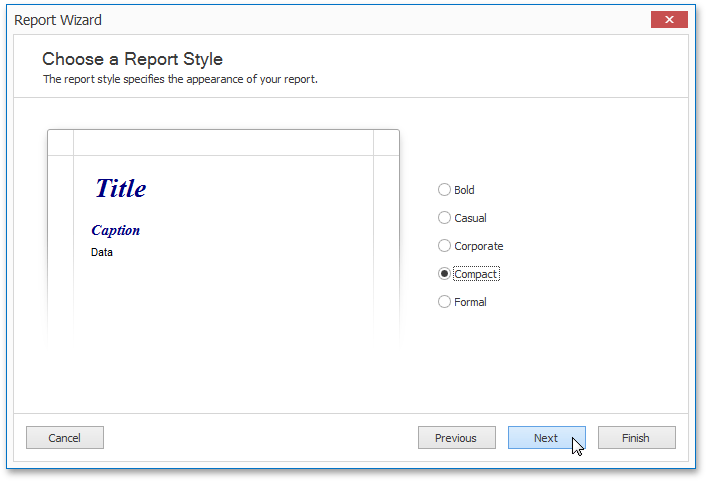
Next, you can specify a style for the report.
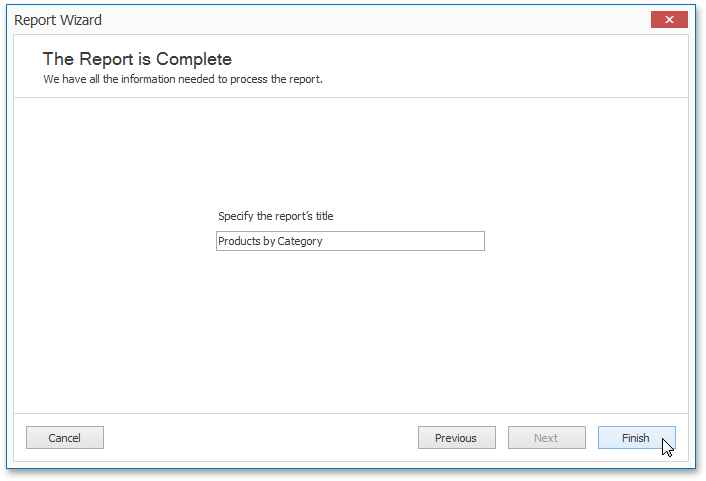
On the last page, specify the report’s title and click Finish to exit the wizard.
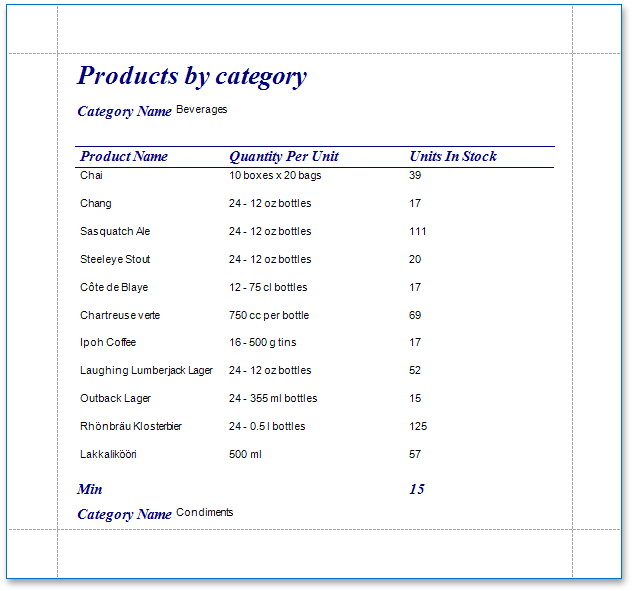
After the Report Wizard is closed, the report will be generated with the specified settings. Click the Print Preview tab in the ribbon menu to view the result.
Create a Label Report
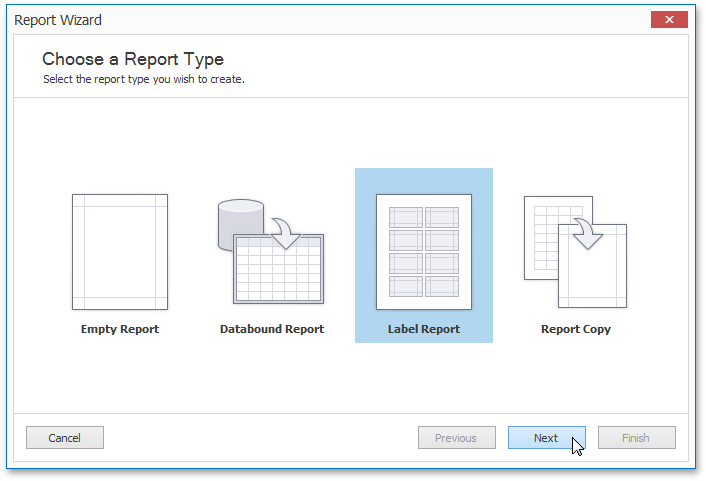
To create a label report, select Label Report on the first page of the Report Wizard and click Next.
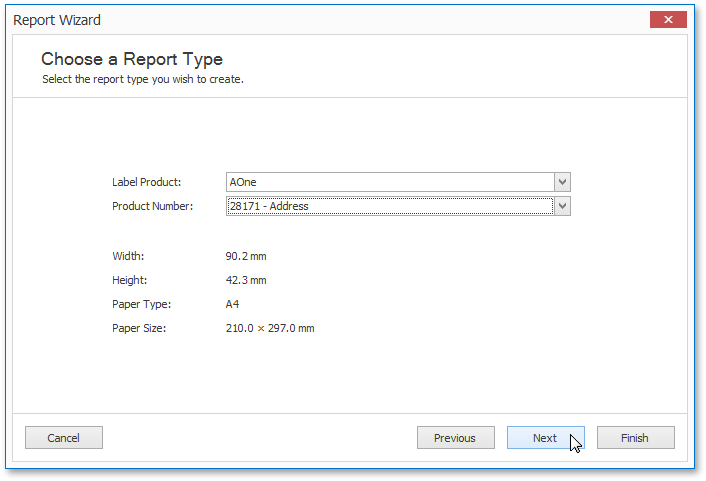
On the second page, choose the supplier from the Label Products combo box, and the specific product from the Product Number list. The label information on the right will be updated for the currently selected product. Click Next to proceed to the next step.
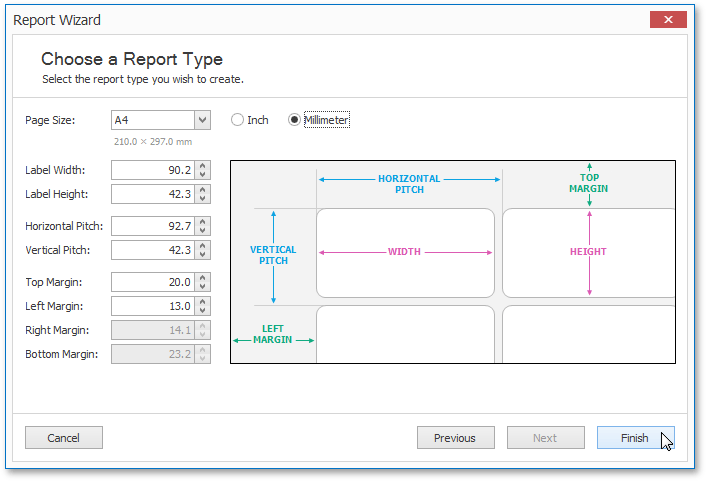
On the next page, you can adjust settings that were automatically specified in the previous step. Click Finish to exit the Report Wizard.
After the Report Wizard is closed, the report layout will be generated according to the type of label paper specified.
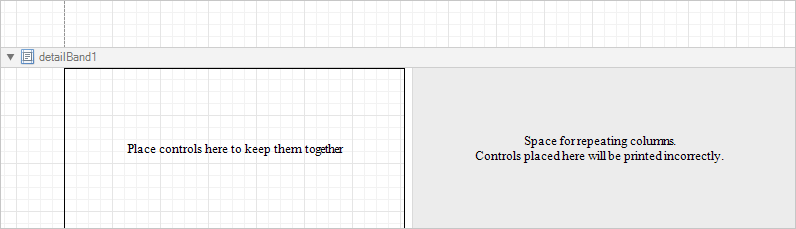
To create the layout of the label report, drag-and-drop the controls onto the available area of the report detail band.
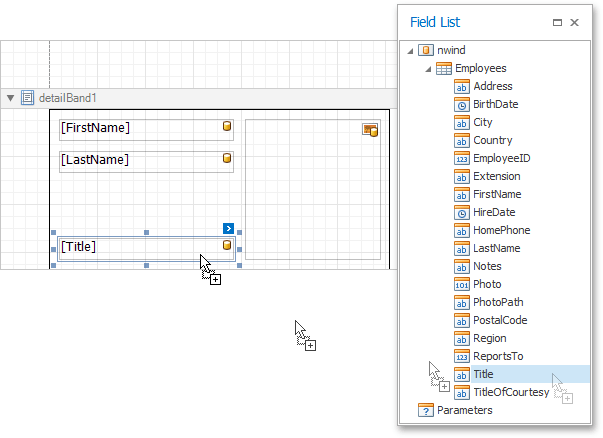
The label report is now ready. Click the Print Preview tab in the ribbon menu to view the result.

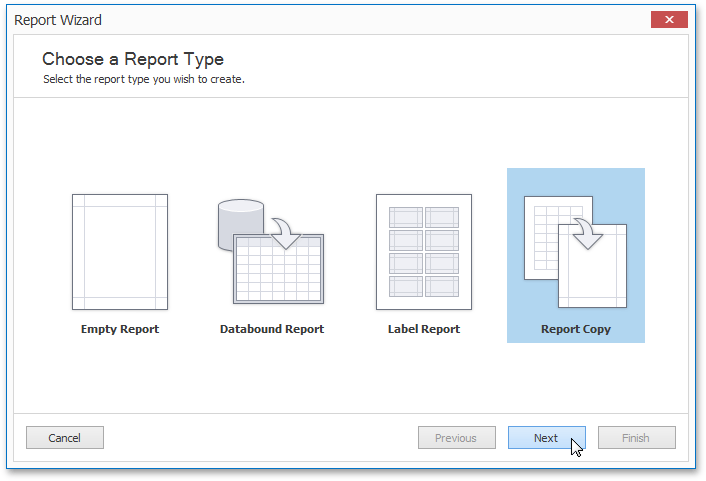
Create a Report Copy
To create a copy of an existing report, select Report Copy on the first page of the Report Wizard and click Next.
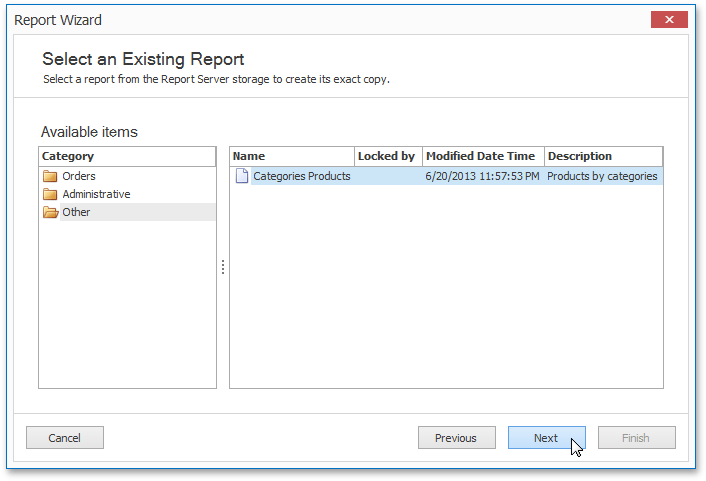
On the second page, select the report that you wish to copy, and click Next.
On the next page, specify the name, category, description and revision comment for the copy, and click Finish to exit the Report Wizard.
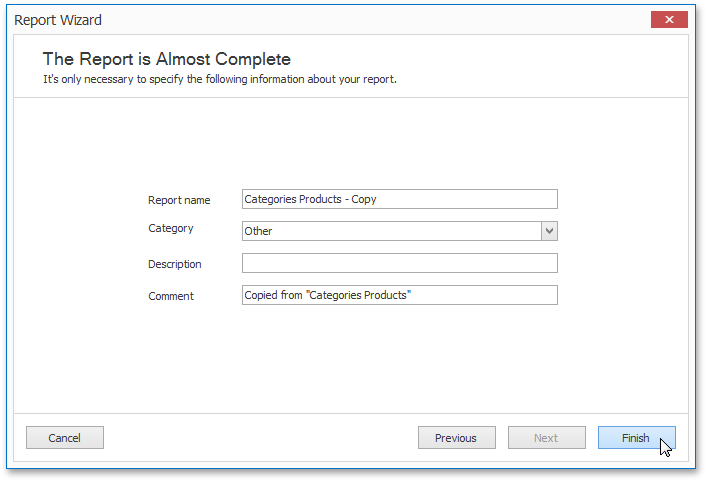
After this step, a copy of the report will be created and opened in the designer.