Create and Customize Reports
- 3 minutes to read
This topic explains how to use the DevExpress Report and Dashboard Server’s version matching system, which allows you to maintain various versions of the same report. It details the process of obtaining existing reports from the Report and Dashboard Server storage, illustrates the specifics of creating new reports using the Report Designer, and explains how to upload your local report to the Report and Dashboard Server storage.
Log In to the Report and Dashboard Server
If you are not logged on to the server (e.g., you are running the Report and Dashboard Server End-User Report Designer for the first time), the Login dialog will be invoked when you try to create or open a report.
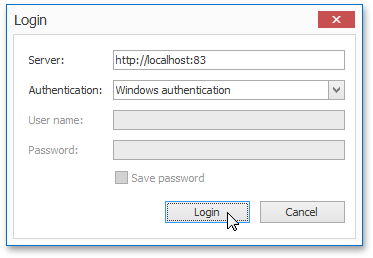
In the Login dialog, you will need to specify the server address and authentication method. If you are using Report and Dashboard Server authentication, you additionally need to specify your login information.
Tip
Clicking the New Report or Open Report button while holding the SHIFT key while one or more reports are being edited in the Designer will display a prompt to close the current connection and run the Login dialog once again.
Create a New Report
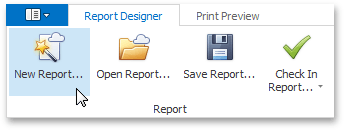
You can create a new report using the Report Wizard. To invoke the Report Wizard, click the New Report… button in the Report tab of the ribbon toolbar.
To learn how to use the Report Wizard to create a report, see the Use the Report Wizard to Create a Report topic.
Open an Existing Report
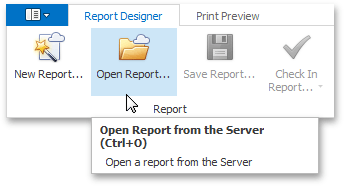
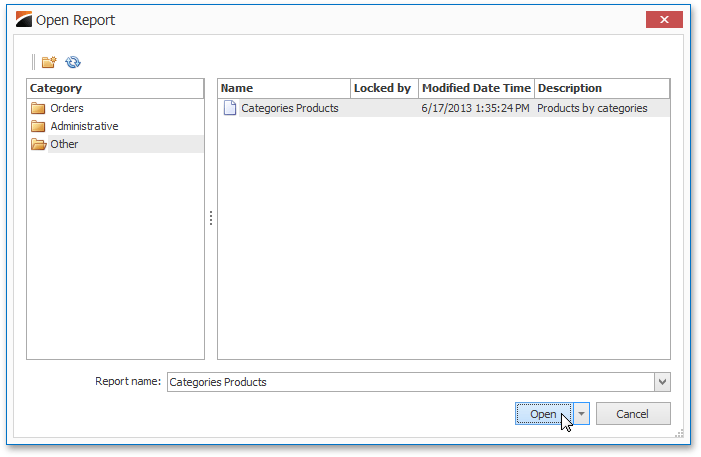
To open an existing report, click the Open Report… button in the Report section of the ribbon toolbar.
In the invoked window, select a category and a report within the category, and click Open.
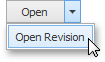
To open an older version of the report, click the drop-down arrow in the Open button and select Open Revision.
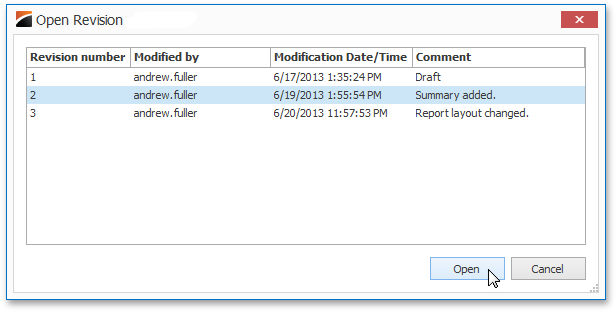
This will invoke the Open Revision dialog, which lists all report revisions. Select the required revision and click Open.
Upload a New Report to the Server
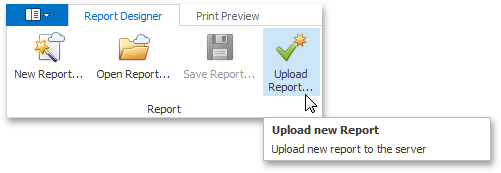
To upload a new report to the server, click the Upload Report… button in the Report section of the ribbon toolbar.
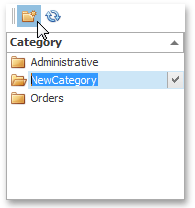
In the invoked window, select the category to which you want to save the report, or create a new category by clicking the New Category icon in the dialog’s toolbar.
Specify the name, description and revision comment for your report.
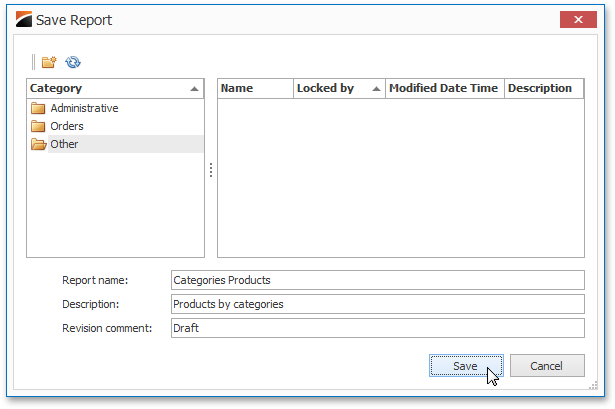
Click Save to upload the report to the server’s storage.
Save Changes Made to a Report
After you have made changes to an existing report, you have two options:
- save the report;
- check the report in.
When you choose to save the report, its local copy is created in the %AppData%\Roaming\DevExpress\ReportDesigner\Drafts folder. You can close the report and finalize the revision later. The report is locked, that is, other users cannot edit it until the check in or rollback.
Checking in uploads a new revision to the server and unlocks the report, if it was previously locked.
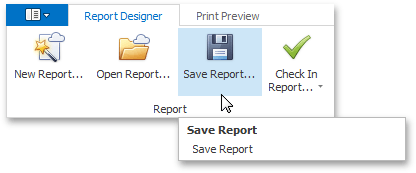
To save the report, click Save Report… in the ribbon toolbar.
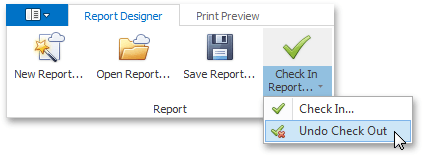
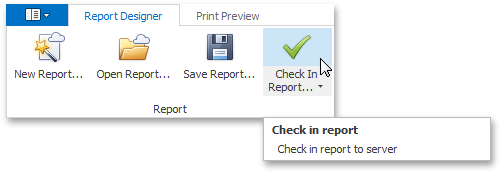
To check in the revision, click Check In Report… in the ribbon toolbar.
To undo all changes made for the current revision, click the drop-down arrow in the Check In Report… button and select Undo Check Out in the invoked menu.