Manage Documents and their Categories
- 2 minutes to read
This topic describes how to manage documents (reports and dashboards) in the DevExpress Report and Dashboard Server.
Manage Documents
Click the Documents button on the Report and Dashboard Server’s toolbar to open the document screen.

This screen is available only if a user has a permission to access and customize documents.
Click the Add Document button and choose the document type to create:
Select Add Report to invoke the Report Designer.
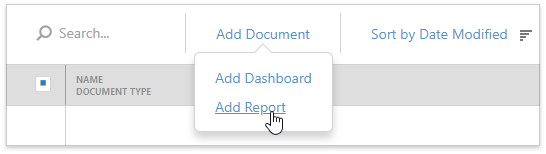
See Create and Customize Reports for detailed information about the report creation process.
Select Add Dashboard to invoke the Dashboard Designer.
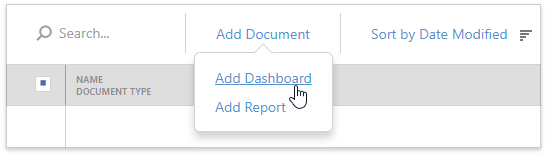
See Create and Customize Dashboards for more information on how to manage dashboards.
Once you saved the created document, it appears in the document list. Select the document to see its details.
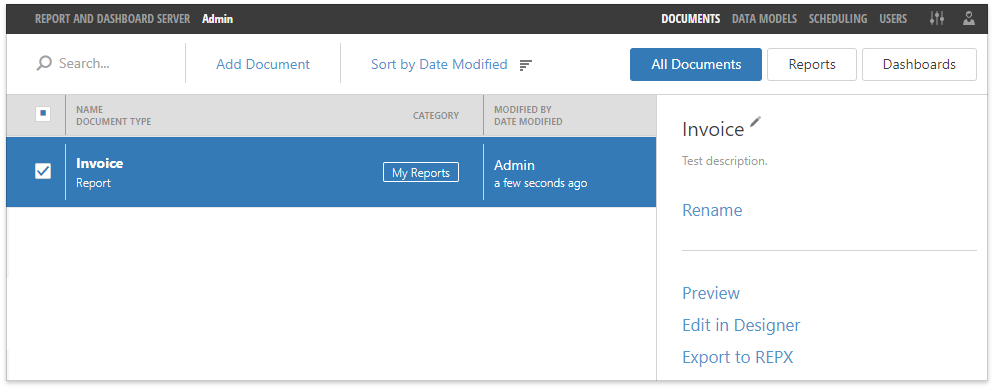
The Preview button allows you to open the document in the Report or Dashboard Viewer.
Click the Edit in Designer button to open the Report or Dashboard Designer and customize the document.
You can also use the Export to REPX button to export the report to the REPX file and Export to XML button to export the dashboard to the XML file.
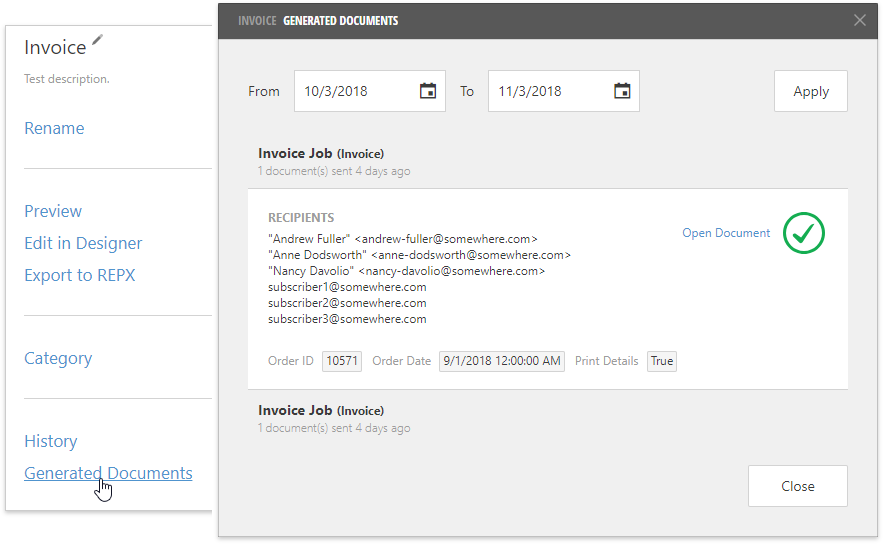
Switch to the Scheduling screen to configure a scheduled job or billing statement. Click the Generated Documents button to see all the resulting documents for all associated jobs.
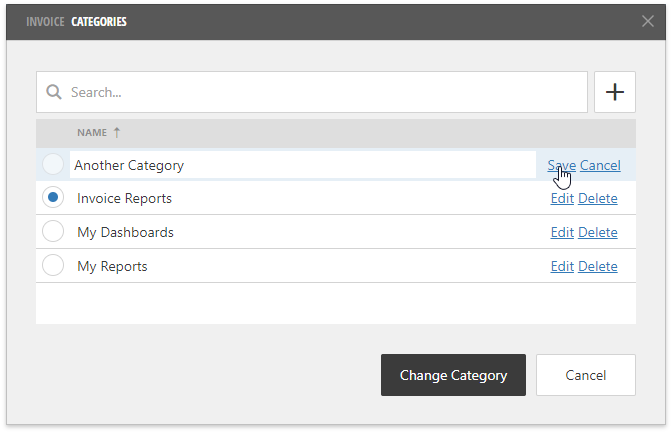
Manage Categories
Each document in the Report and Dashboard Server should belong to a specific category. You should select a category when you save the document in the Report or Dashboard Designer.
Click the Category button in the document details part to invoke the Categories dialog. This dialog displays the selected document category and allows you to change it.
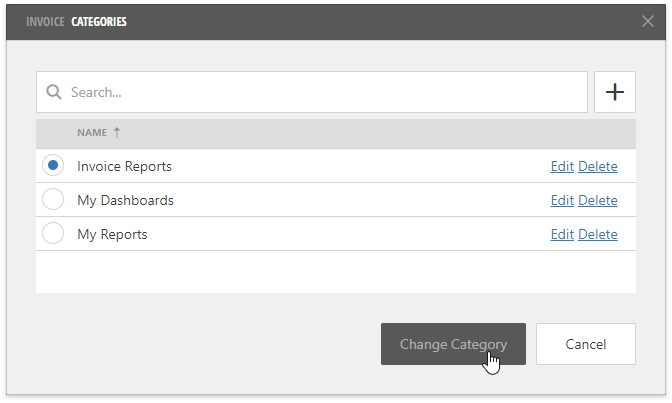
You can also delete any category or click the New Category button to create a new category.