Resolve Issues With Toolbox Items
- 4 minutes to read
DevExpress installer integrates DevExpress products into your Visual Studio instance. Most of the Devexpress products for the .NET Framework (WinForms, ASP.NET WebForms, WPF controls, XAF components) are available in the Visual Studio Toolbox.
This article explains how to resolve any issues with the Visual Studio Toolbox.
Make WinForms and WPF Controls Available in Toolbox (.NET 5+)
If you add the DevExpress products and use a NuGet feed instead of the Unified Component Installer, the toolbox does not contain DevExpress controls until you add the corresponding NuGet packages.
Go to Tools | NuGet Package Manager | Manage NuGet Packages for Solution and add the NuGet packages that contain the required controls to make these controls available in the Visual Studio Toolbox.
Resolve Issues with Toolbox Items (.NET Framework)
This section explains how to resolve any of the following issues with Toolbox items:
- The Toolbox does not display items for DevExpress products.
- Visual Studio loads the Toolbox for a long time.
- The Toolbox duplicates items for Devexpress products.
Walkthough
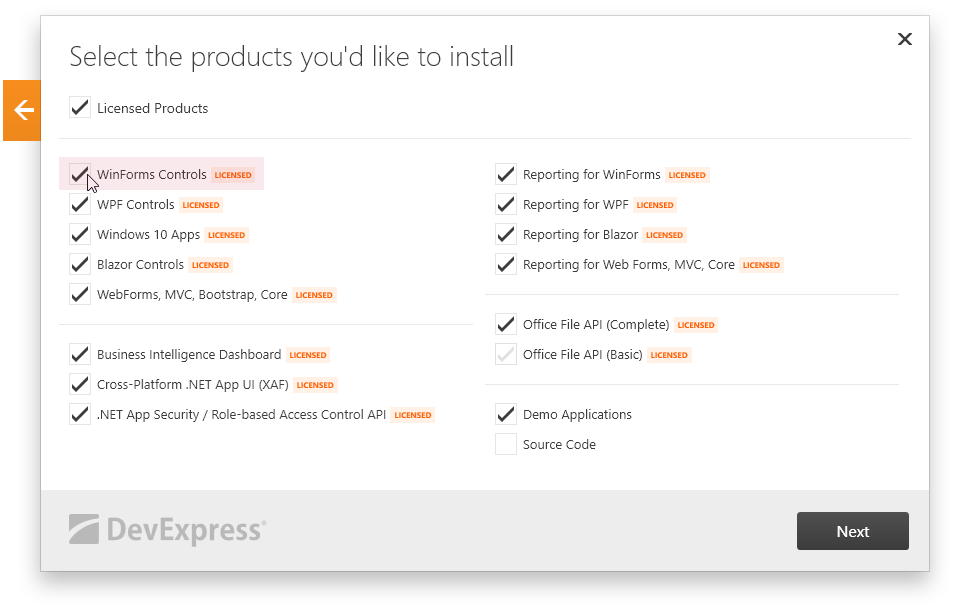
Make sure that you installed the required product on your machine. For example, if you develop a WinForms project, ensure that DevExpress WinForms controls are installed. For this, run the DevExpress installer in Modify mode and check whether WinForms controls are selected:
If you installed Visual Studio after DevExpress products, re-run DevExpress installer in Repair mode to register DevExpress toolbox items for that Visual Studio.
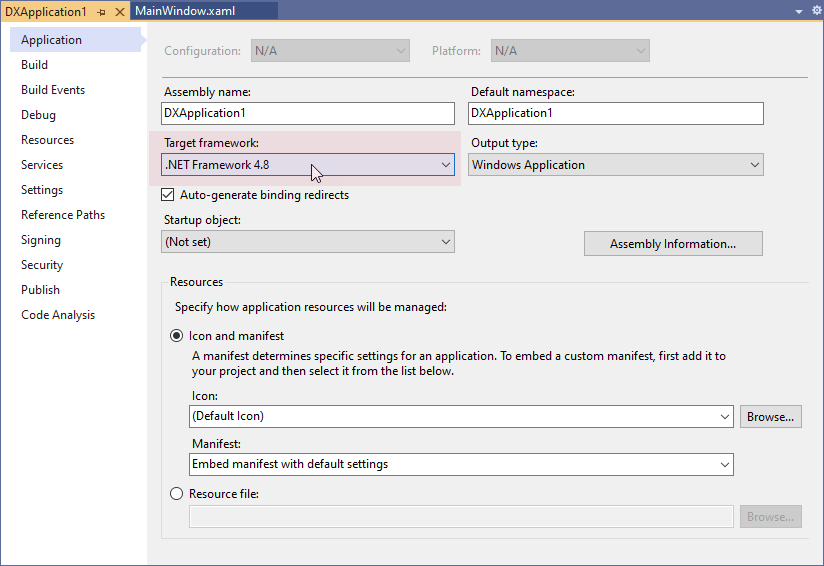
Ensure that you set the correct target framework for your project. For information on supported target frameworks, refer to the following page: Shipping Versions & Supported Technologies.
To check the target framework in your project, navigate to the project properties. The target framework version is displayed on the Application tab.
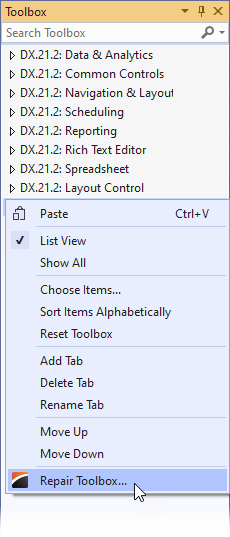
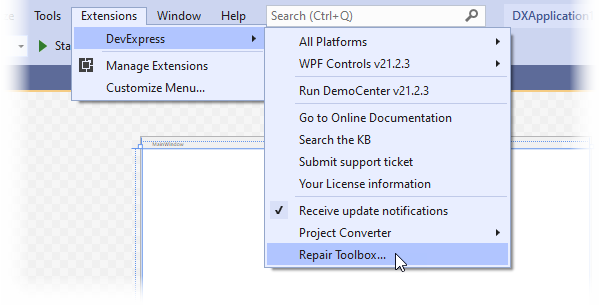
Starting with v13.1, the Repair ToolBox tool is installed with DevExpress controls and a link to it is available in Visual Studio. Run this tool to reinitialize the Visual Studio Toolbox.
You can run the tool from the DevExpress toolbar menu or the Toolbox context menu:
To diagnose the toolbox, run this tool. If the tool has not resolved the issue, we need to research your machine configuration to determine the cause of the issue. We need to collect several log files. Perform the following steps for this:
- Download the ToolboxAnalyzer archive and extract it to your local drive.
- Run the ToolboxAnalyzer application.
- Click the “Test Toolbox and attempt to repair it” button.
Follow the instructions provided by the application.
If the application closes unexpectedly or crashes with an error, please collect all files from the
%LocalAppData%\DX Toolbox Analyzerfolder, create a new ticket regarding this problem, and attach logs to your message.
Completely Reset the Toolbox and Enable Visual Studio to Rebuild it From Scratch
After you install or update DevExpress products, you may experience issues with Toolbox items. Usually, these issues appear in Silverlight projects.
Walkthrough
Reset the Toolbox from Visual Studio: right-click the Toolbox and click “Reset Toolbox”. After the reset procedure is done, follow these steps:
For Visual Studio 2017 and newer:
- Close Visual Studio.
- Open the “%LocalAppData%\Microsoft\VisualStudio*<version>* _<instance-id> “ folder and remove all the .TBD files.
- Run the “regedit” tool (Regedit.exe). To do this, click the “Run” item in the Start menu and type “regedit” without quotation marks.
- Load the Visual Studio’s private registry as described in the How to examine Visual Studio 2017 registry article in Microsoft documentation.
- Find the “IsolatedHive\Software\Microsoft\VisualStudio\<version>_<instance-id>\ToolboxControlsInstaller_AssemblyFoldersExCache” and “IsolatedHive\Software\Microsoft\VisualStudio\<version>_<instance-id>\ToolboxControlsInstallerCache” keys;
- Remove everything from these keys leaving them empty.
- Unload the Visual Studio isolated hive.
- Run Visual Studio again and wait until it recreates all items in the Toolbox.
If toolbox items are still missing after you perform these steps, you can delete the %LocalAppData%\Microsoft\VisualStudio\<version> _<instance-id> folder to fully reset your Visual Studio settings.
For Visual Studio 2015 and older:
- Close Visual Studio;
- Open the “%LocalAppData%\Microsoft\VisualStudio\10.0” (Windows 7+) folder and remove all the .TBD files;
- Run the “regedit” tool. For this click the “Run” item in the Start menu and type “regedit” without quotation marks;
- Find the “HKEY_CURRENT_USER\Software\Microsoft\VisualStudio\10.0\ToolboxControlsInstaller_AssemblyFoldersExCache” and “HKEY_CURRENT_USER\Software\Microsoft\VisualStudio\10.0\ToolboxControlsInstallerCache” keys;
- Remove everything from these keys leaving them empty;
- Run Visual Studio again and wait until it recreates all items in the Toolbox.