Create a WinForms Dashboard Viewer (.NET)
- 2 minutes to read
This tutorial describes how to create a WinForms application with the Dashboard Viewer in .NET 5 (and .NET Core 3.1).
Prerequisites
- DevExpress .NET 5 and 6 Desktop Products
- DevExpress .NET Products v.20.2
- Visual Studio 2019 v16.8 or later with the .NET desktop development workload
Create a New Project
You can create a new .NET project in the console window or use Visual Studio’s template.
Create a New .NET Project in the Console Window
Open the console window and follow the steps below:
Create and open a new folder. The folder name is the project name.
mkdir NewCoreApp
cd NewCoreApp
Create a WinForms project:
dotnet new winformsCreate a solution file:
dotnet new slnAdd the created .NET project to this solution:
dotnet sln add NewCoreApp.csproj
Open the created solution in Visual Studio.
Create a New .NET Project in Visual Studio
In Visual Studio, create a new project and select Windows Forms App (.NET) on the start page as the project template.
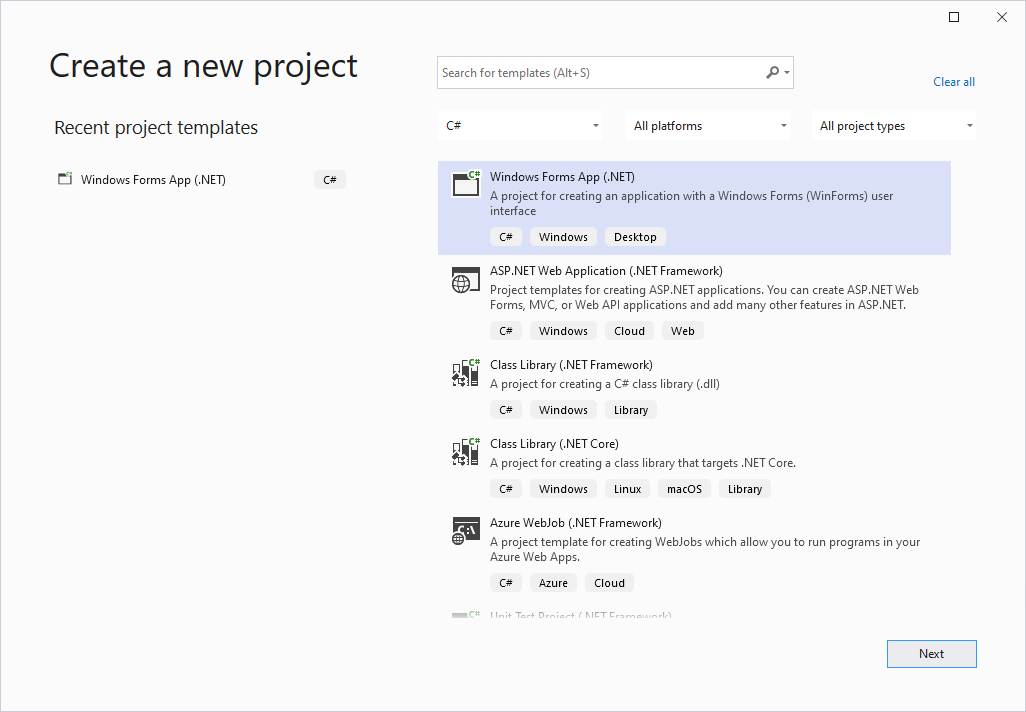
Note
Do not select the Windows Forms App (.NET Framework) template.
Install Dashboard packages
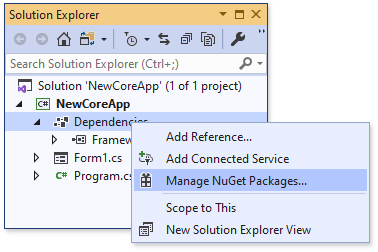
Select Manage NuGet Packages in the invoked context menu to invoke the NuGet Package Manager.
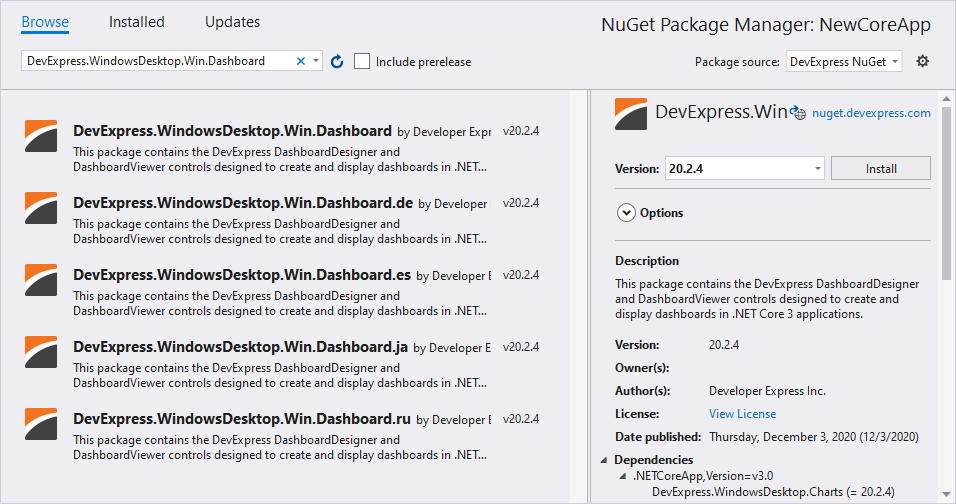
Register the DevExpress NuGet feed as a package source and select it in the drop-down menu.
Install the DevExpress.WindowsDesktop.Win.Dashboard package.
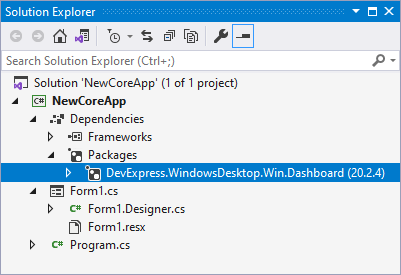
The installed libraries are added to the project after installation is completed.
Create a WinForms Dashboard Viewer
To create the Dashboard Viewer at runtime, add the following code in a Form1.cs file:
using System.Windows.Forms;
using DevExpress.DashboardWin;

//...

DashboardViewer viewer = new DashboardViewer();
this.Controls.Add(viewer);
viewer.Dock = DockStyle.Fill;
Use the DashboardDesigner.LoadDashboard method to load an existing dashboard in code.
Next Steps
-
Describes how to prepare the DashboardViewer control to display a dashboard in the WinForms application.