How to use the ASPxDashboardViewer control to display a dashboard
- 2 minutes to read
Important
This tutorial shows how to add the ASPxDashboardViewer control if you have v16.2 or earlier components installed. Starting with v17.1, we recommend using the ASPxDashboard control or a corresponding ASP.NET MVC extension to display dashboards within web applications.
In this lesson, you will learn how to create an ASP.NET Web Forms dashboard viewer application and use this application to display the existing dashboard.
- Run Visual Studio and create an ASP.NET Web Application.
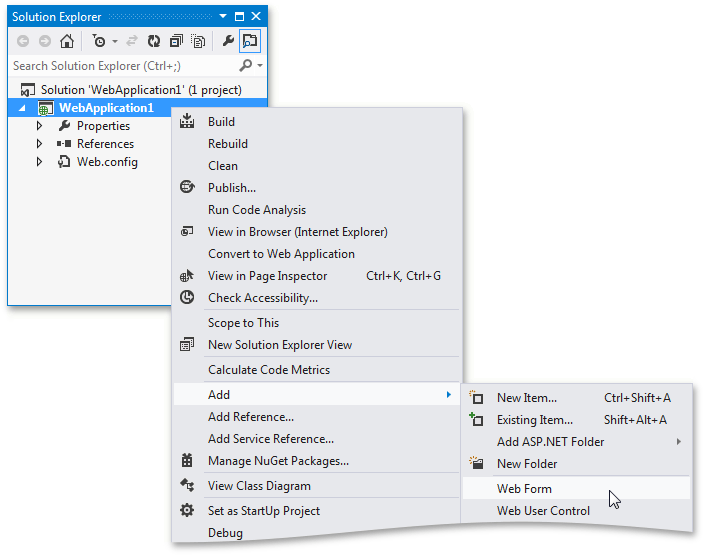
Add a new Web Form to the application. To do this, right-click the project in the Solution Explorer and select Add | Web Form.
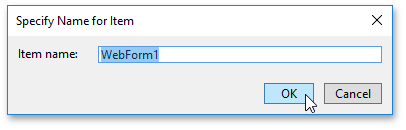
In the Specify Name for Item dialog, leave the default name and click OK.
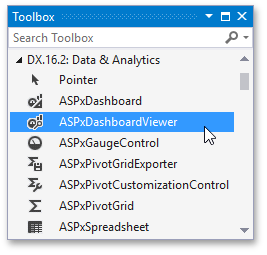
Drag the ASPxDashboardViewer control from the DX 16.2: Data & Analytics Toolbox tab and drop it onto the page.
Note
The Toolbox in version 17.1 and later does not contain the ASPxDashboardViewer icon, because we suggest using the ASPxDashboard control instead.
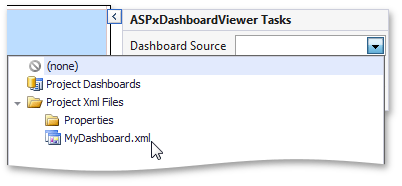
- Add the dashboard XML file that you created in this lesson. To do this, right-click the project, select Add | Existing Item from the context menu, and locate the dashboard file in the invoked dialog.
Click the control’s smart tag and select this file from the Project Xml Files.
As an alternative, you can select a dashboard created at design time.
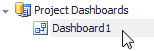
To learn how to create a dashboard at design time, see Create a Dashboard in Visual Studio.
In the web application’s Web.Config file, go to the devExpress section and add the “resources” section as shown below.
<devExpress>
    <!-- ... -->
    <resources>
        <add type="ThirdParty" />
        <add type="DevExtreme" />
    </resources>
</devExpress>
This adds the required client libraries to the project such as jQuery and Globalize.
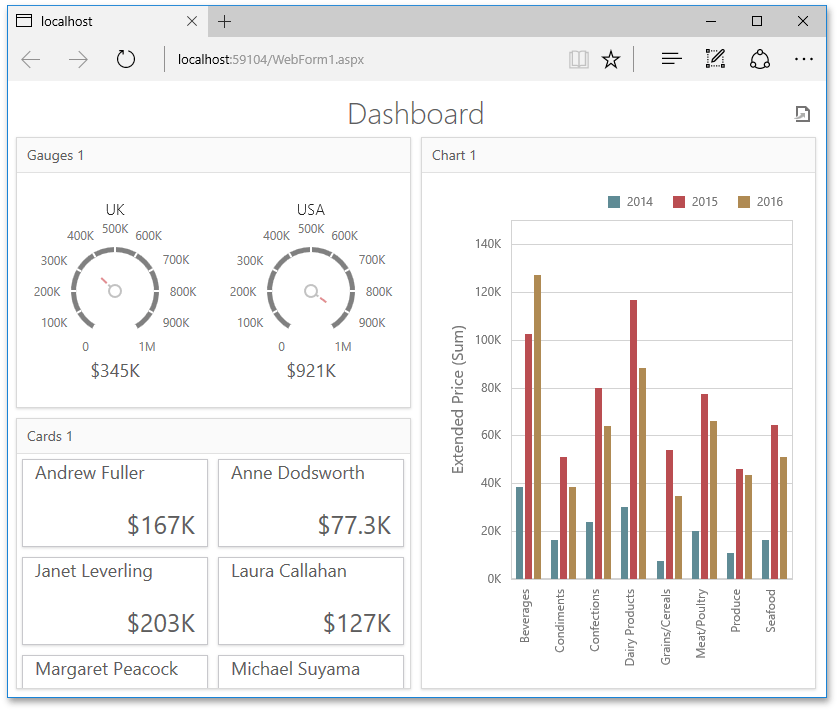
Run the application to see the results.