Binding to CSV Files
- 4 minutes to read
The Dashboard Designer allows you to select data from CSV files. You can select all data from the file or you can select the required cell range using Data Access API.
Creating a Data Source in the Data Source Wizard
To bind a dashboard to a CSV file, do the following.
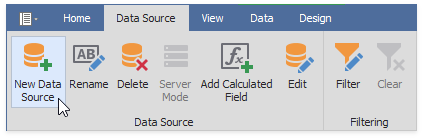
Click the New Data Source button in the Data Source ribbon tab.
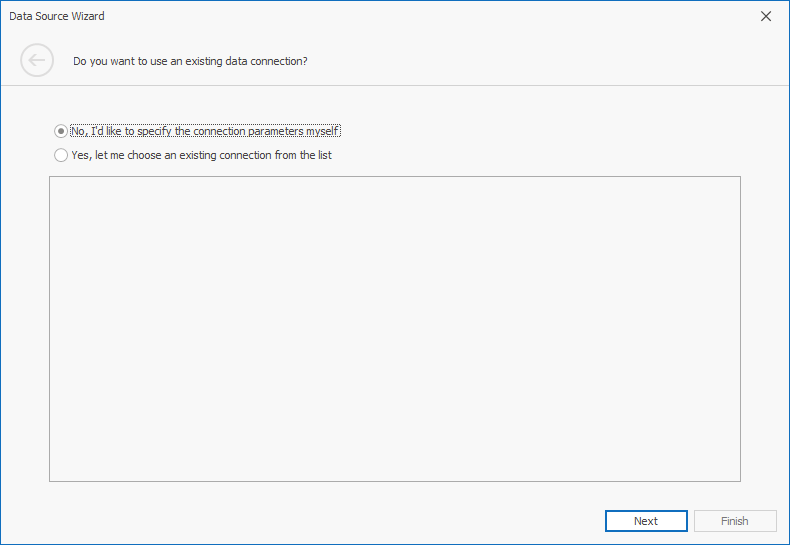
On the first page of the invoked Data Source Wizard dialog, specify whether you want to use an existing data connection or create a new data connection.
On the next page, select the Microsoft Excel workbook / CSV file and click Next.

On the next page, locate the required CSV file by clicking the ellipsis button and selecting the file.

Click Next.
Then, specify import settings used to extract data from the CSV file.

The following options can be specified.
- Use values of the first row as field names - Specifies whether to use the values of the first row as field names. If you disable this option, field names will be generated automatically.
- Skip empty rows - Specifies whether to include the empty rows into the resulting data source.
- Trim Blanks - Specifies whether to remove all leading and trailing white-space characters from each value in the CSV document.
- Encoding - Specifies the character encoding of the CSV document. You can use the Detect automatically option to specify whether character encoding is automatically determined.
- Newline type - Specifies the character used to identify a new line in a CSV document. You can use the Detect automatically option to specify whether the character used to identify a new line is automatically determined.
- Value separator - Specifies a character used to separate values in a CSV document. You can use the Detect automatically option to specify whether the character used to separate values in a CSV document is determined automatically.
- Culture - Specifies the culture information used to parse the data being imported.
- Text Qualifier - Specifies the character that encloses values in the CSV document.
Click Next.
On the final page, you can select columns to be included to a data source and specify their settings. The Name column allows you to specify the column name while Type allows you to specify its type.

Click Finish to create a data source. This creates the data source and displays its fields in the Data Source Browser.
Creating a Data Source in Code
The DashboardExcelDataSource class allows you to extract data from Microsoft Excel workbooks (XLS, XLSX or XLSM) or CSV files stored on the disk or stream.
To extract data from the specified workbook or CSV file, do the following.
- Assign the path to the required file using the ExcelDataSource.FileName property. As an alternative, load the required document from a stream using the ExcelDataSource.Stream property. In this case, you need to specify the required file format using the ExcelDataSource.StreamDocumentFormat property.
- Depending on the target file format, create the ExcelSourceOptions or CsvSourceOptions class instance, specify its settings and assign the resulting object to the ExcelDataSource.SourceOptions property.
- Use the ExcelDataSource.Fill method to fill the created data source with data.
Finally, add the created DashboardExcelDataSource object to the Dashboard.DataSources collection.
The following code snippet shows how to create an Excel data source and select the A1:L100 range of cells from the specified CSV file.
using DevExpress.DashboardCommon;
using DevExpress.DataAccess.Excel;
// ...
            Dashboard dashboard = new Dashboard();
            DashboardExcelDataSource csvDataSource = new DashboardExcelDataSource();
            csvDataSource.FileName = @"c:\temp\SalesPerson.csv";
            csvDataSource.SourceOptions = new CsvSourceOptions() { CellRange = "A1:L100" };
            csvDataSource.Fill();
            dashboard.DataSources.Add(csvDataSource);