Start With Bootstrap Project Template
- 2 minutes to read
Use this approach to create a new project readily configured for DevExpress Bootstrap Controls.
Note
This section describes how to create a Web Site project using the Bootstrap Web Site project template. However, you can use the same approach to create a Web Application using the Bootstrap Web Application project template.
In Visual Studio, press Ctrl+Shift+N or select File > New > Project… to create a new project. In the invoked dialog, select DevExpress Web Site Template Gallery and click Next.

Configure project settings and click Create.
Select Bootstrap Web Site in the DevExpress Template Gallery and click Run Wizard.

In the invoked Project Wizard, customize project settings and click Create Project.

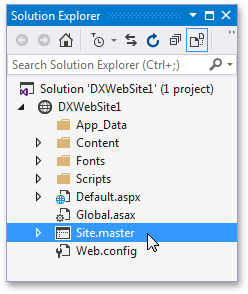
The created web site includes standard and minimized versions of the required CSS files (in the “Content” folder) along with the required icon fonts (in the “Fonts” folder).
The project also includes a master page named Site.master referencing bootstrap.js.
<head runat="server">
    ...
    <link href="~/Content/bootstrap.min.css" rel="stylesheet" />
    ...
</head>
Make sure that all pages in your web site either inherit this master page, or reference bootstrap.css (or bootstrap.min.css).
Note
The default Site.master page also references bootstrap.js and JQuery. These libraries are not required for the correct operation of DevExpress Bootstrap controls, but you can use them if you want to utilize the functionality of Bootstrap’s jQuery plugins in your project.