Lesson 1 - Create a Circular Gauge
- 3 minutes to read
This tutorial shows how to create a circular gauge and customize its scale’s settings at design time.
This tutorial consists of the following steps.
- Create a New Project and Add a Gauge Control
- Run the Preset Manager
- Load the Required Gauge Preset
- Customize Gauge Scales
- Result
Step 1. Create a New Project and Add a Gauge Control
In this step, we will perform the common actions required when you add a Gauge control to your application.
- Create a new ASP.NET Web Application project (Visual Studio 2012, 2013, 2015 or 2017) or open an existing one.
Add the ASPxGaugeControl component to your project. To do this, locate the ASPxGaugeControl item in a Visual Studio toolbox on the DX.18.2: Data & Analytics tab and drop it onto the form.
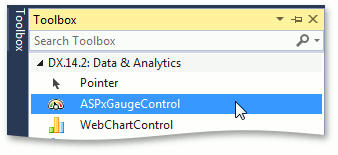
This creates a new ASPxGaugeControl.
<body>
    <form id="form1" runat="server">
    <div>

        <dx:ASPxGaugeControl ID="ASPxGaugeControl1" runat="server" Height="250px"
            Width="250px">
        </dx:ASPxGaugeControl>
    </div>
    </form>
</body>
Step 2. Run the Preset Manager
Locate the Gauge’s smart tag and click Run Preset Manager.
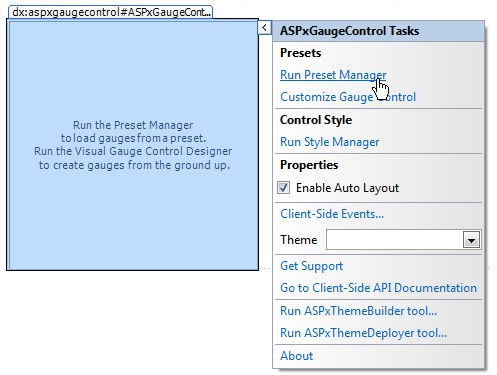
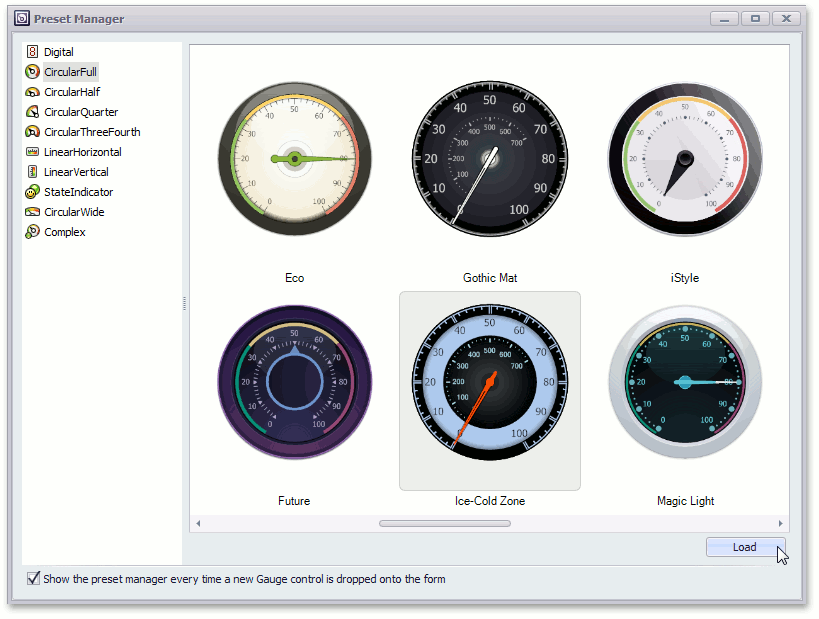
After that, you will see the following wizard.
Note that after you drop the Gauge in the previous step, the Gauge Preset Manager may be invoked automatically (if its “Show the preset manager every time a new Gauge control is dropped onto the form” option is enabled).
Step 3. Load the Required Gauge Preset
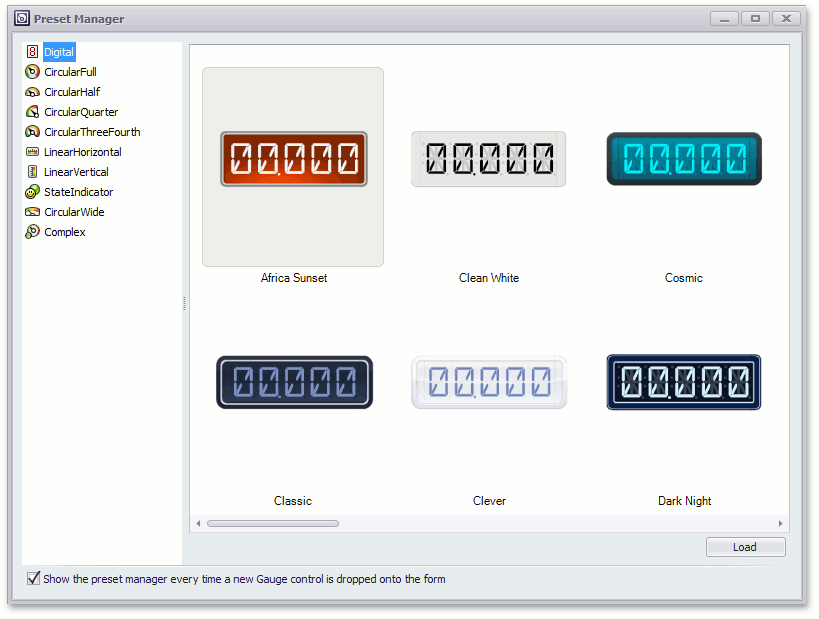
In the Preset Manager, click CircularFull to display presets with circular gauges.
You can use one of two ways to load the gauge preset:
- double-click the required preset on the Preset Manager;
- select a preset and click the Load button at the bottom of the Preset Manager.
The following image shows how to load the Ice-Cold Zone preset using the second approach.
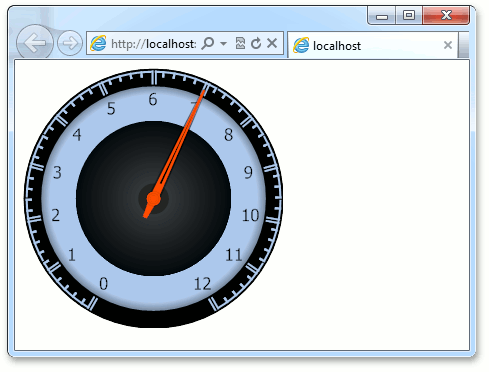
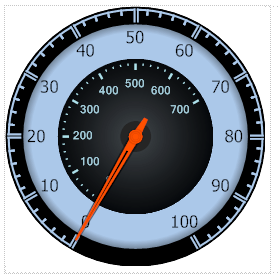
Then, you see the following gauge on the form.
Step 4. Customize Gauge Scales
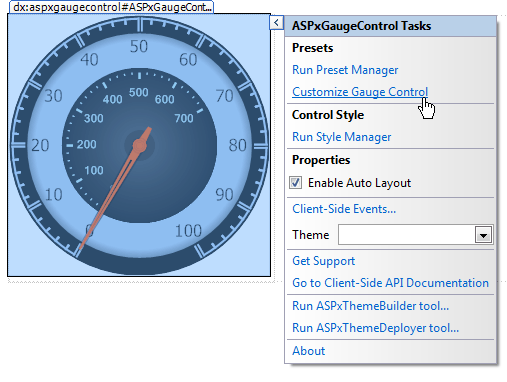
To access the gauge’s elements and customize their settings, run the Visual Gauge Control Designer.
For this, locate the Gauge’s smart tag and in the invoked menu, click Customize Gauge Control, as shown below.
In the Gauge Designer, select the second scale by clicking the scale2 node, and remove it using the Remove button.
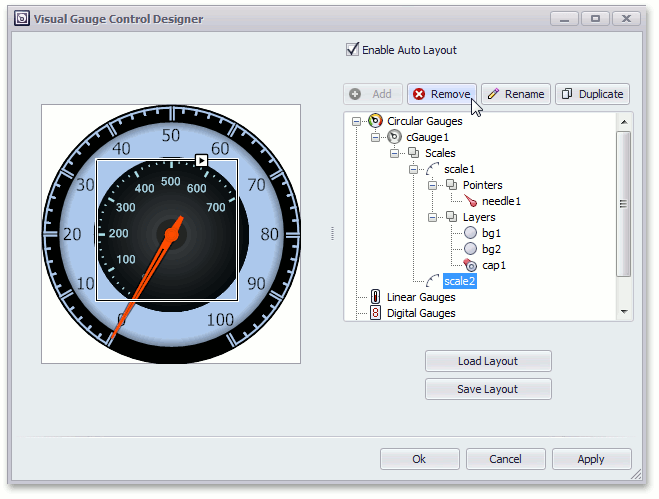
Double-click the required gauge element to customize its settings in the right side list of the Visual Gauge Control Designer or click the element’s smart tag and select Run Designer as shown below for the Gauge’s scale.

Customize the Scale’s properties in the Scale Designer as shown below, and click the Ok button.
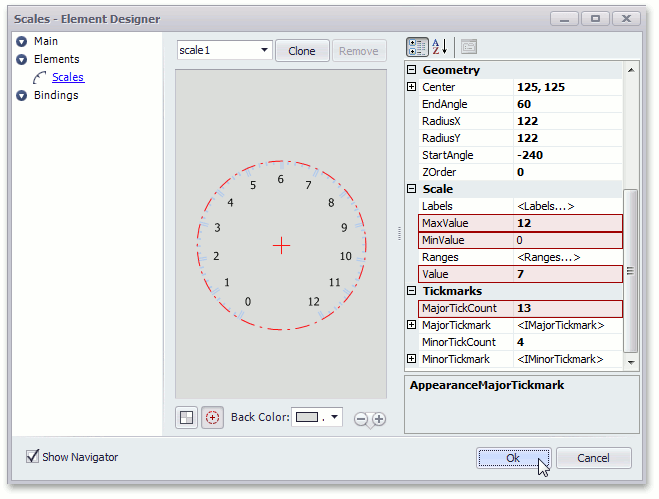
- Click Ok to close the Scale Designer.
- Click Ok to close the Visual Gauge Control Designer.
Step 5. Result
Run the website to see the result.