Create a Combined XAF Web and Desktop Application
- 3 minutes to read
This topic describes how to use the DevExpress Template Kit to create a Cross-Platform .NET App UI (XAF) application.
Step-by-Step Instructions
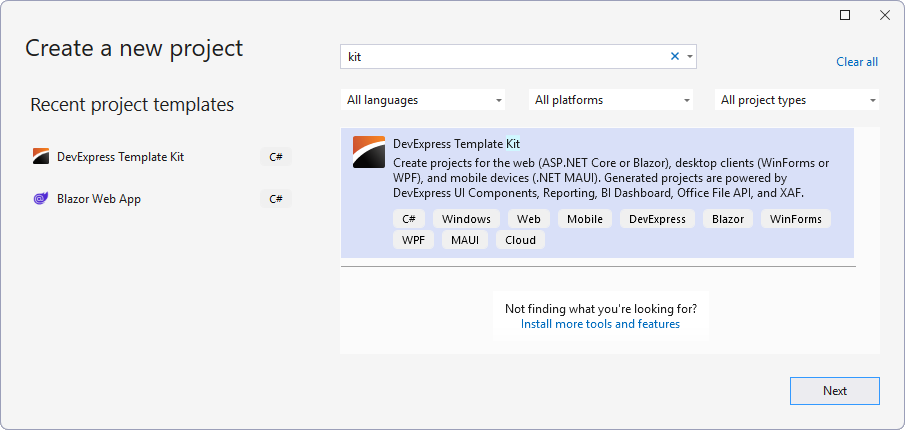
In Visual Studio’s main menu, select File | New | Project… to invoke the Create a new project dialog.

Select DevExpress v25.2 Template Kit and click Next.
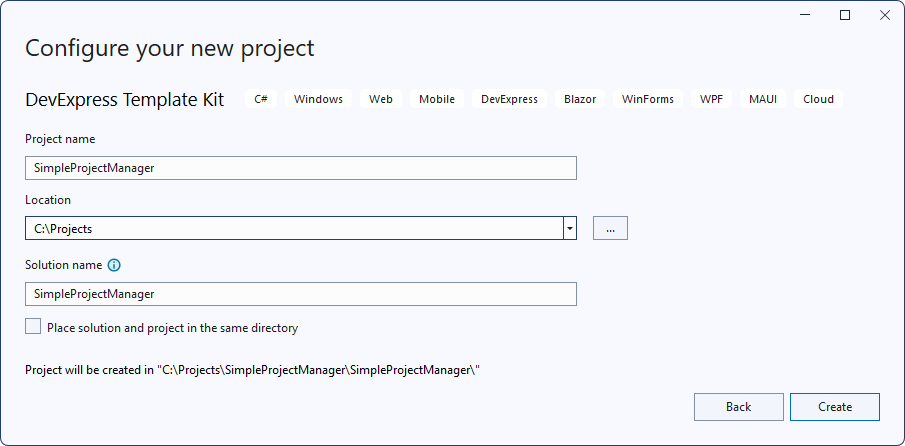
Specify the project name (SimpleProjectManager) and location and click Create.
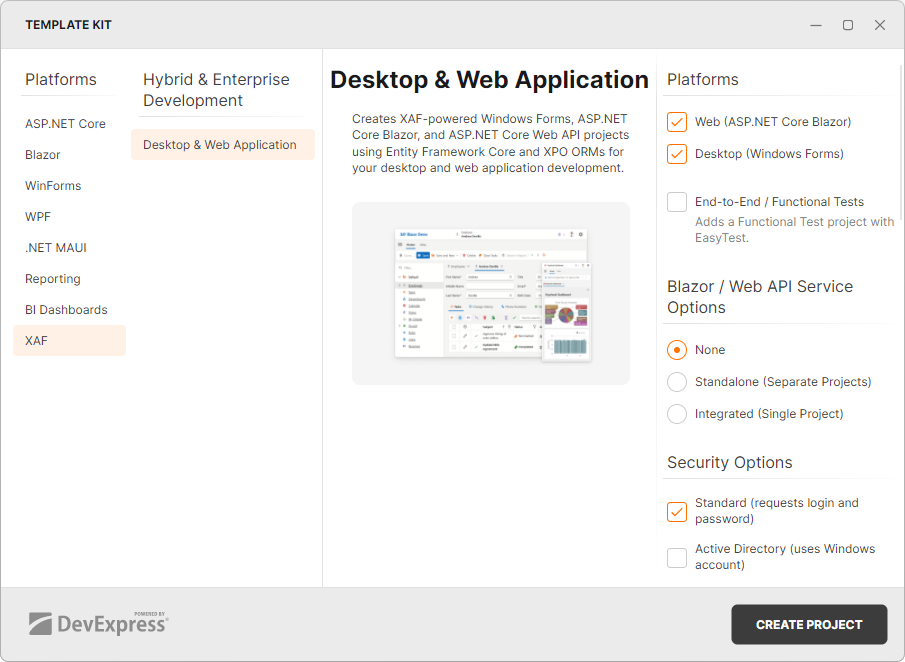
In the invoked Template Kit window, select XAF and specify the following solution settings:
- Select both Web (ASP.NET Core Blazor) and Desktop (Windows Forms) options in the Platforms section.
- Deselect the Standard option in the Security Options section. User authentication is not required for this tutorial.
Leave the rest of the options in their default state and click Create Project.
Solution Structure
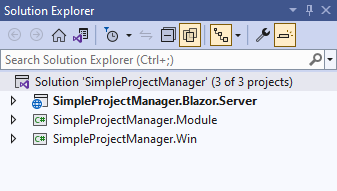
The solution contains the following projects:
- SimpleProjectManager.Module
- A module project that contains platform-independent code. Use this project to define the data model and change UI settings of all target platforms.
- SimpleProjectManager.Blazor.Server
- An ASP.NET Core Blazor application that generates a user interface based on the data model you define in SimpleProjectManager.Module.
- SimpleProjectManager.Win
- A Windows Forms application that generates a user interface based on the data model you define in SimpleProjectManager.Module.
Refer to the following topic for more information on projects in an XAF solution: Application Solution Structure.
Database Connection
The DevExpress Template Kit allows you to create XAF applications that target Entity Framework Core(the default choice) or XPO ORM tool. For additional information on how to choose an ORM that suits your needs, refer to the following topic: Why We Recommend EF Core over XPO for New Development.
When you create a new application, the application wizard attempts to find an installed Microsoft SQL Server instance (LocalDB or Express) and sets the connection string accordingly. You can also connect to a different database system as described in the following topic: Specify EF Core Database Provider in XAF Application.
First Run
Now you can run the application. Click Start Debugging or press F5.
The ASP.NET Core Blazor project is set as the startup project. To run the Windows Forms application, right-click the SimpleProjectManager.Win project in the Solution Explorer and select the Set as Startup Project option in the context menu.
The following images show the resulting ASP.NET Core Blazor and Windows Forms applications:
- ASP.NET Core Blazor

- Windows Forms

XAF creates the application’s UI based on the supplied data model. Since you did not create any entity classes yet, the first run shows a basic version of the application.
Next lesson
Define the Data Model and Set Initial Data