Create a Report at Runtime (.NET Framework)
- 2 minutes to read
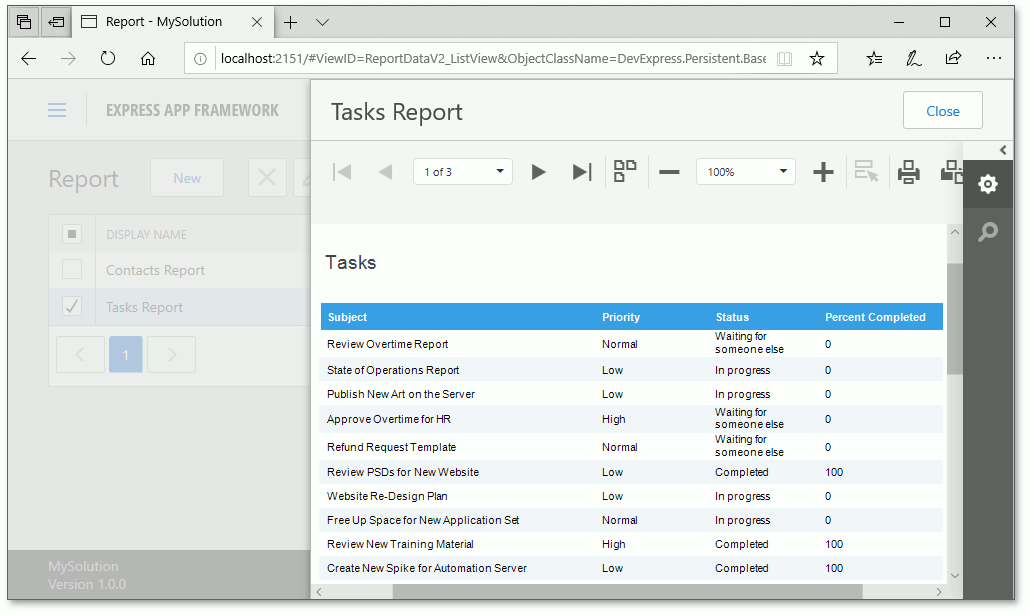
In this lesson, you will learn how to create reports at runtime. A report showing a list of Tasks will be created in the WinForms application at runtime and then will be available for printing in both WinForms and ASP.NET Web Forms applications.
Tip
You can also create a new report in an ASP.NET Web Forms application (see Create and View Reports in an ASP.NET Web Forms Application).
Run the WinForms application and go to the Reports List View.
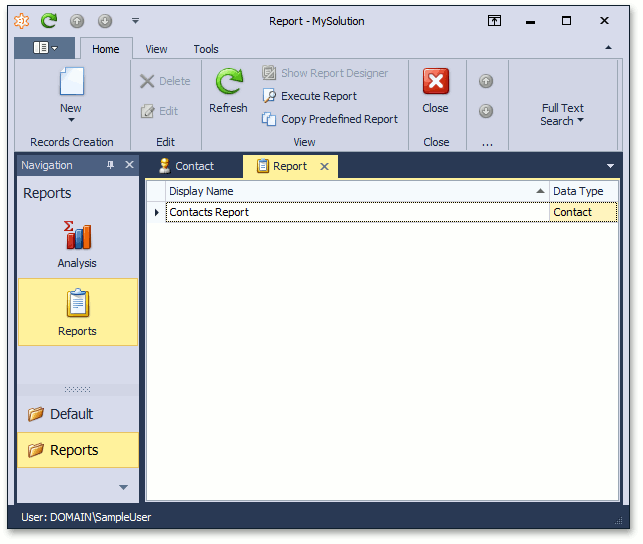
- Create a new report by clicking the New button (
 ).
). Name this report “Tasks Report”, set the Data Type to “Task” and click Next.
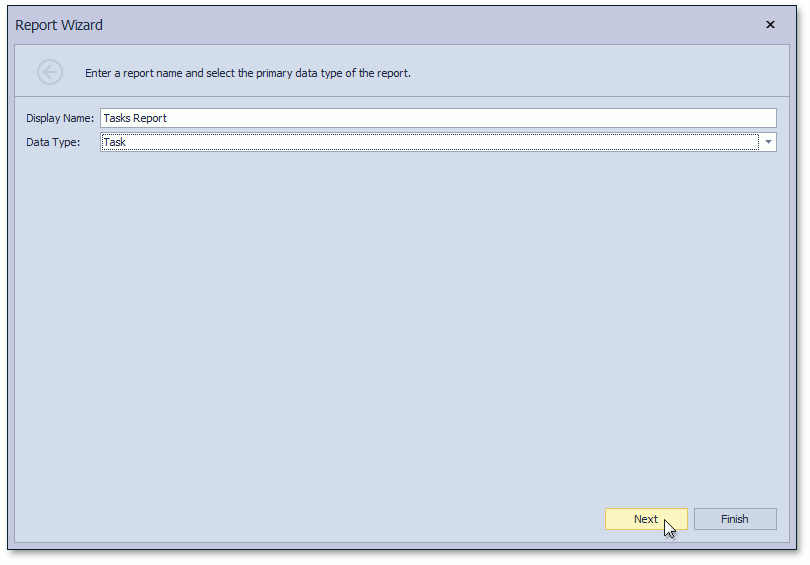
Note
The Data Type drop-down list shows only those business classes that have the DefaultClassOptionsAttribute or VisibleInReportsAttribute applied.
Choose the “Table Report” type and click Next.
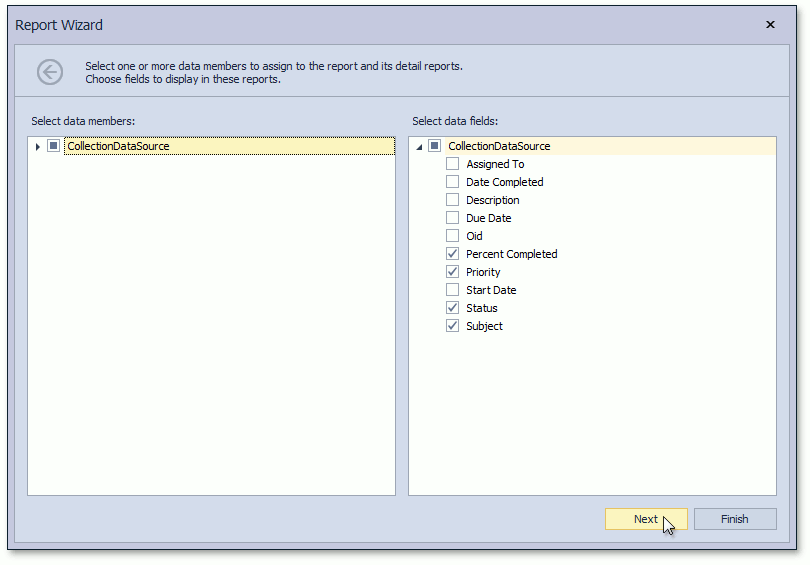
Add the following fields.
- Subject
- Priority
- Status
- Percent Completed
- Click Next to skip the grouping configuration, summary functions, and report page settings.
- Choose the Azure report color scheme and click Next.
- Set the title to “Tasks” and click Finish.
After clicking Finish, the Runtime Report Designer will be invoked.

Customize the report, save it by clicking the Save button (
 ), and open it from the Reports List View. This report will also be available in the ASP.NET Web Forms version of the application.
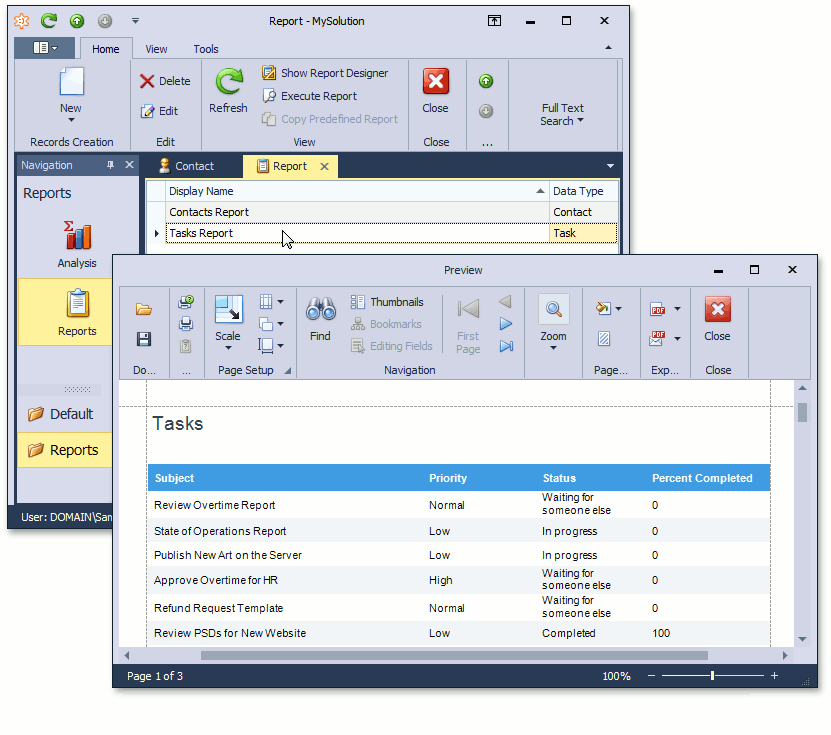
Next Lesson: Add the Scheduler Module