Add the Scheduler Module (.NET Framework)
- 3 minutes to read
Important
Scheduler requires the Event business class to be in your XAF application model. Follow the steps described in the Add a Class from the Business Class Library (EF/XPO) lesson to learn how to add it.
The eXpressApp Framework (XAF) supplies the Scheduler module. When this module is referenced, the Event List View is displayed via a special control. In WinForms applications, this control is supplied by the XtraScheduler Suite; in ASP.NET Web Forms applications, the control supplied by the ASPxScheduler Suite is used. Both of these controls provide a number of features that will be helpful if you need to switch between different date views, use a date navigator and various appointment techniques, print and export source data, or customize the appearance. For details, refer to the ASP.NET Web Forms Scheduling Demos and the Scheduler’s Main Features topic. More examples of using XAF extra modules are provided in the Extra Modules section of this tutorial.
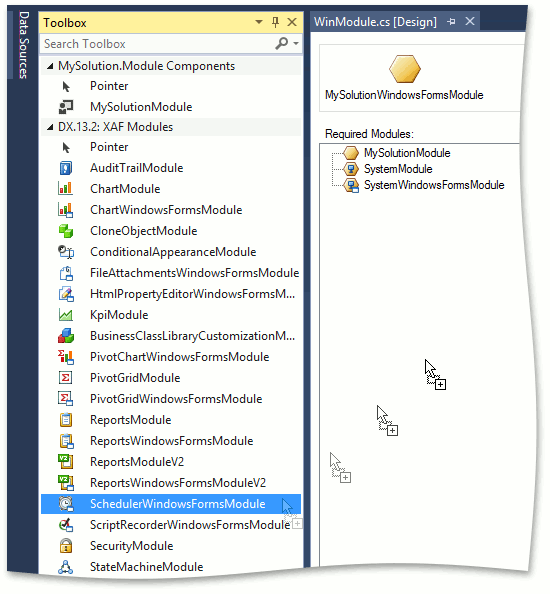
To use the Scheduler module in the WinForms application, add it to the WinForms module project. For this purpose, find the WinModule.cs (WinModule.vb) file in the MySolution.Module.Win application project displayed in the Solution Explorer. Double-click this file to invoke the Module Designer. In the Toolbox, navigate to the DX.21.2: XAF Modules section. Drag the SchedulerWindowsFormsModule item to the Designer’s Required Modules panel, and build the project.
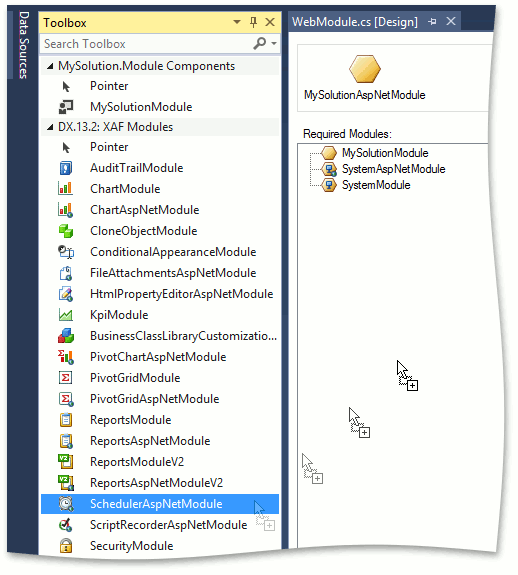
To use the Scheduler module in an ASP.NET Web Forms application, add it to the ASP.NET Web Forms module project. To do this, invoke the Module Designer by double-clicking the WebModule.cs (WebModule.vb) file. Then, drag the SchedulerAspNetModule item from the Toolbox to the RequiredModules panel.
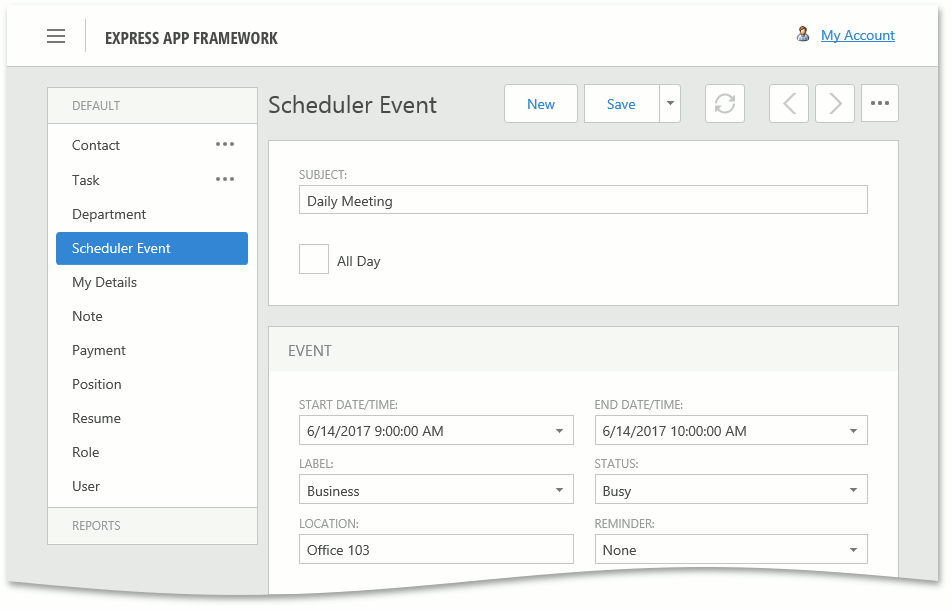
Run the WinForms or ASP.NET Web Forms application. Select the Scheduler Event item in the Navigation Control. The Event object list (called the “Event List View”) will be displayed using the Scheduler control. You can create new Event objects by clicking the New (
 ) button on the toolbar. Alternatively, you can select an area in the timeline view, right-click it and choose New Appointment.
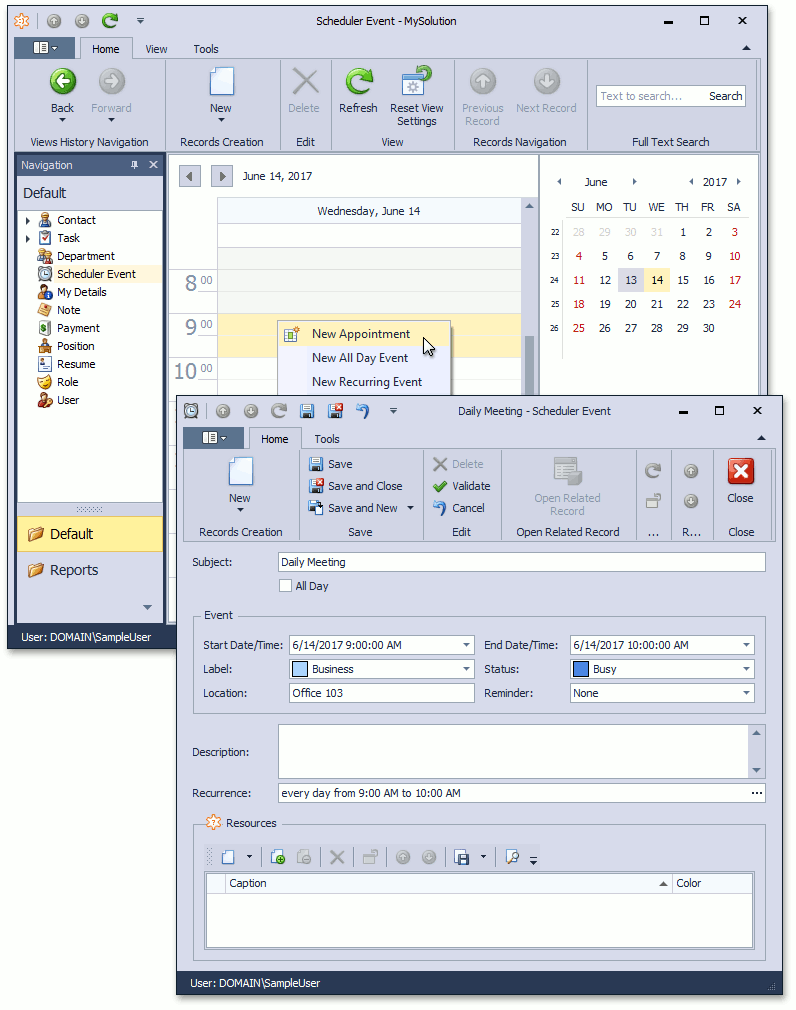
Note
The new Event’s default start and end times correspond to the interval selected in the scheduler control. Additionally, you can create events with the New command in the control’s context menu.
Tip
XAF has a special Notifications module that allows to set notifications for events. Refer to the How to: Use Notifications with the Scheduler Event help topic to learn how to use it in your application.
Next Lesson: Add Validation Rules to Business Classes