Add Page Numbers
- 3 minutes to read
The tutorial describes how to add page numbers to your reports.
Add Page Numbers
You can create a report with grouped data and a page break after each group. Pagination within a group is preferable to continuous pagination.
Follow the steps below to insert page numbers into a report:
- To create a table report in this tutorial, start with a report that is bound to the “Products” table of the sample Northwind database. To learn more about binding a report to a data source, see Provide Data to Reports.
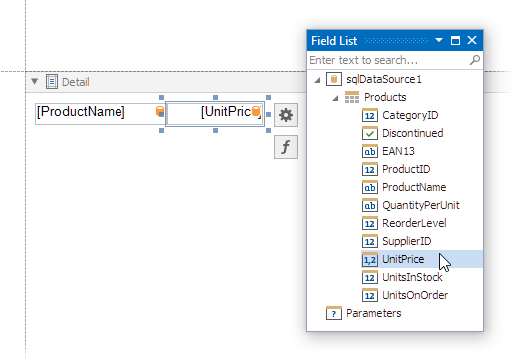
In the Visual Studio Report Designer, switch to the Field List, select the ProductName and UnitPrice fields, and drag-and-drop them onto the report’s Detail band.
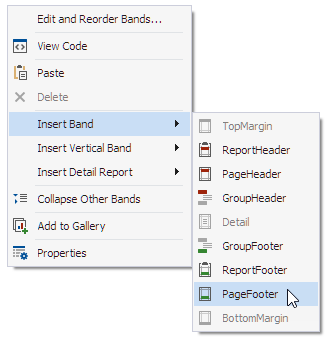
Create a PageFooterBand in your report. To do this, right-click anywhere in the report designer, and in the context menu point to Insert Band, and then click PageFooter.
Drop the XRPageInfo control from the DX.25.2: Report Controls Toolbox tab to the PageFooter band.
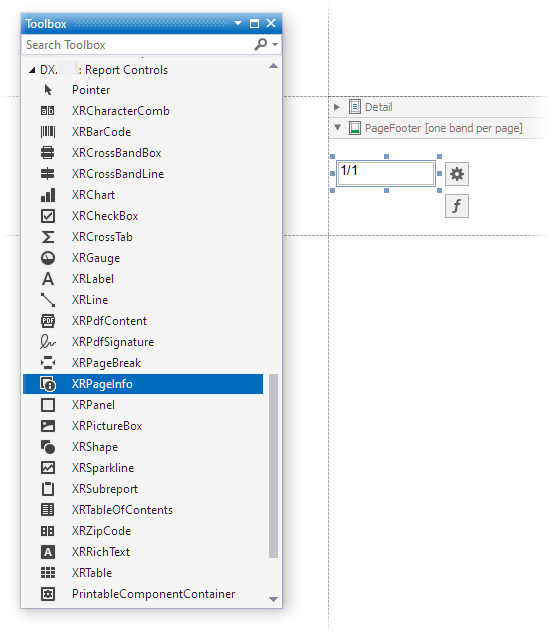
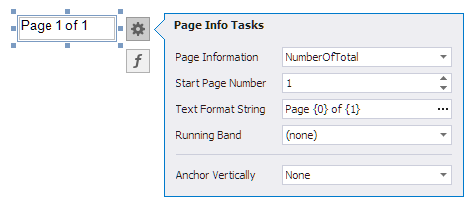
To change the control’s display format, click its smart tag, and in the invoked actions list, specify the XRPageInfo.TextFormatString property (e.g., Page {0} of {1}, to display the current page number out of the total number of pages).
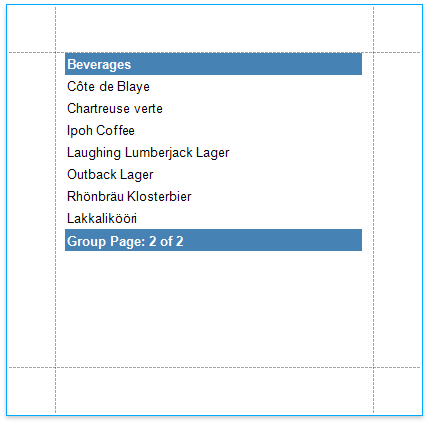
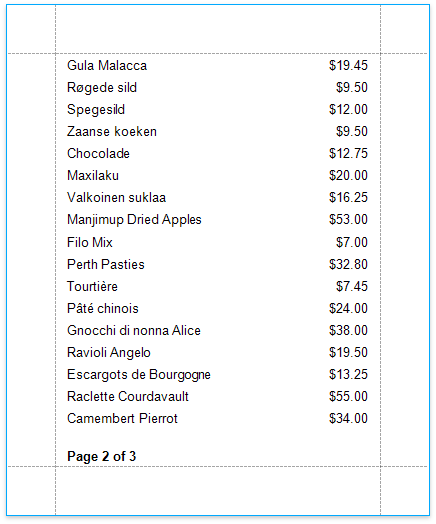
The following image illustrates the resulting report:
Add Page Numbers for Groups
Do the following to make your report display page numbers for groups or detail reports:
To create a table report in this tutorial, start with a report that is bound to the “Products” table of the sample Northwind database. To learn more about binding a report to a data source, see Provide Data to Reports.
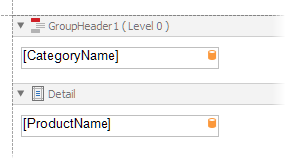
Group the report by the CategoryName field. For this, add the GroupHeaderBand to the report and make sure it has non-empty GroupHeaderBand.GroupFields collection.
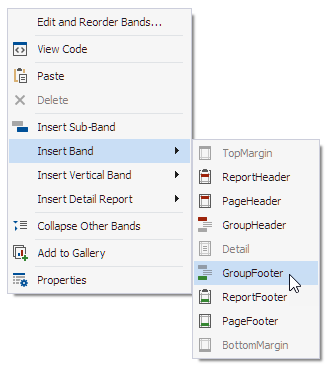
To display the GroupFooter band, right-click anywhere on the report’s surface, and in the invoked menu, point to Insert Band and click GroupFooter.
Note
You can force the group header and/or the group footer to be repeated on each page, using the GroupBand.RepeatEveryPage property.
Next, force each new group to start on a separate page. Otherwise, group page numbers will be calculated incorrectly.
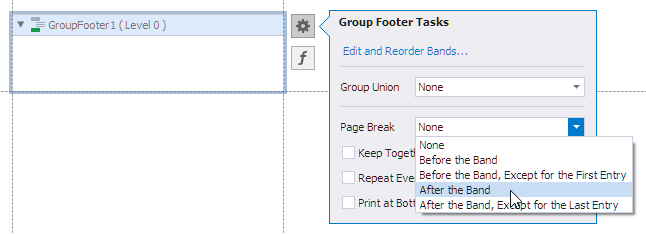
To do this, select the Group Footer, and set its Band.PageBreak to AfterBand.
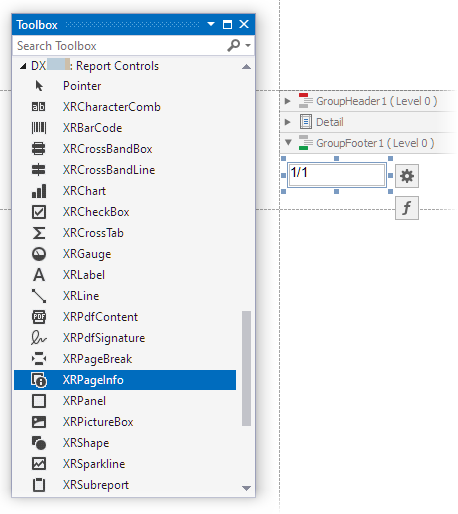
From the DX.25.2: Report Controls toolbox tab, drop the XRPageInfo control onto the GroupFooter (or GroupHeader) band.
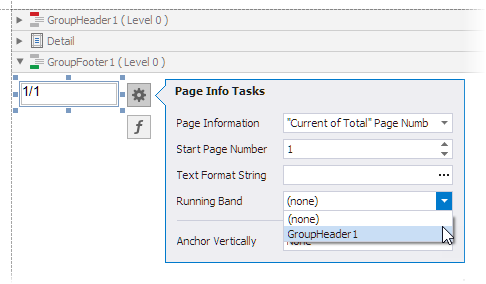
Select the created control, and set its XRPageInfo.RunningBand property to GroupHeader1.
Tip
You can use the XRPageInfo.TextFormatString and XRPageInfo.PageInfo properties to adjust the way the control represents its contents.
The following image illustrates the resulting report:
